

Shop Project #11 • CNC Router
Key and Mail Rack
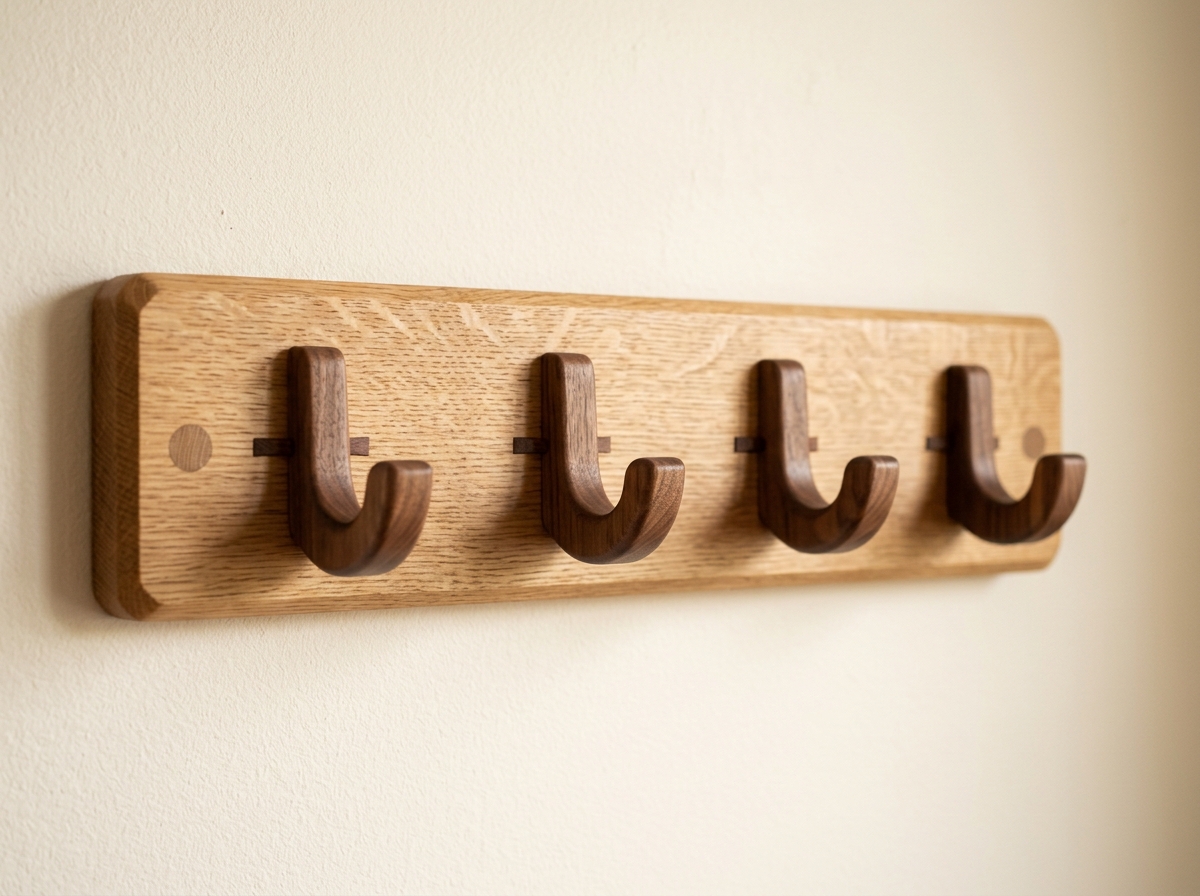
12" wide wall rack: a shelf for mail and wallets over four dowel pegs for keys.
View Plan & Build Guide →24" rack with four 3"-deep J-hooks. Through-tenons lock the hooks in; plugged screw holes hide the mounting. Download the printable PDF plan, vector SVG, layered CAD/CAM DXF, and 3D carving files below—complete with step-by-step build instructions and our 100% plant-and-wax finishing protocol.
Production-ready CAD vectors nested in inches with layer names encoding operation type and exact cut depth.
⇩ Download Standalone Printable Plan PDFAccurate stock preparation is half the battle when building the Coat Rack. Verify your blank dimensions and thickness before adhering the template or zeroing your CNC/laser axis:
| Part Name | Qty | Stock Thickness | Part Bounding Box (W × H) |
|---|---|---|---|
| Board | 1 | 3/4" | 24" × 4-1/2" |
| Hook | 4 | 3/4" | 3-25/32" × 5" |
For laser-cut finger-joint boxes and desk organizers, use void-free Baltic Birch plywood (B/BB grade) or hardwood-core veneered MDF/plywood, and always measure actual sheet thickness with digital calipers before cutting. For CNC-routed keepsake boxes, valets, trivets, and wall racks, select kiln-dried American Black Walnut, Hard Maple, Cherry, or White Ash planed dead-flat so pocket depths and through-tenon shoulders register with sub-thousandth accuracy.
Follow this numbered shop sequence to take your Coat Rack from rough lumber to a crisp, heirloom-grade piece ready for finishing:
Before running your machine, measure your actual stock thickness with digital calipers (nominal stock: 3/4" hardwood: a 24" x 4-1/2" board plus about 14" x 6" for the hooks). Import the production DXF into VCarve or Fusion 360 in inches with Z-zero set to the material surface, select all vectors, and run Fit Curves to Vectors (0.002″ tolerance) for silky G-code.
Machine the board (counterbores, screw holes, mortises, profile) and the four hooks.
Round the hook tenons' corners to the 1/8" radius in the mortises.
Ease the hook edges well so they don't stretch coat collars. Glue the hooks in; sand flush behind.
Finish, screw it to the wall, and glue in the plugs, then trim and finish them.
Execute your CNC toolpaths in this exact order to maintain vacuum/tab hold-down rigidity until the final perimeter cut:
Always orient the long grain of your board strictly parallel to the X-axis (left-to-right on the template). Diagonal grain runout across a narrow utensil neck, hook tenon, or featherboard finger creates short grain that can snap under everyday load.
Never skip grits or sand raw hardwood above 220 grit before applying natural polymerizing oils. Over-polishing raw wood to 400+ grit burnishes the wood cells shut and prevents DuraGrain Walnut Oil or Hardwax Oil from anchoring deep inside the fibers.
For kitchen utensils and trivets, misting with warm water before your final 220-grit pass eliminates raised-grain fuzz permanently. When applying DuraGrain finishes, always wipe the surface 100% bone-dry after 15–20 minutes so the oil cures inside the wood rather than turns tacky on top.
Whether you cut the Coat Rack on a CNC router or a CO2/diode laser, spray lacquer and wipe-on polyurethane pool inside finger joints, gum up kerf-cut living hinges, and leave a plastic film that peels or clouds over time. DuraGrain Hardwax Oil bonds molecularly inside the wood grain in a single wipe-on, buff-off application—with 0.0 g/L VOCs and zero toxic fumes in your shop:
Sand all surfaces to 180–220 grit (cleaning any laser char from finger tabs if applicable) and vacuum away dust. Pour a small ribbon of DuraGrain Hardwax Oil (12 fl oz) and work it evenly into the wood using the included 3"×4.5" #0000 white non-abrasive palm pad. The pad shears the Pure Chinawood Tung Oil, Refined Walnut Oil, and T1 Carnauba Wax deep into end-grain pockets, dados, and miters without runs or sags.
Allow the oil-wax blend to penetrate for 15 minutes, then buff the entire piece completely dry using the included 12"×12" 300 GSM edgeless dark charcoal microfiber buffing cloth. Because our formula cures by oxidative cross-linking rather than solvent evaporation, it leaves a dead-flat, velvet-matte tactile finish that highlights natural walnut, maple, cherry, or Baltic birch figure and spot-repairs effortlessly.

0.0 g/L VOC Pure Tung Oil, Alkali-Refined Walnut Oil, T1 Brazilian Carnauba & USA Beeswax architectural finish. Formulated & poured in Pittsburgh, PA.
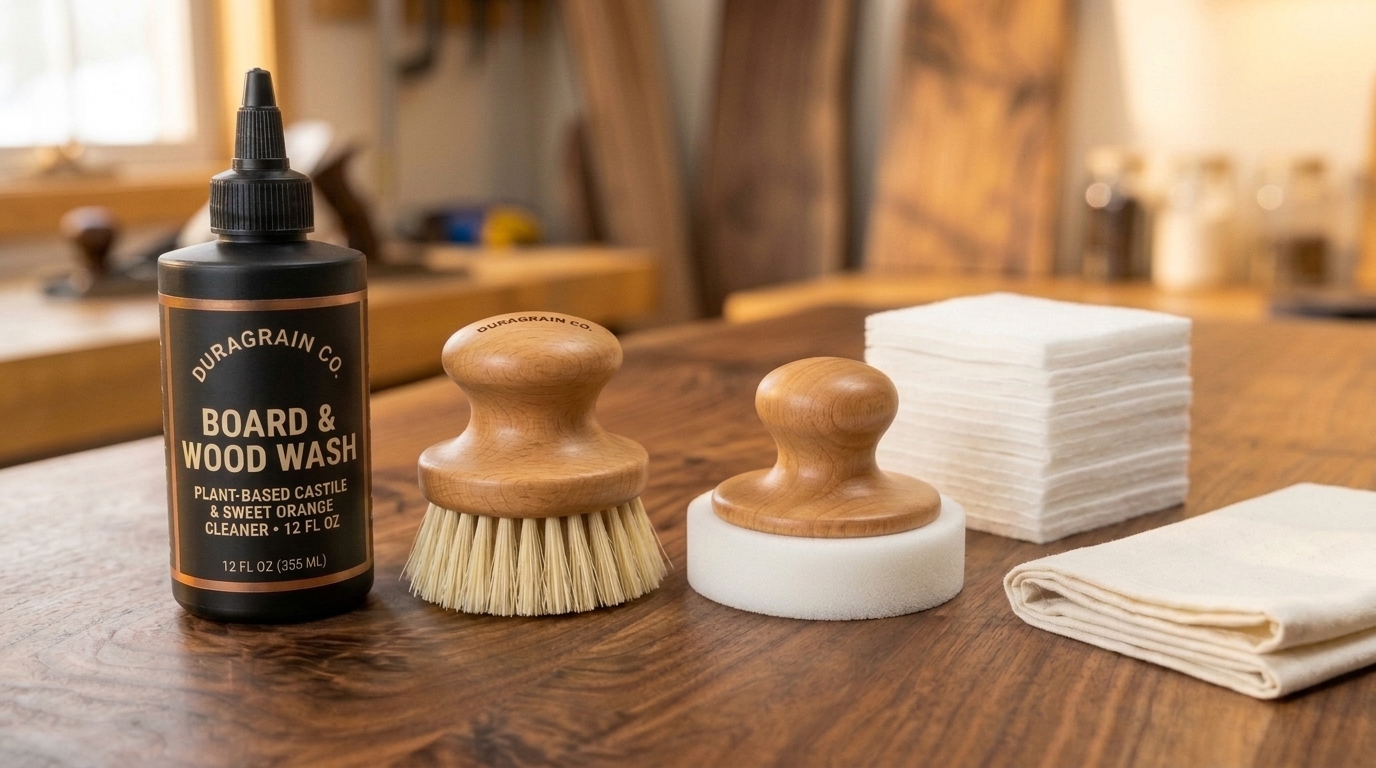
Keep extra shop-grade #0000 non-abrasive white pads on your bench for CNC pockets, boxes, and furniture builds—zero steel-wool rust specks.
12" wide wall rack: a shelf for mail and wallets over four dowel pegs for keys.
View Plan & Build Guide →
Four 4" coasters, each with its own engraved pattern: sunburst, rings, hex mosaic, chevrons.
View Plan & Build Guide →
7-1/2" round trivet. Grooves 7/16" deep on each face cross at right angles; where they meet, 3/8" square windows open through.
View Plan & Build Guide →
A pair of 7" x 6" corbels with a sweeping cove underneath, for shelves up to about 8" deep.
View Plan & Build Guide →