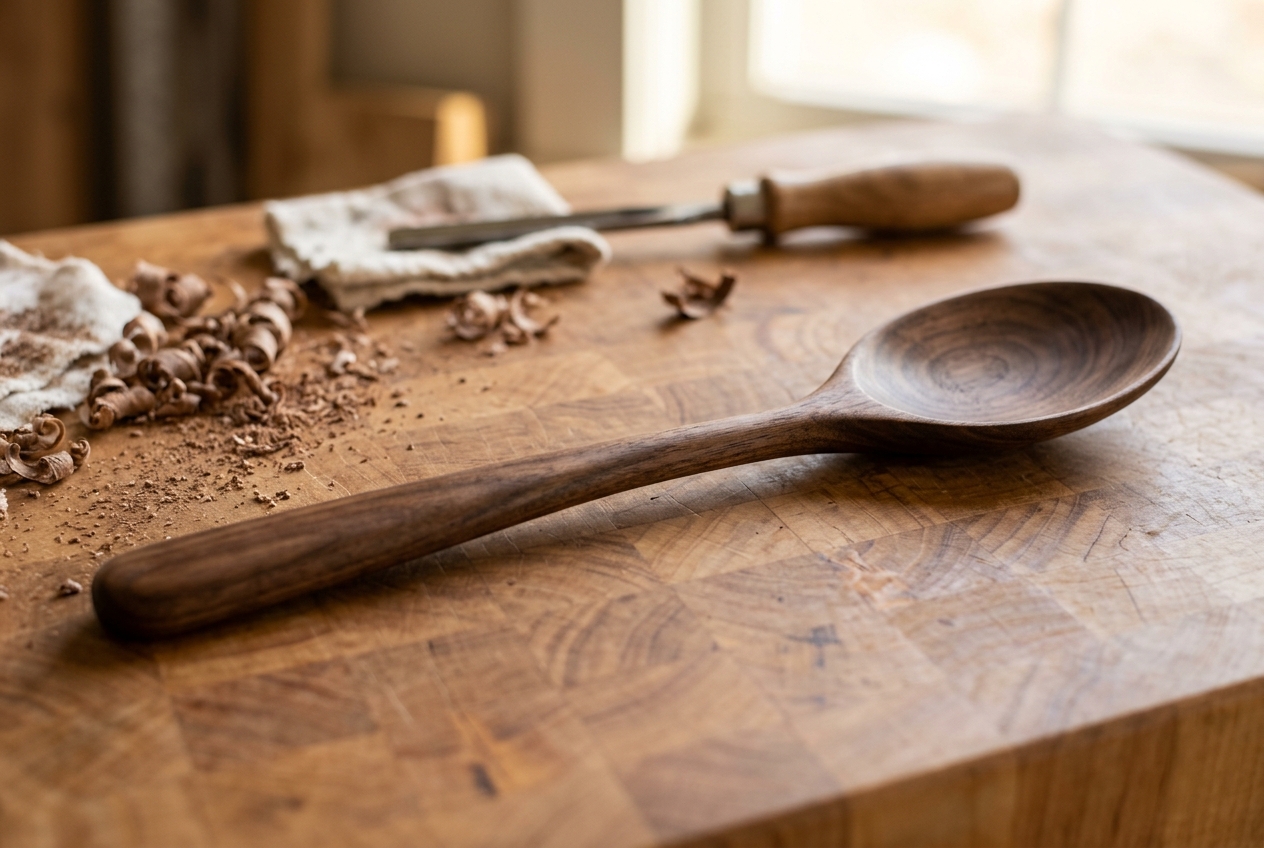
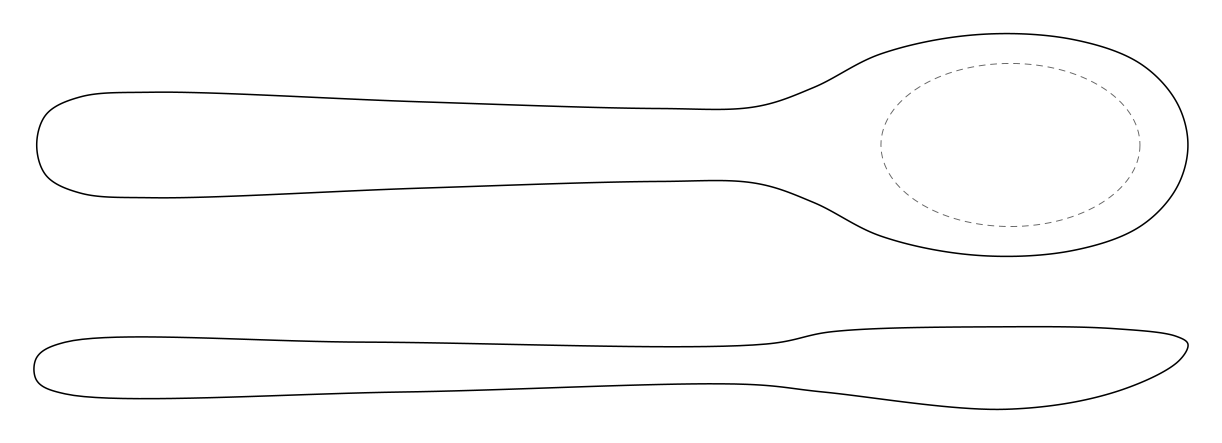
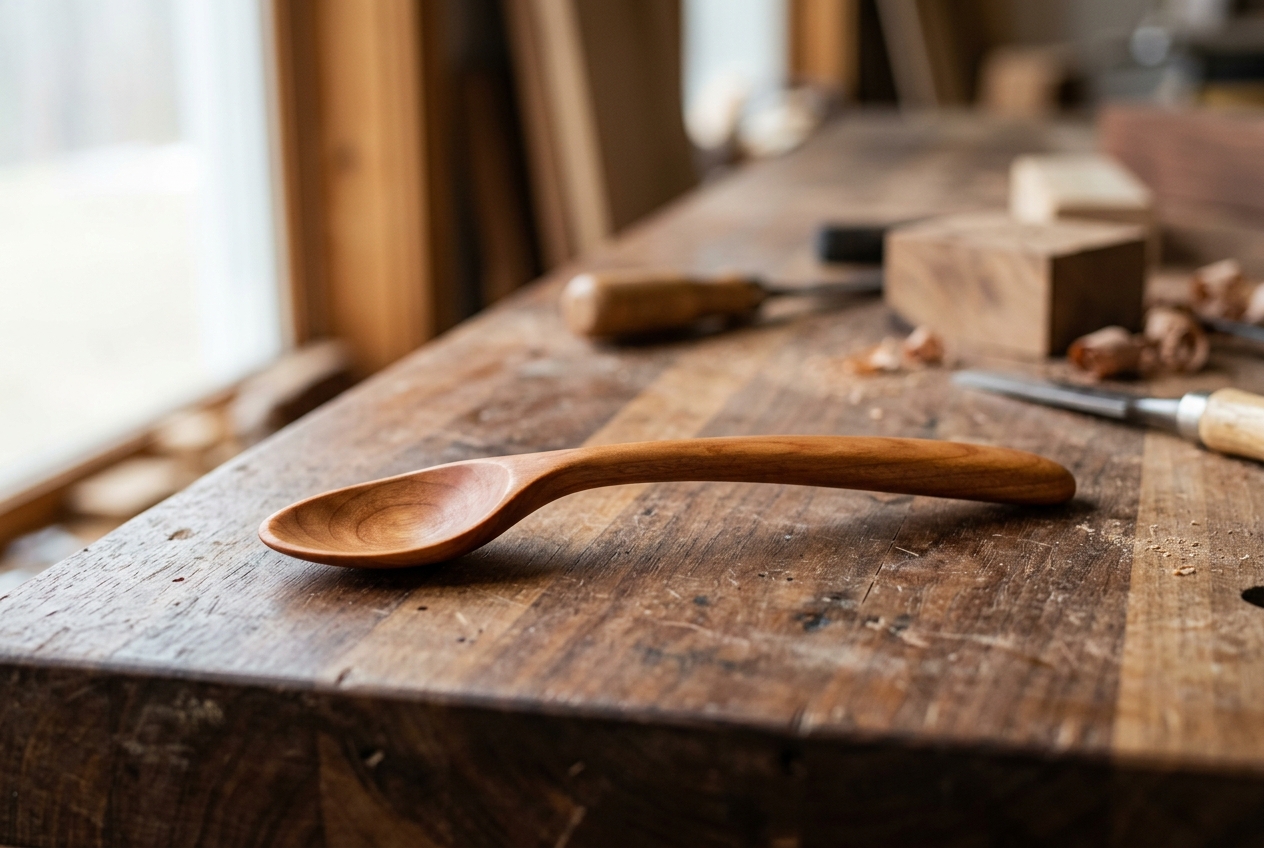
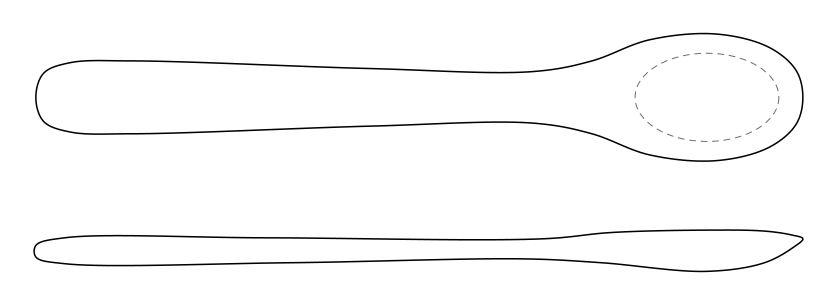
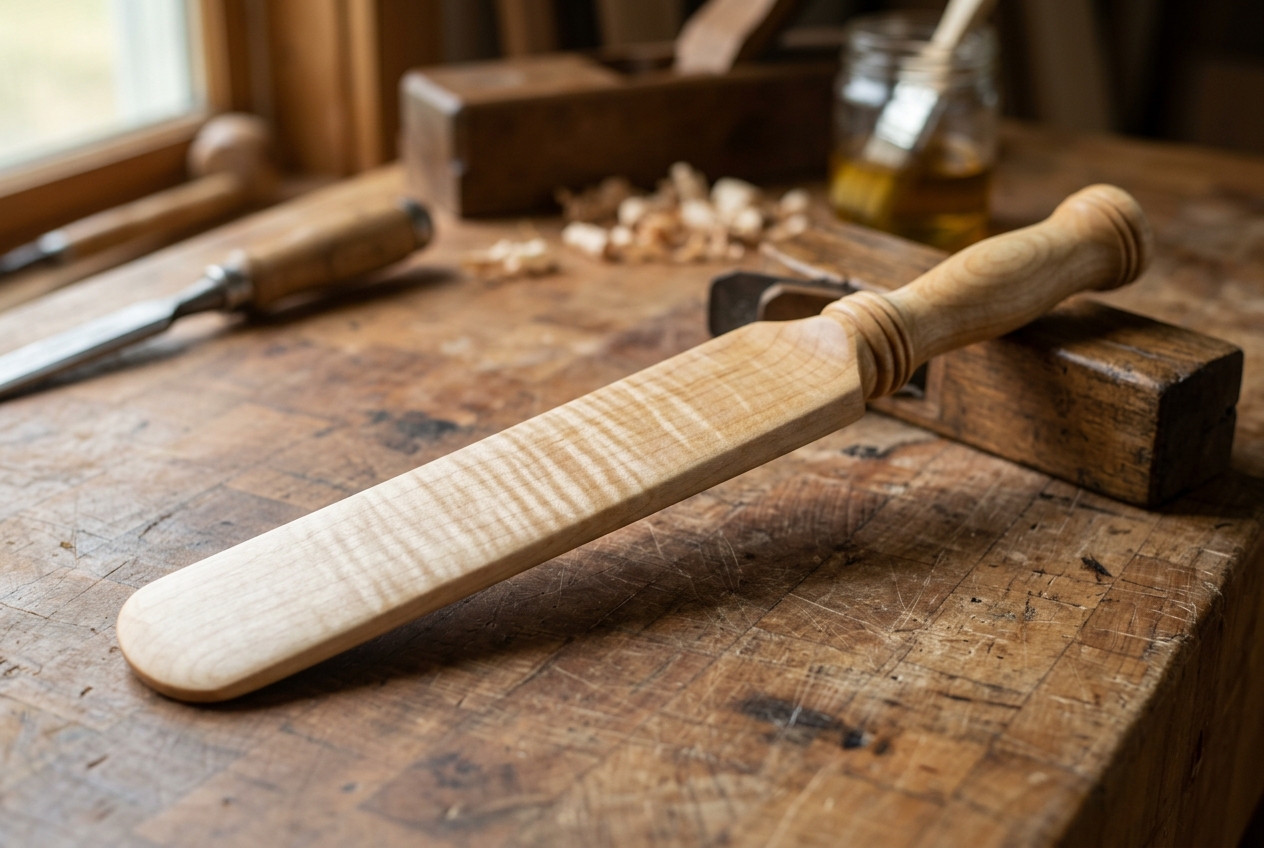
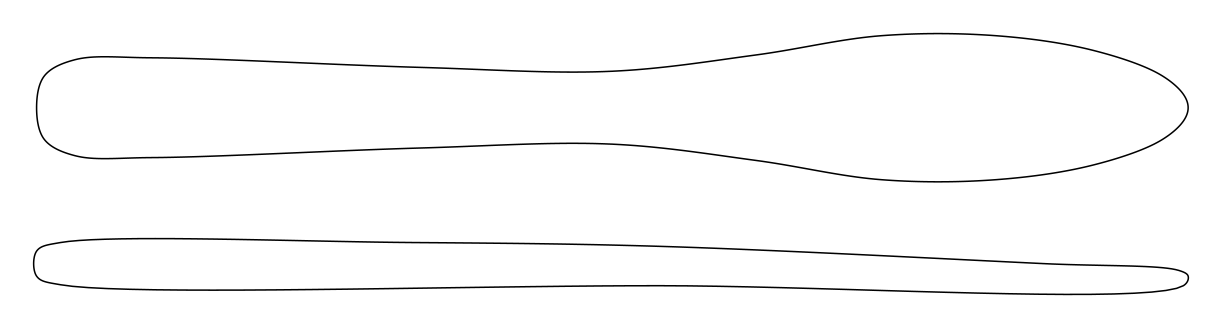
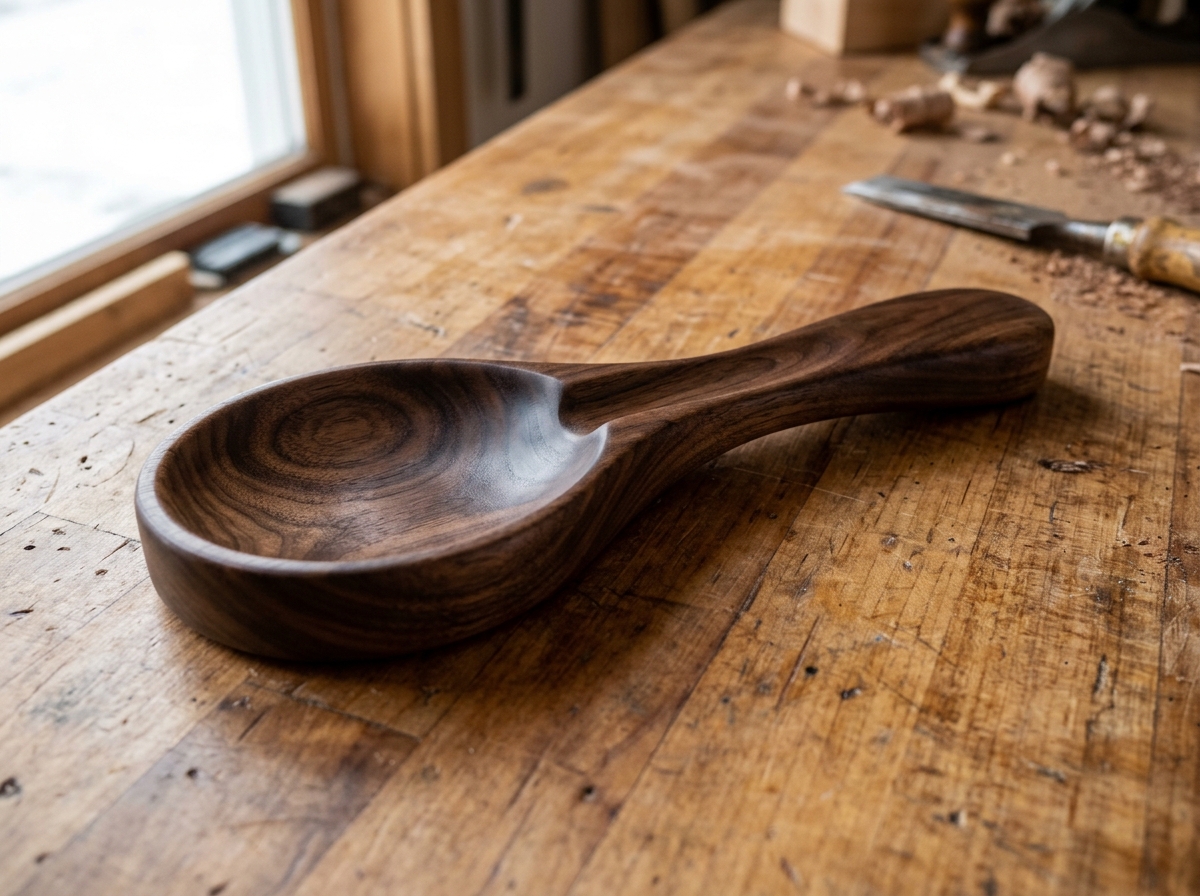
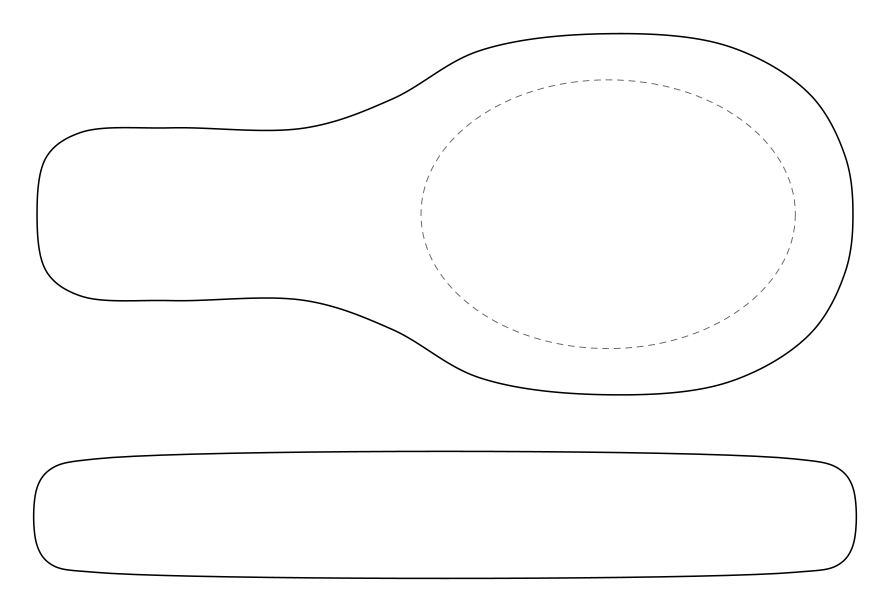
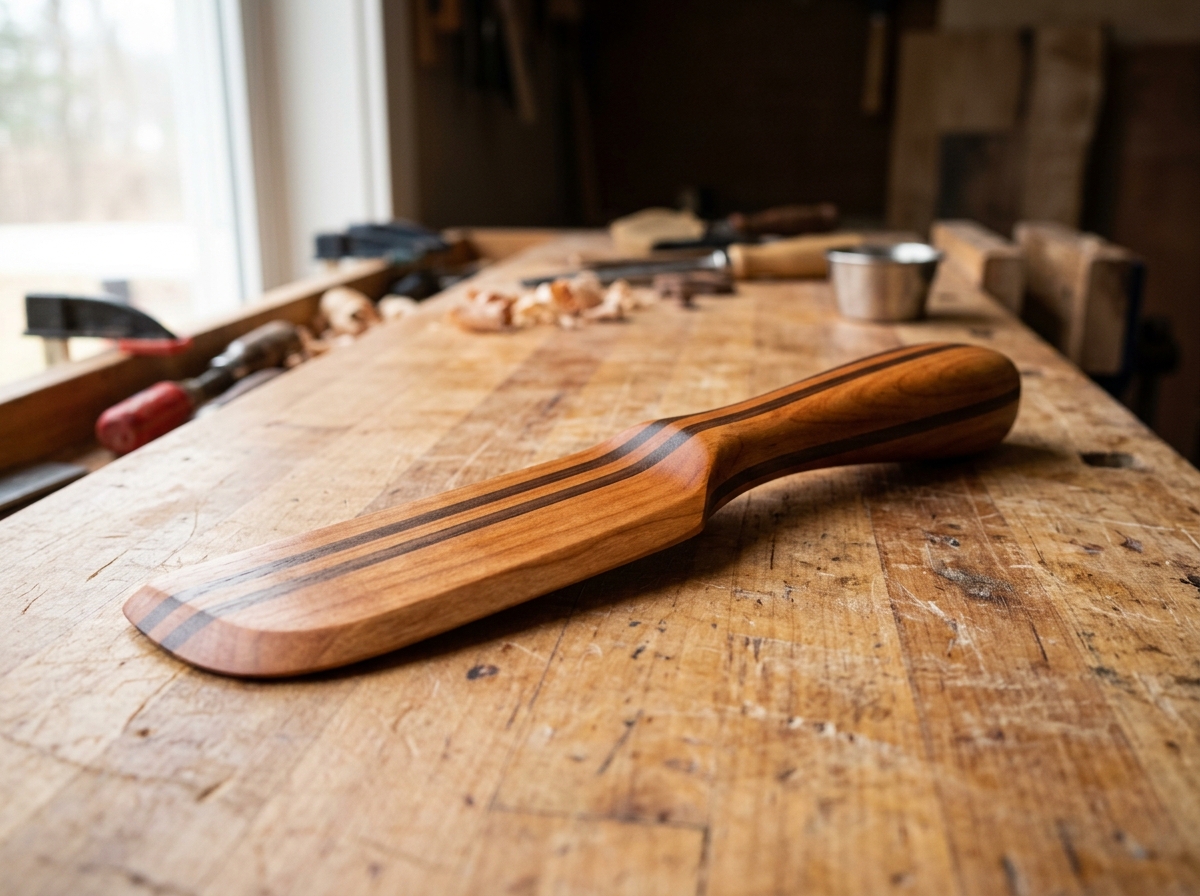
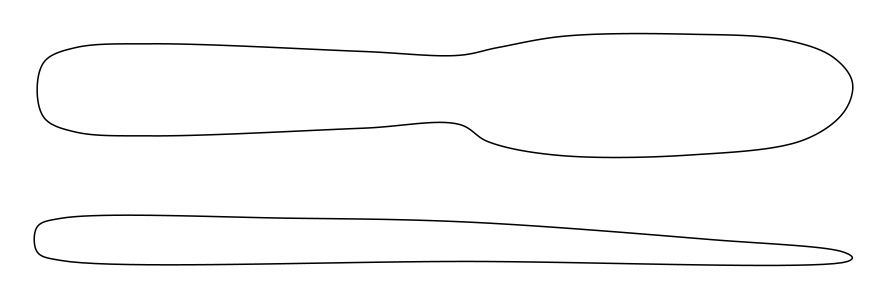
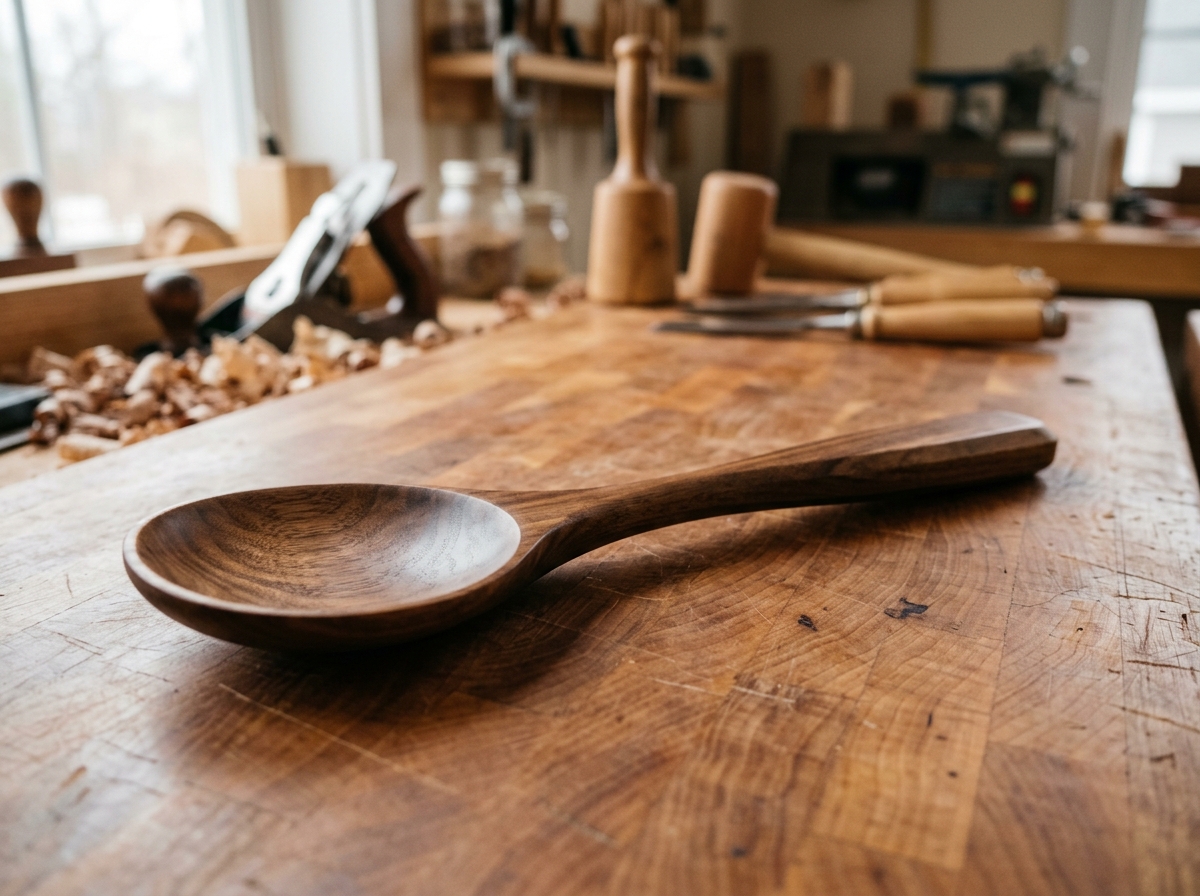
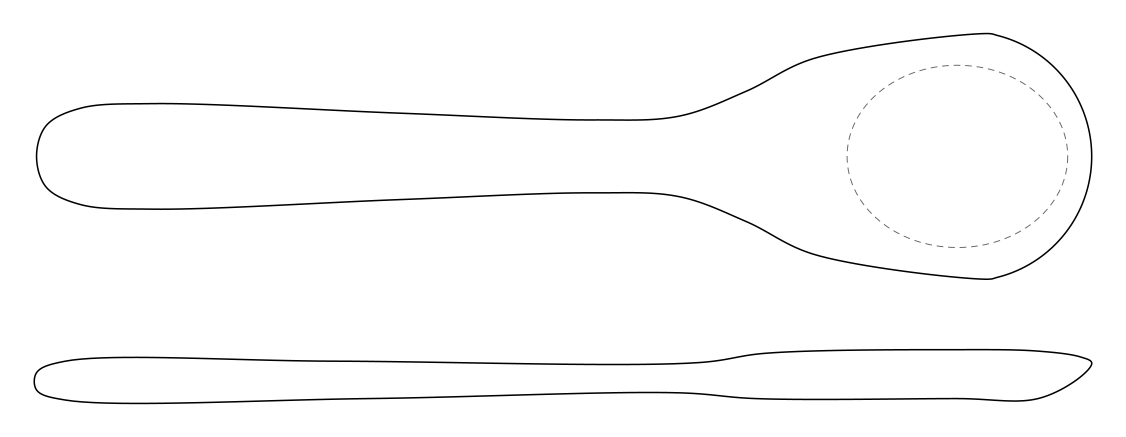
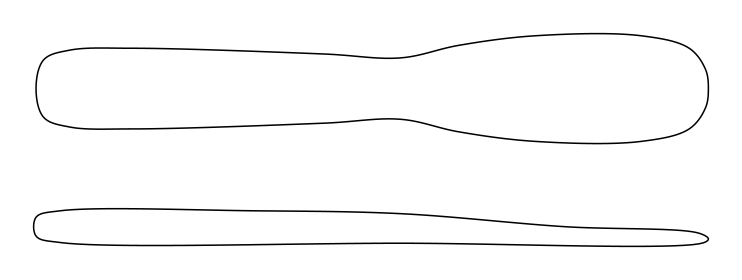
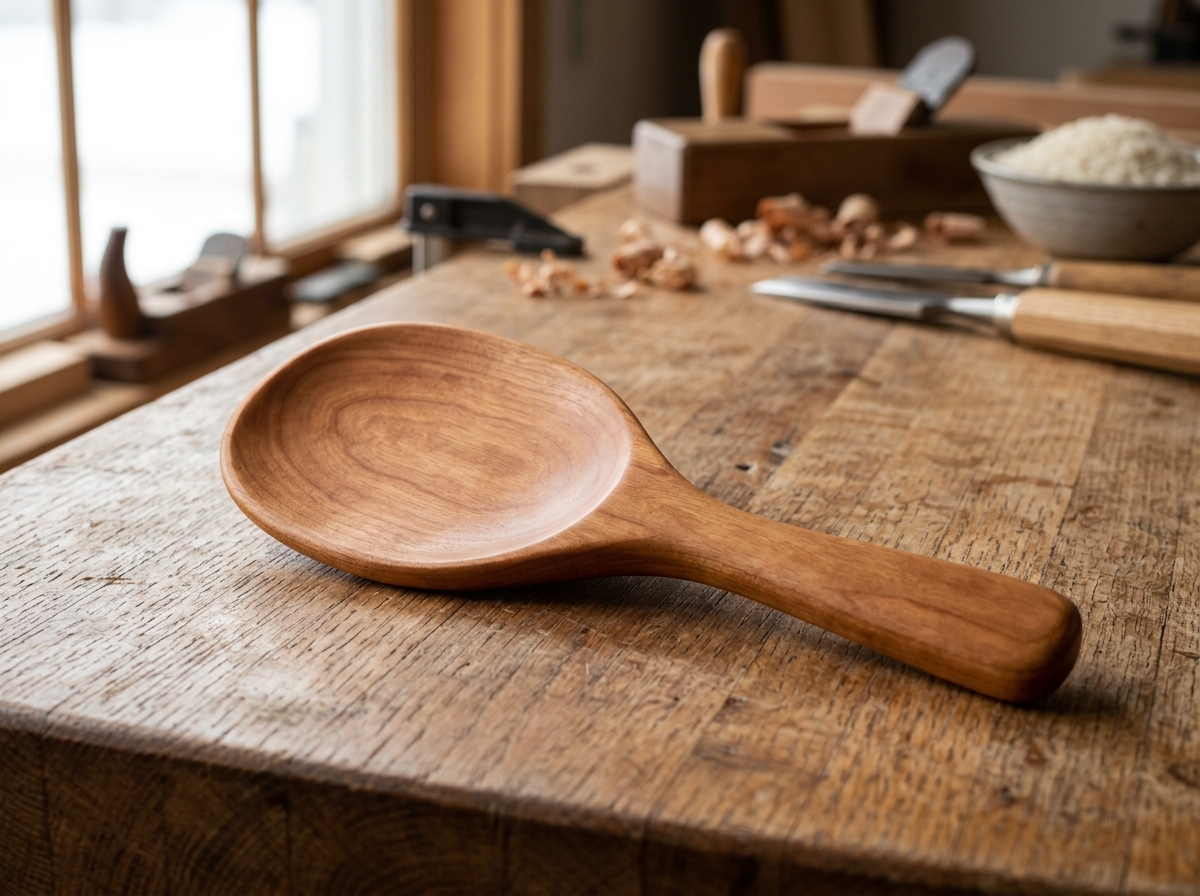
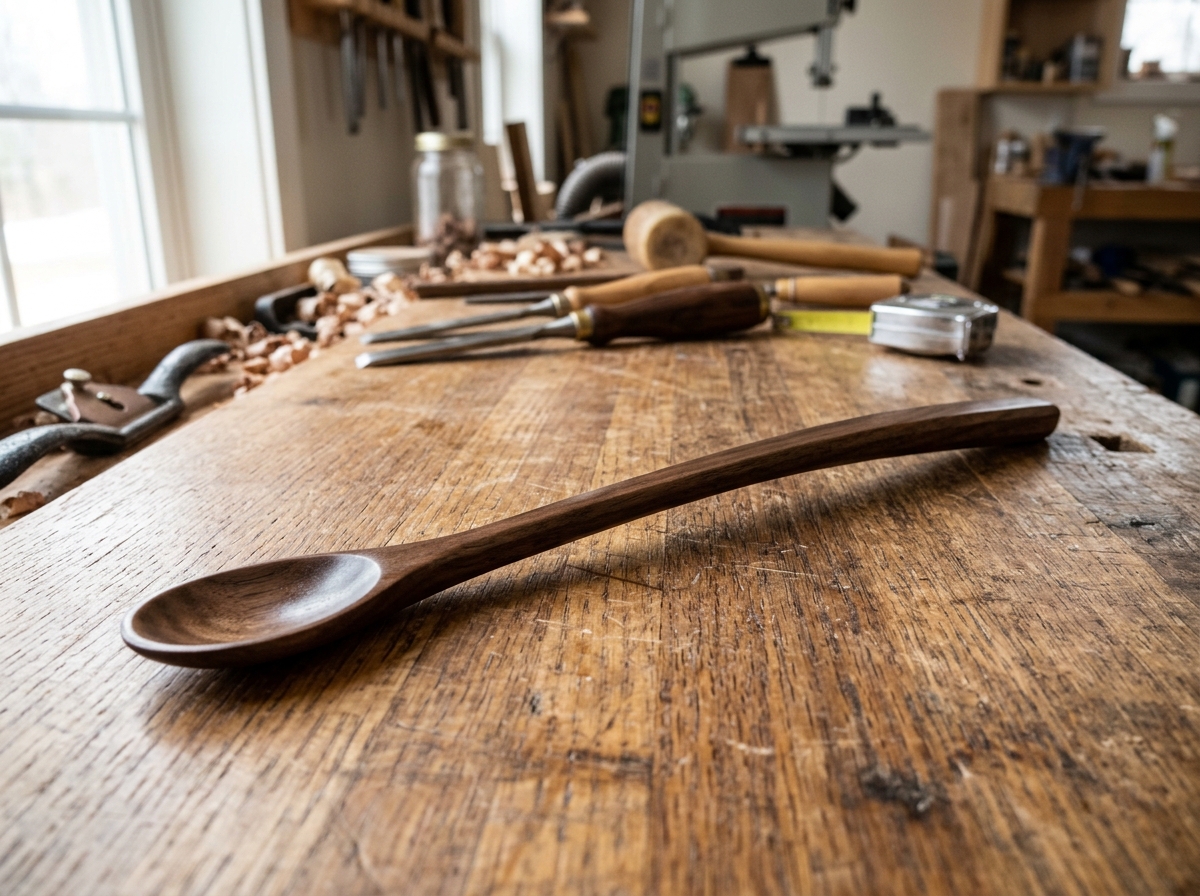
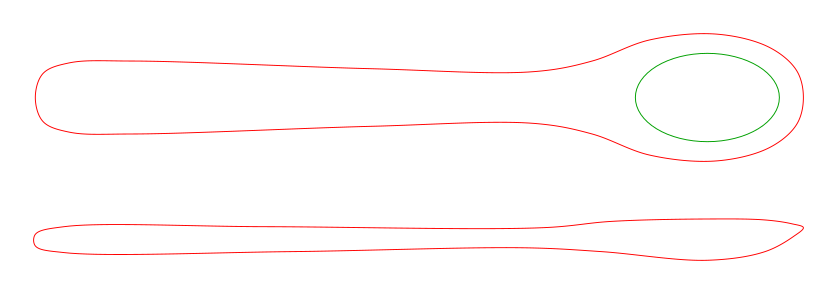
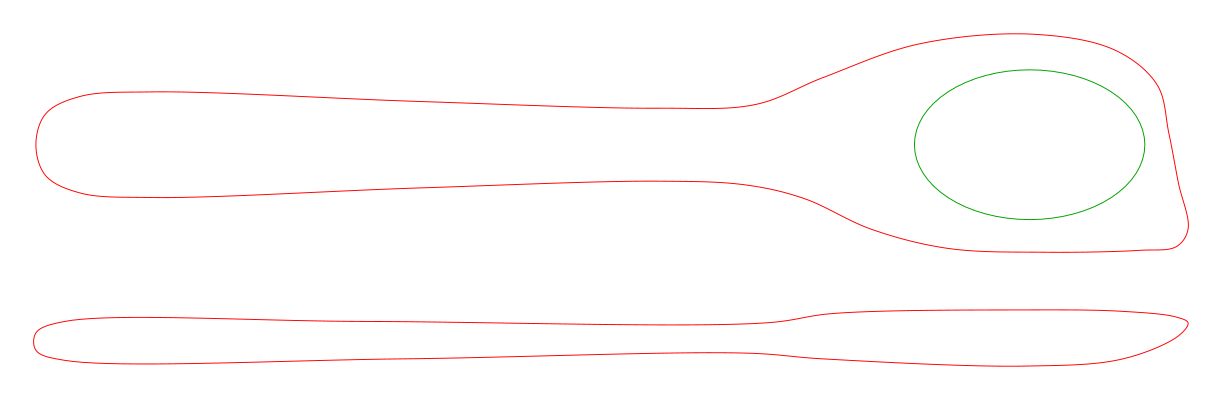
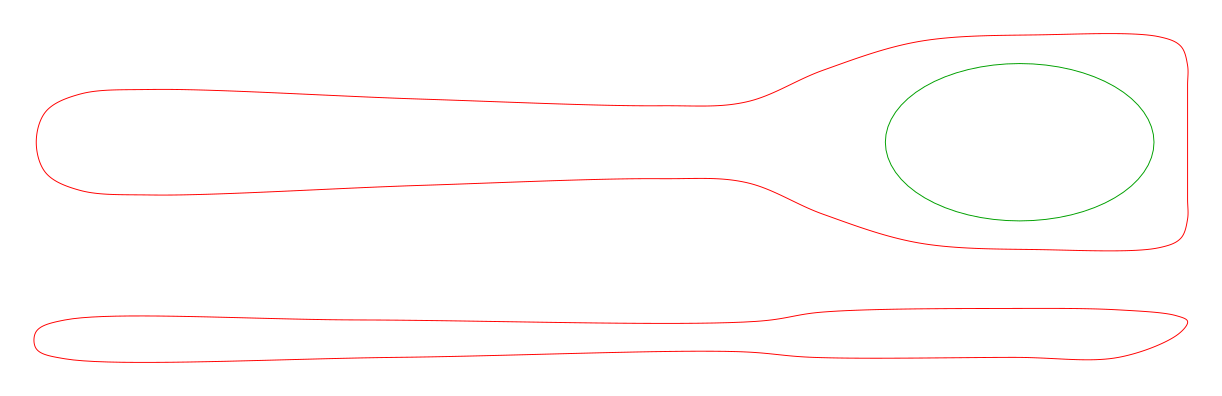
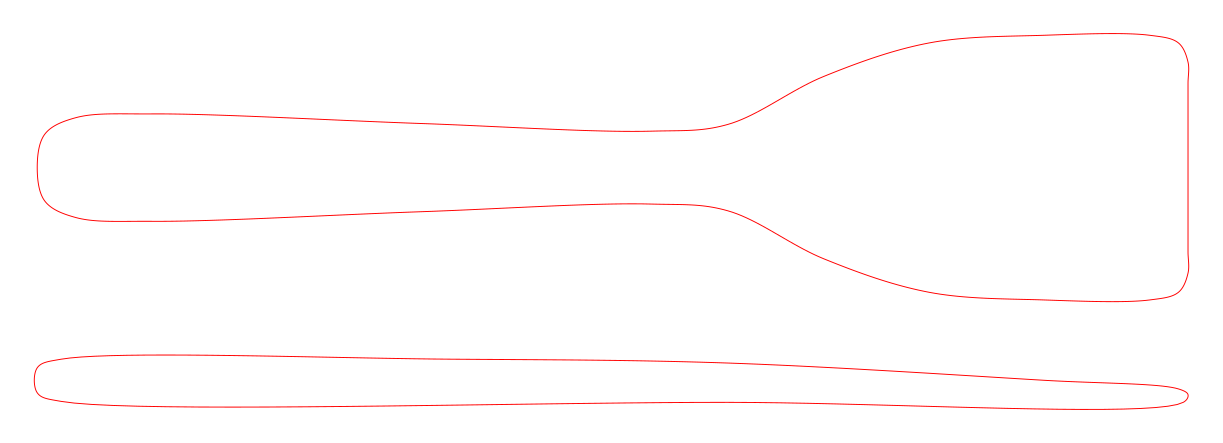
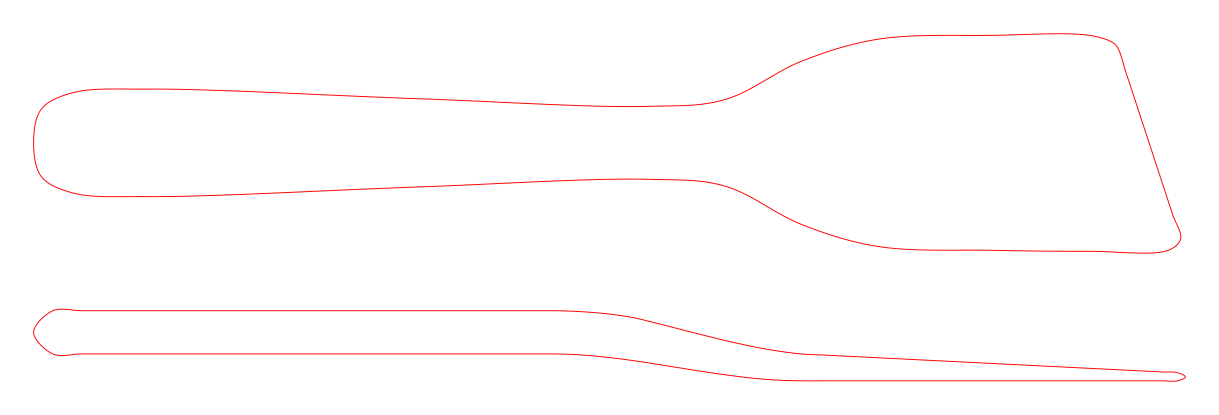
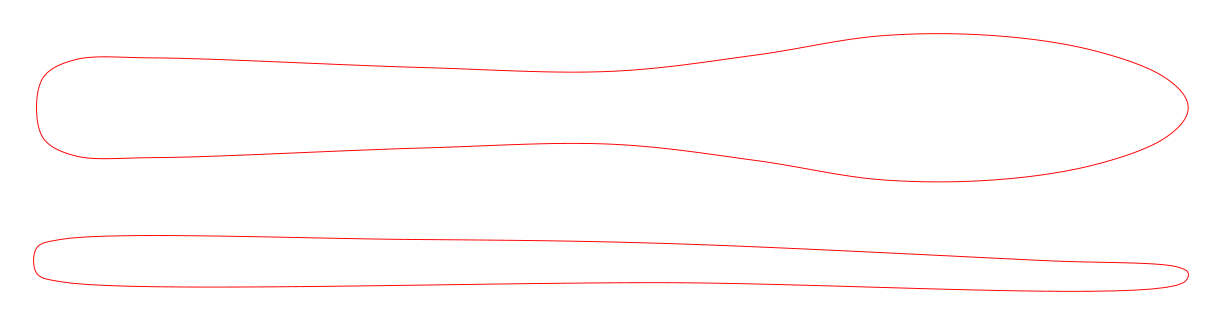
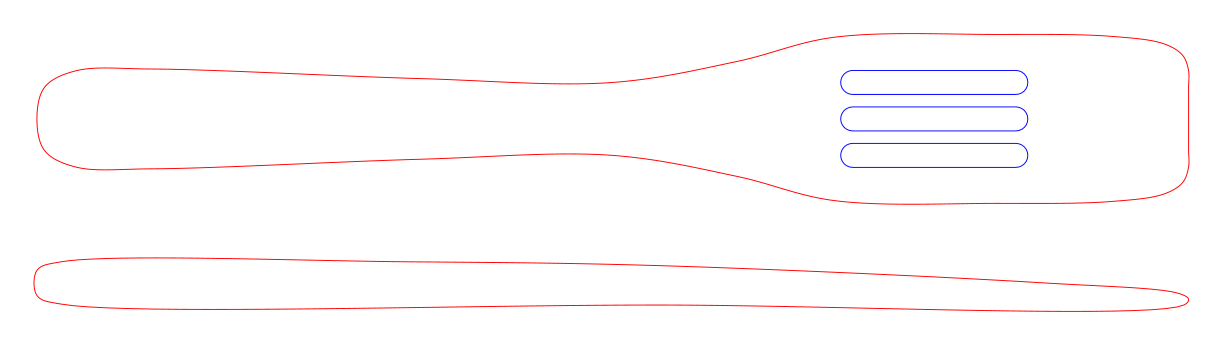
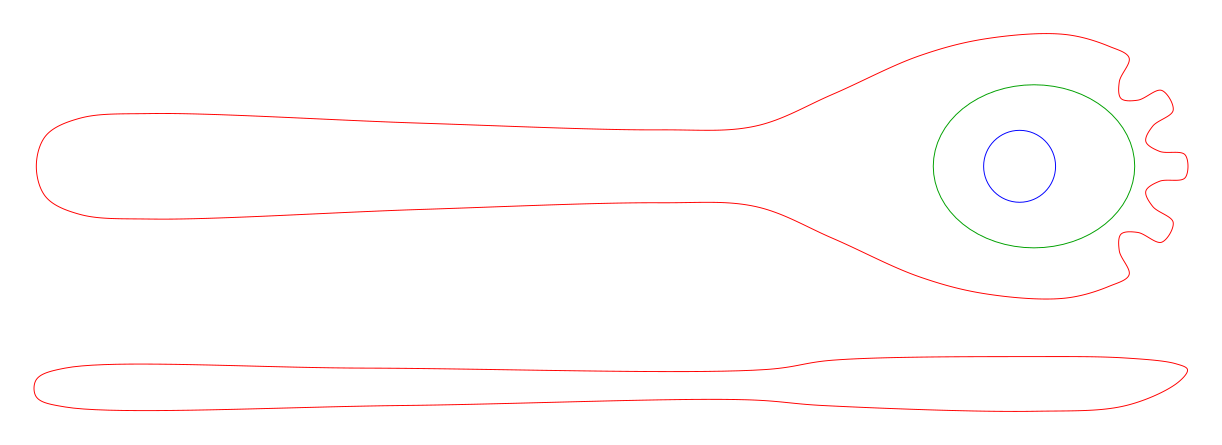
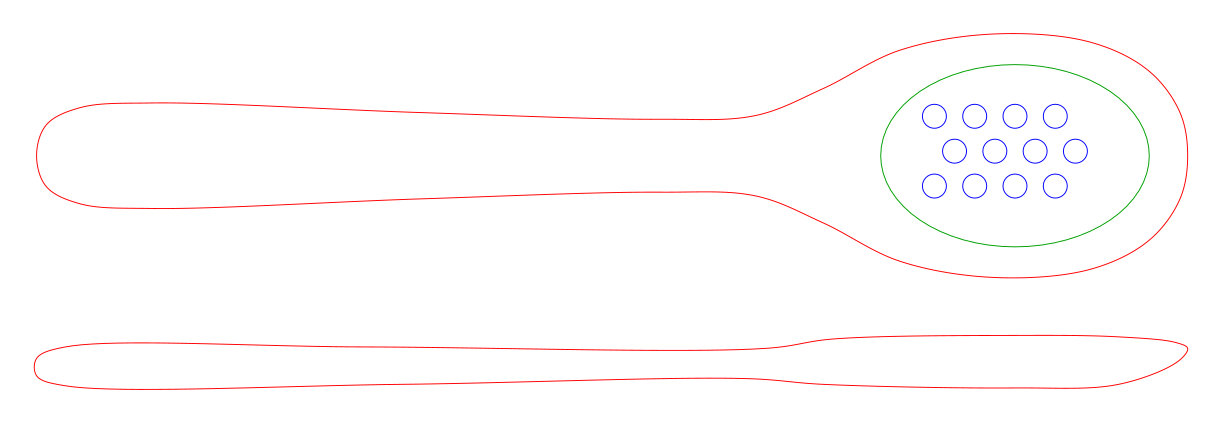
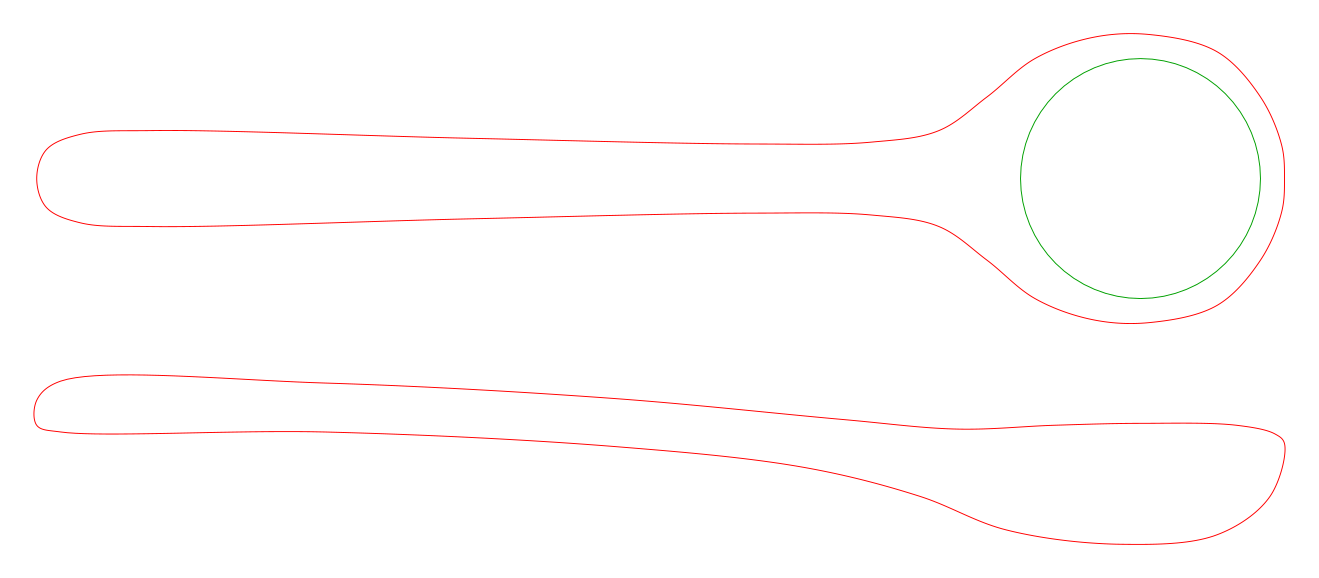
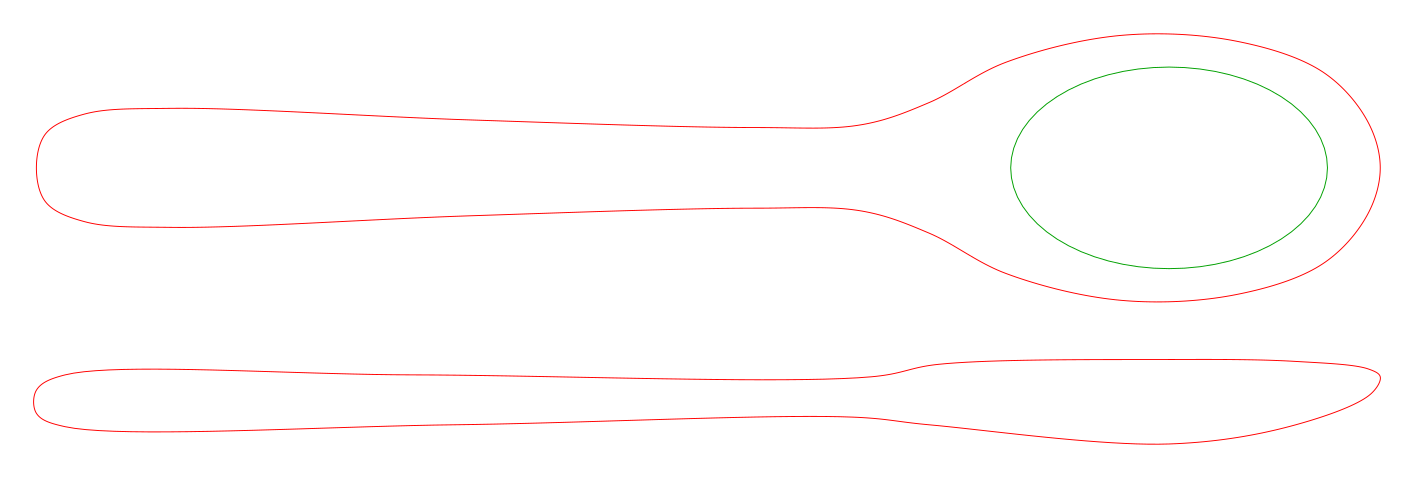
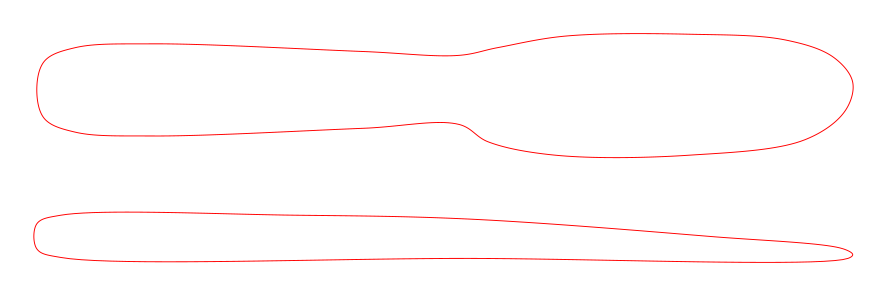
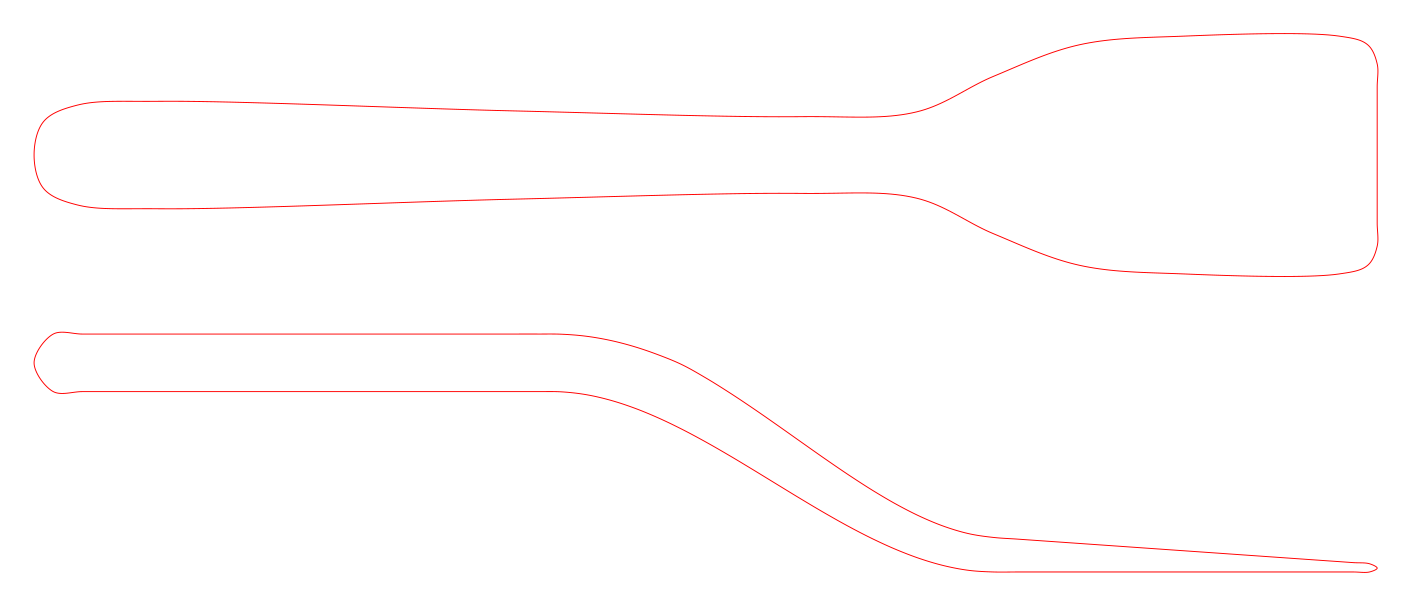
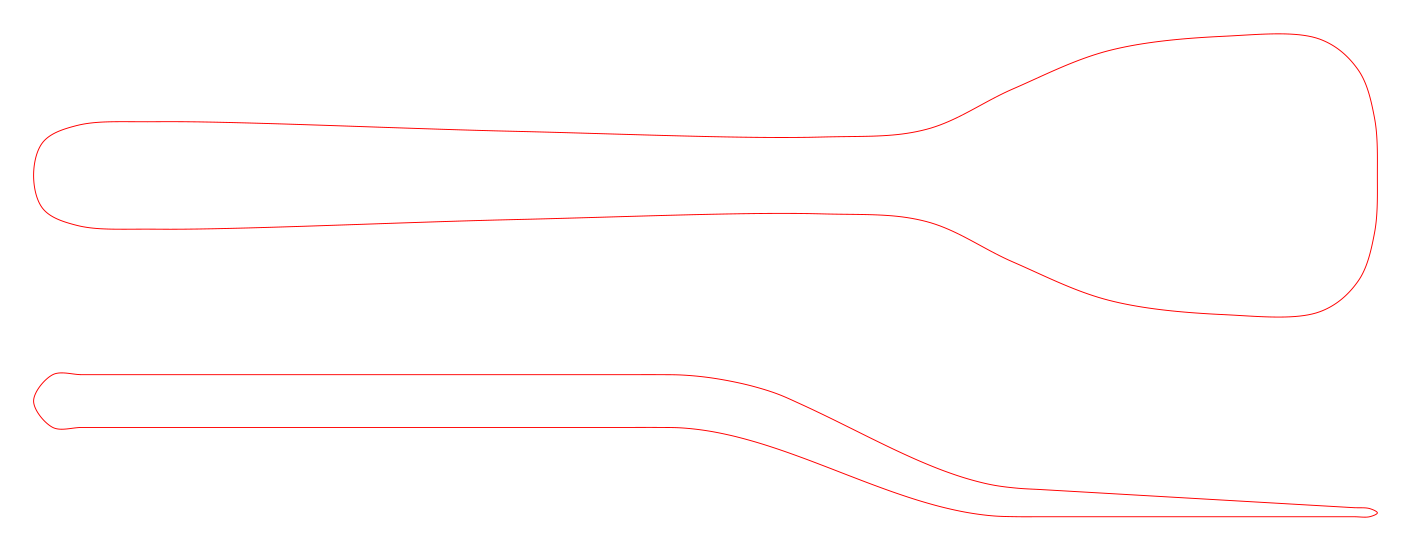
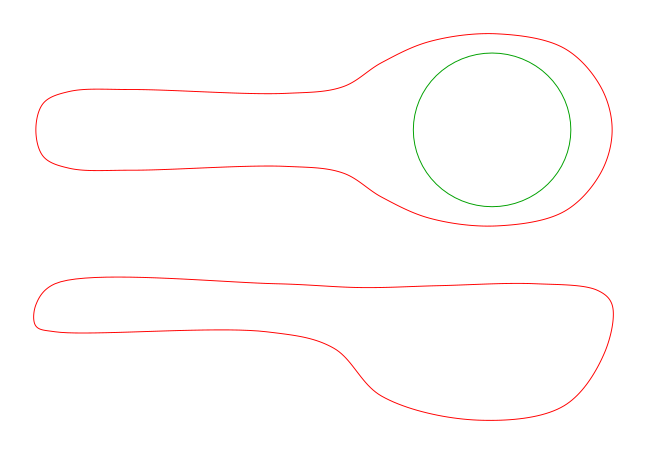
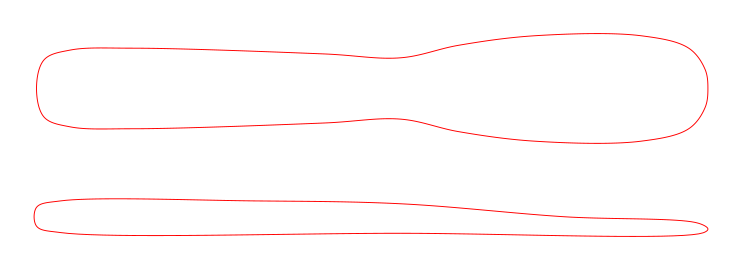
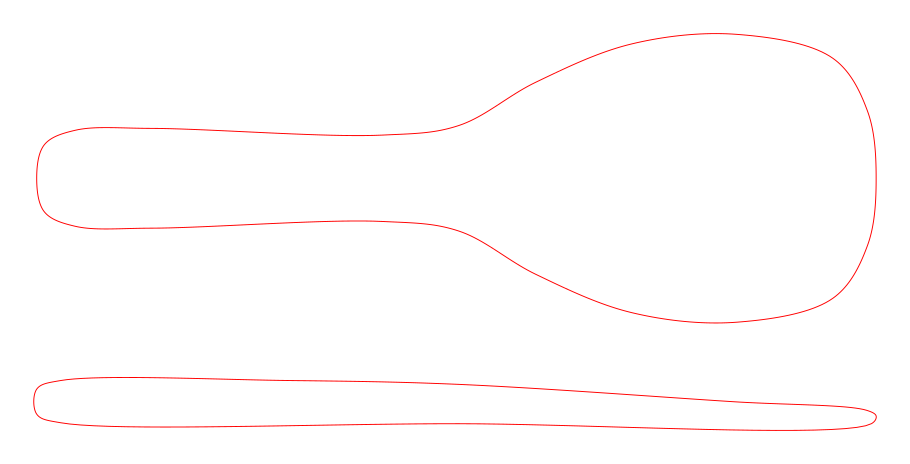
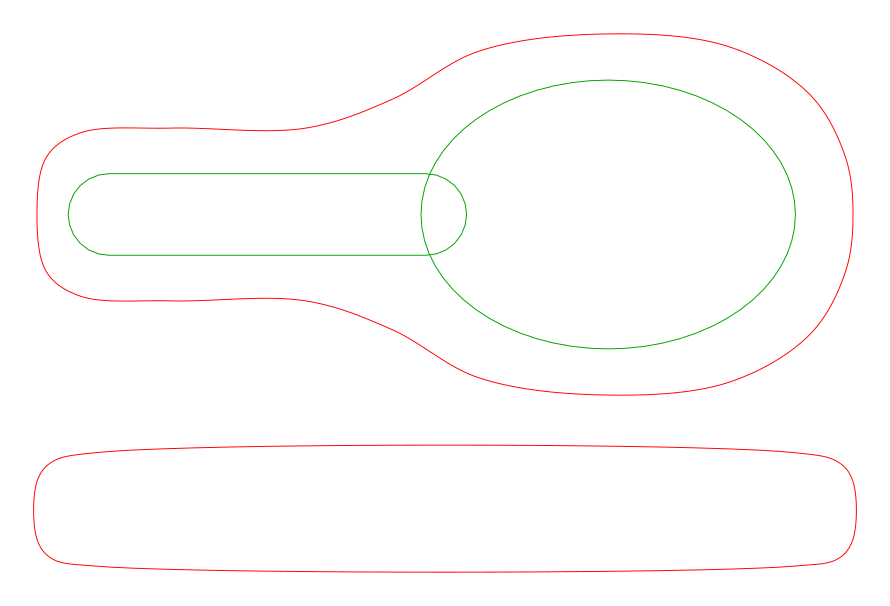
Shop Note: Carve the bowl hollow before cutting the side profile; the flat blank is easier to clamp.
Hand-Carving, Bandsaw & CNC Kitchen Utensil Templates
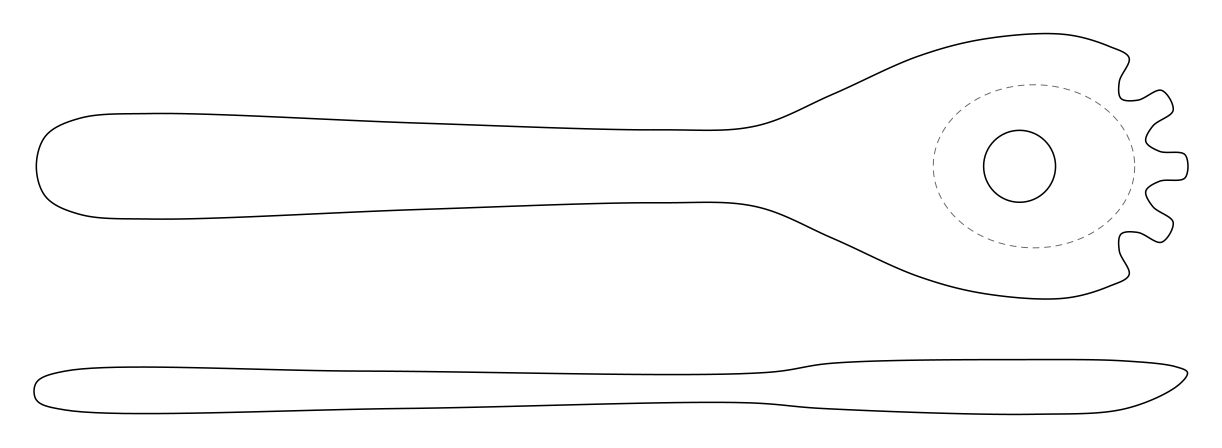
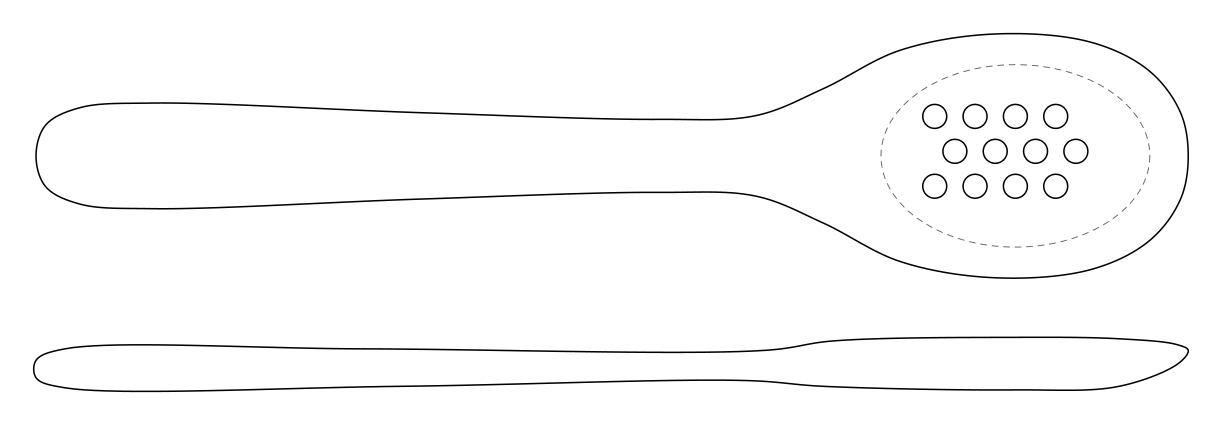
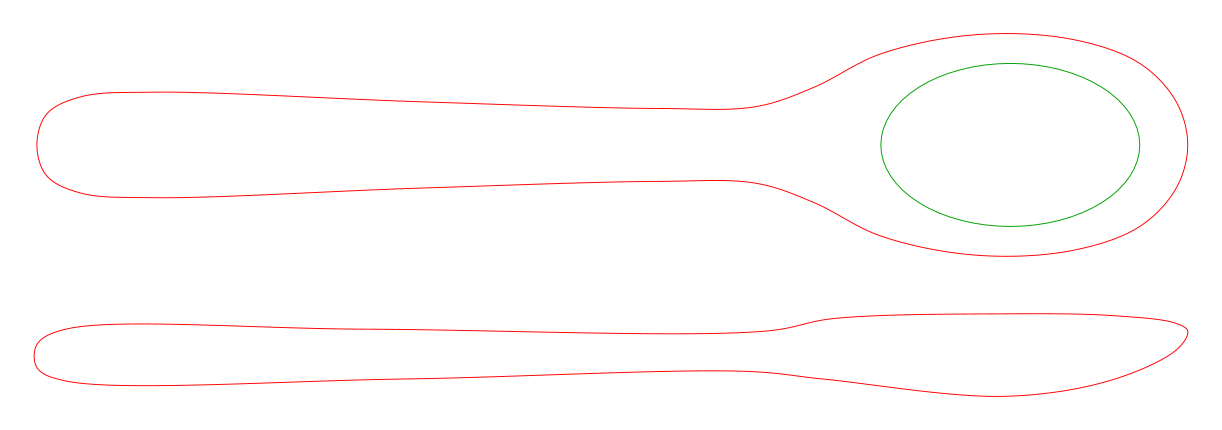
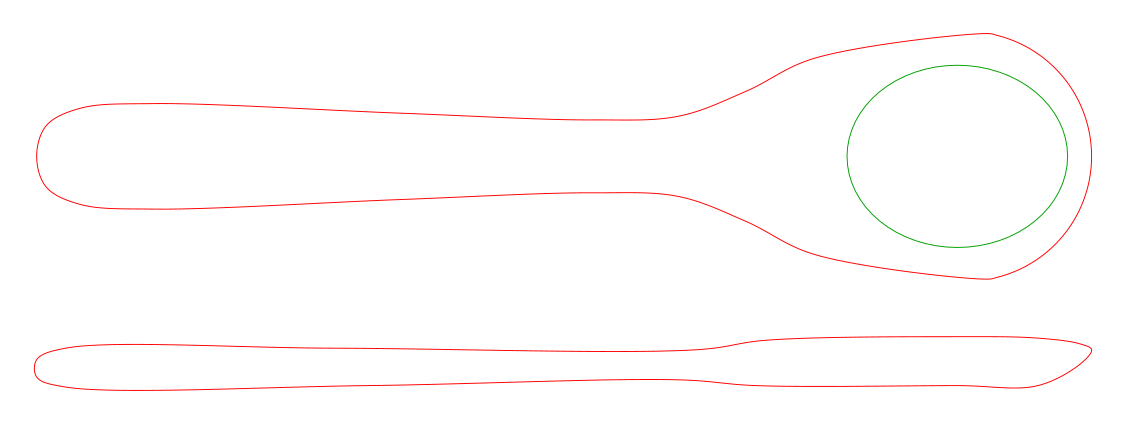
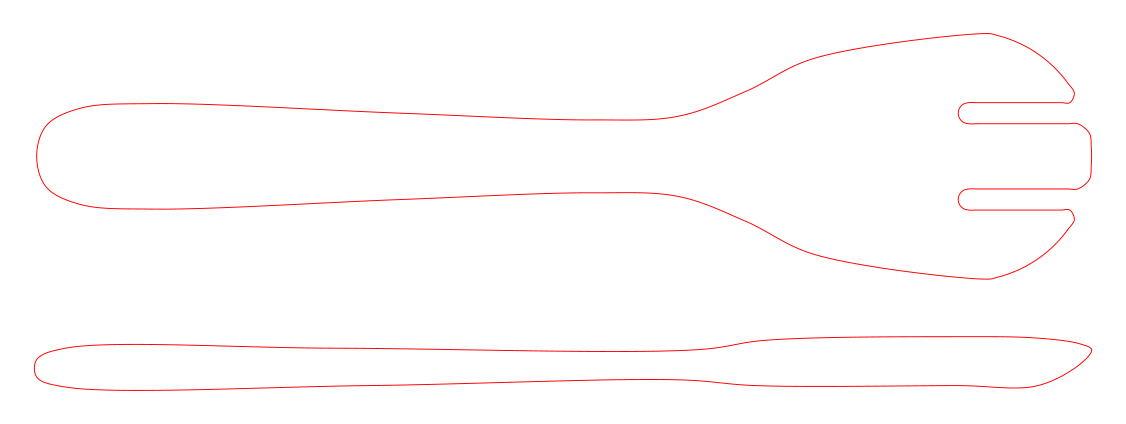
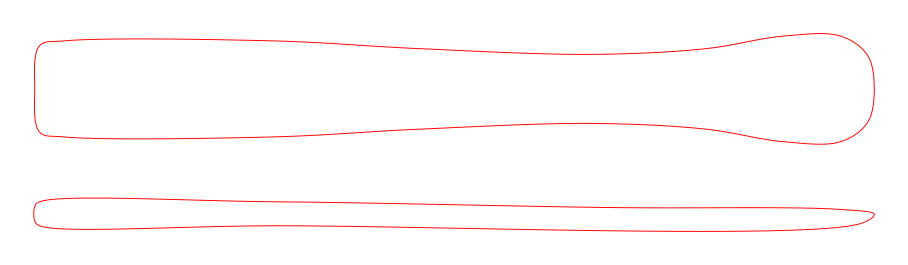
Each utensil plan includes its own standalone 100%-scale printable PDF (with a 1"×1" calibration square), full-size SVG pattern, CNC/Laser DXF & SVG vectors, and watertight 3D STL mesh.
Tasting Spoon
Shop Note: Small and quick: a good first project and a good use of offcuts.
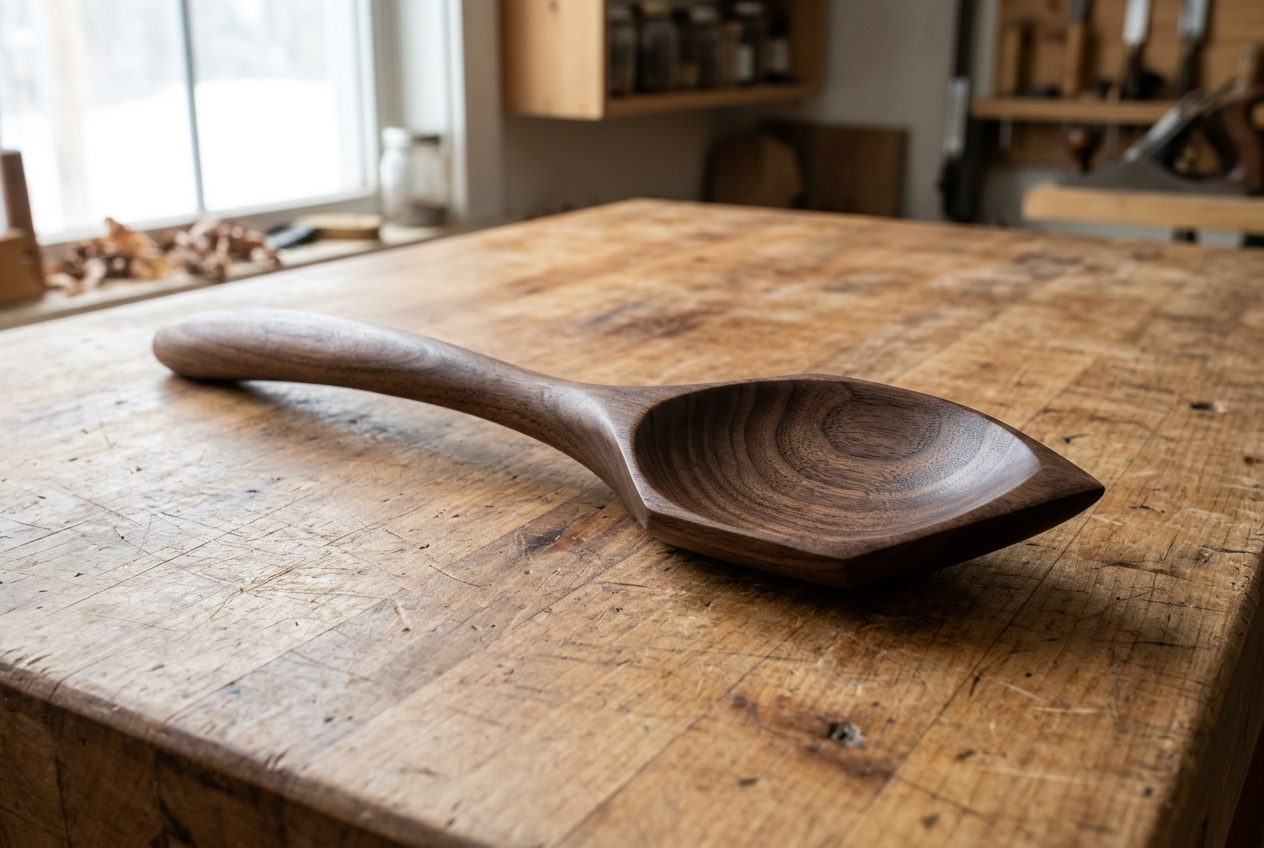
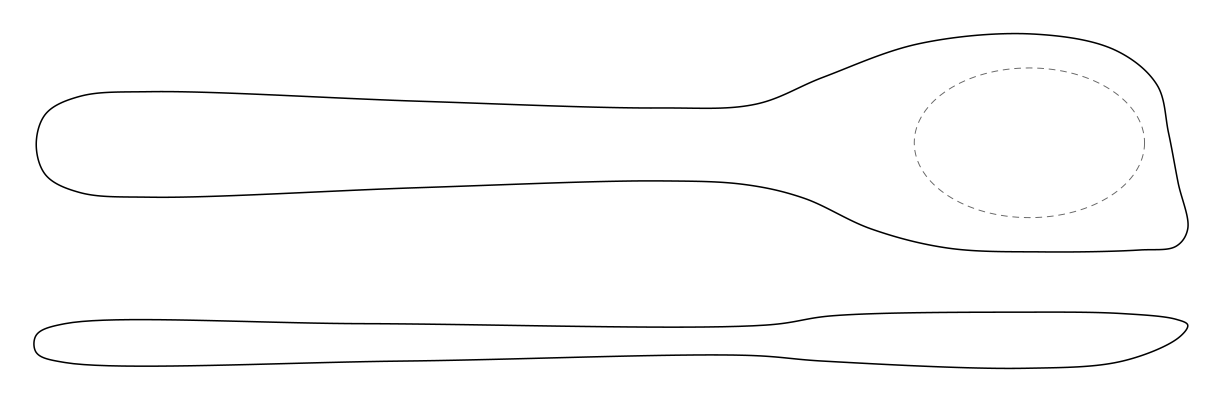
Corner Spoon
Shop Note: The straight side and corner reach into pot edges. Drawn right-handed: flip the template for a left-handed spoon.
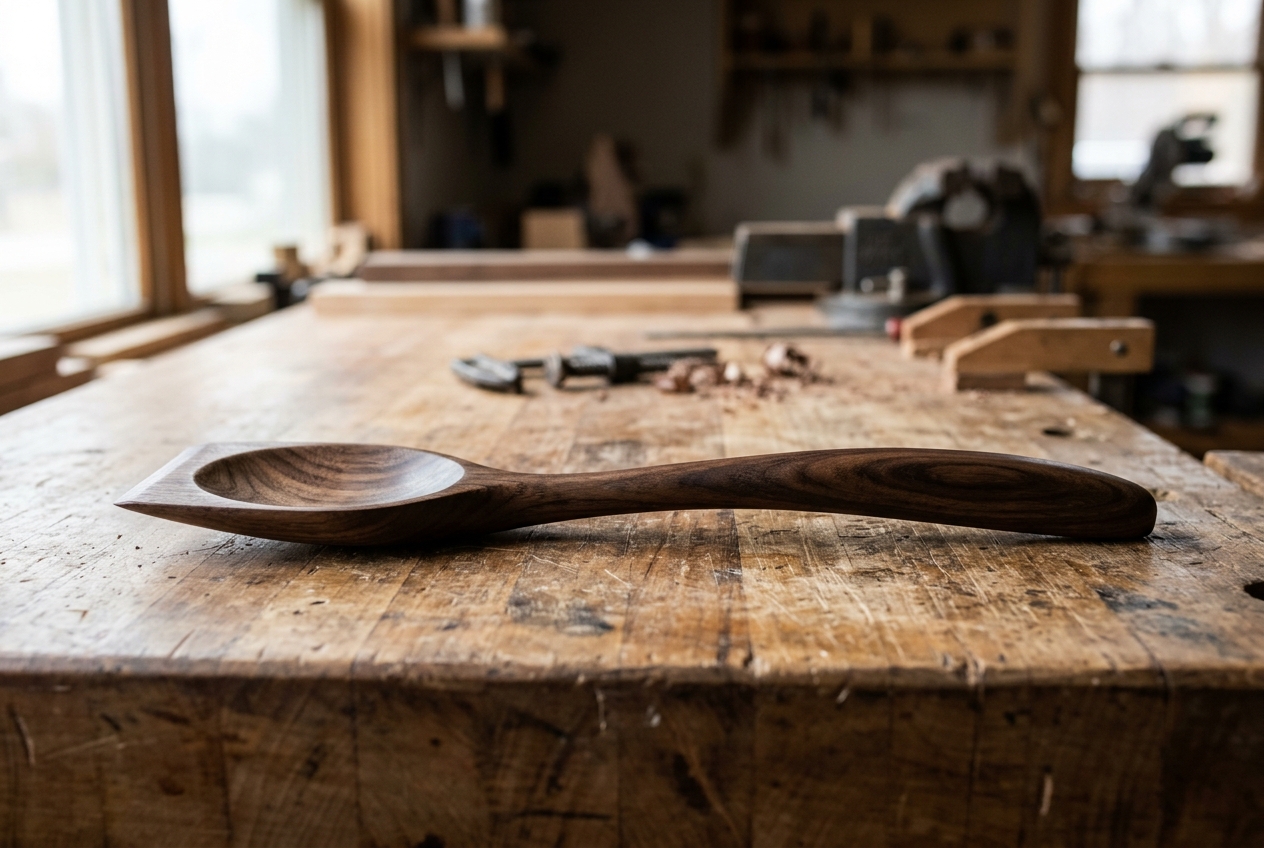
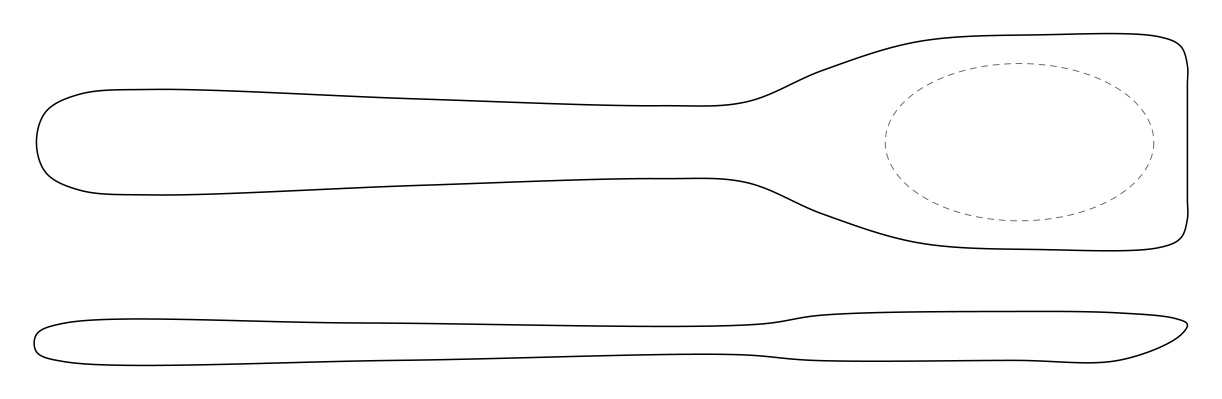
Roux Spoon
Shop Note: Flat front edge scrapes the pan bottom; keep the bowl shallow and the front edge about 1/8" thick.
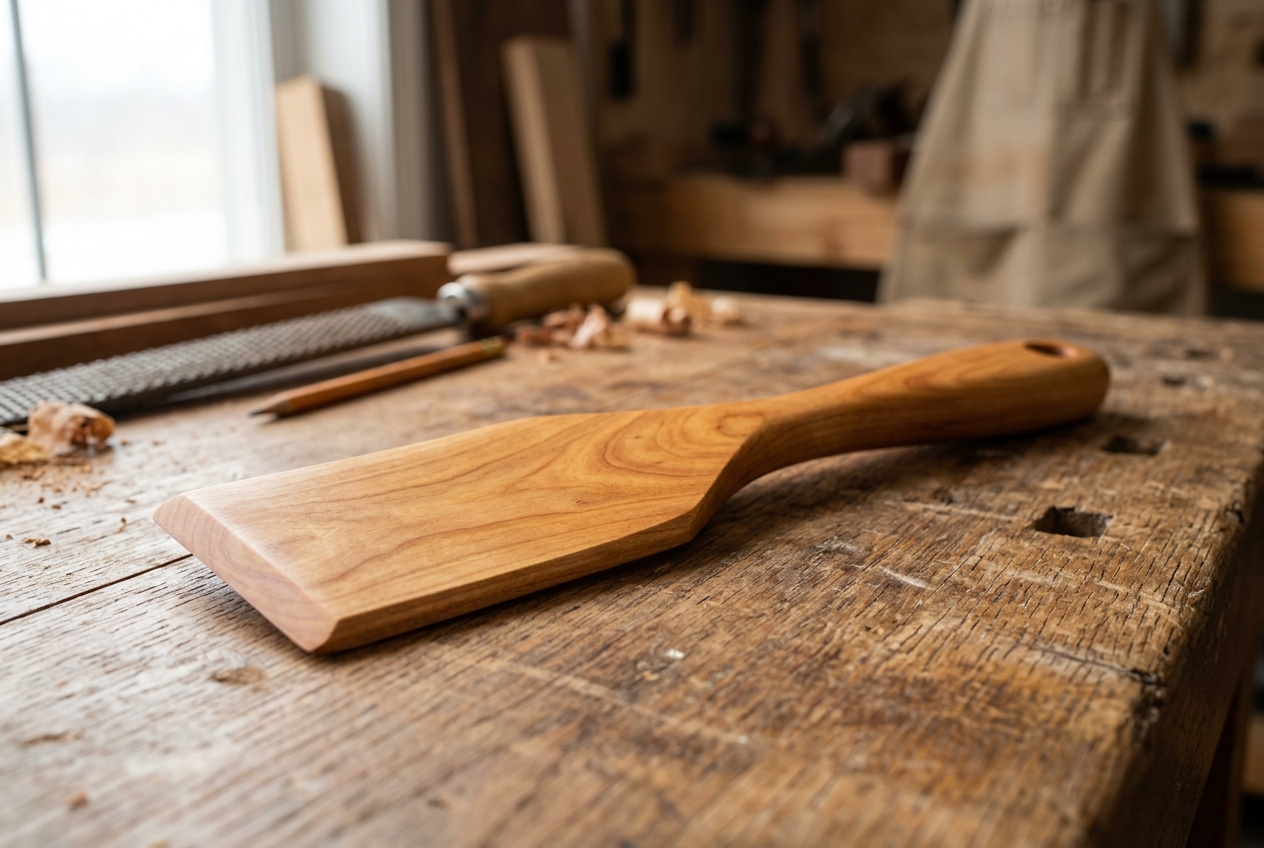
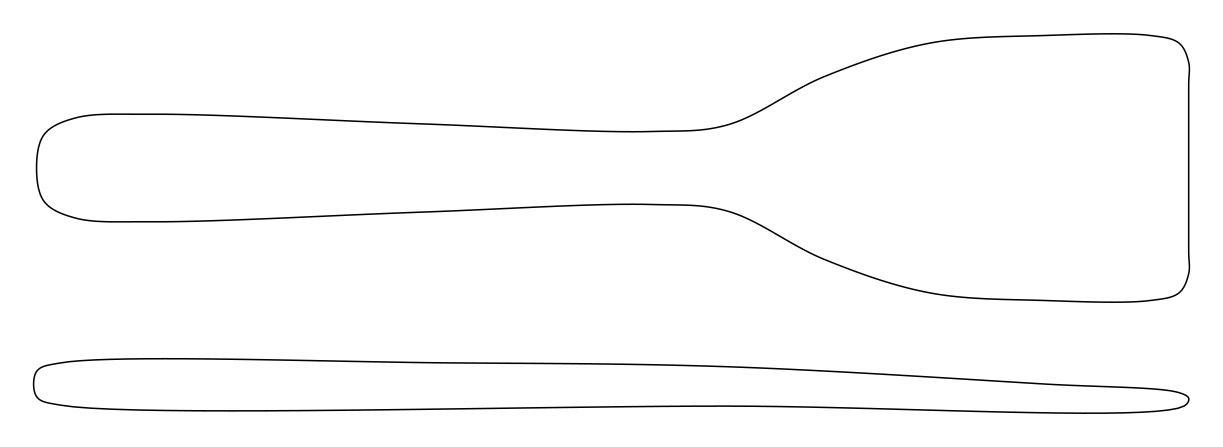
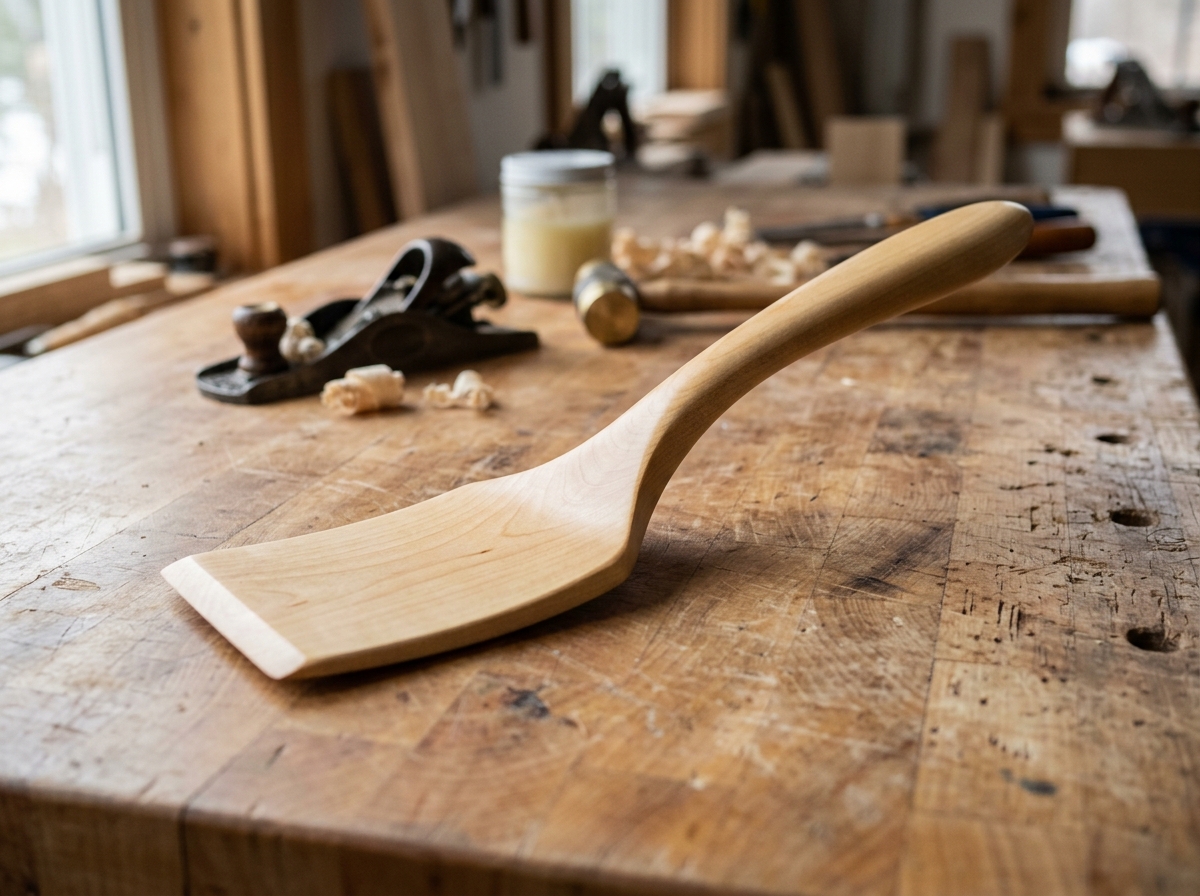
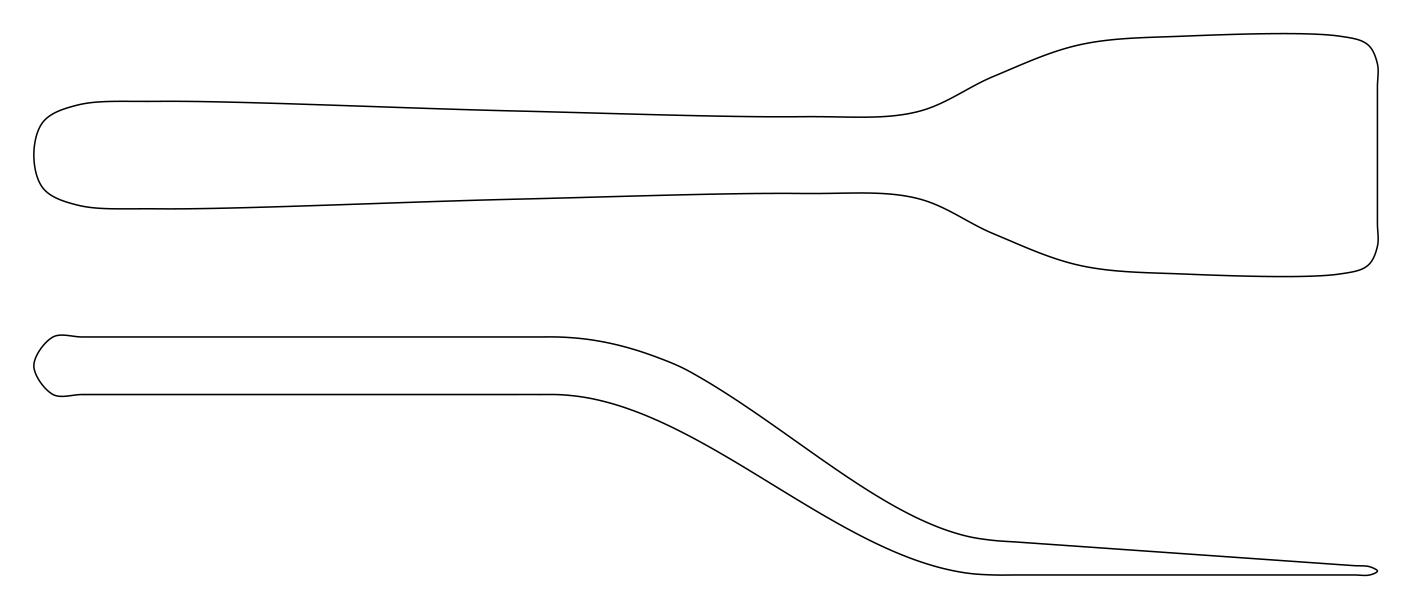
Flat Spatula
Shop Note: Taper the blade from full thickness at the neck to about 3/32" at the front edge.
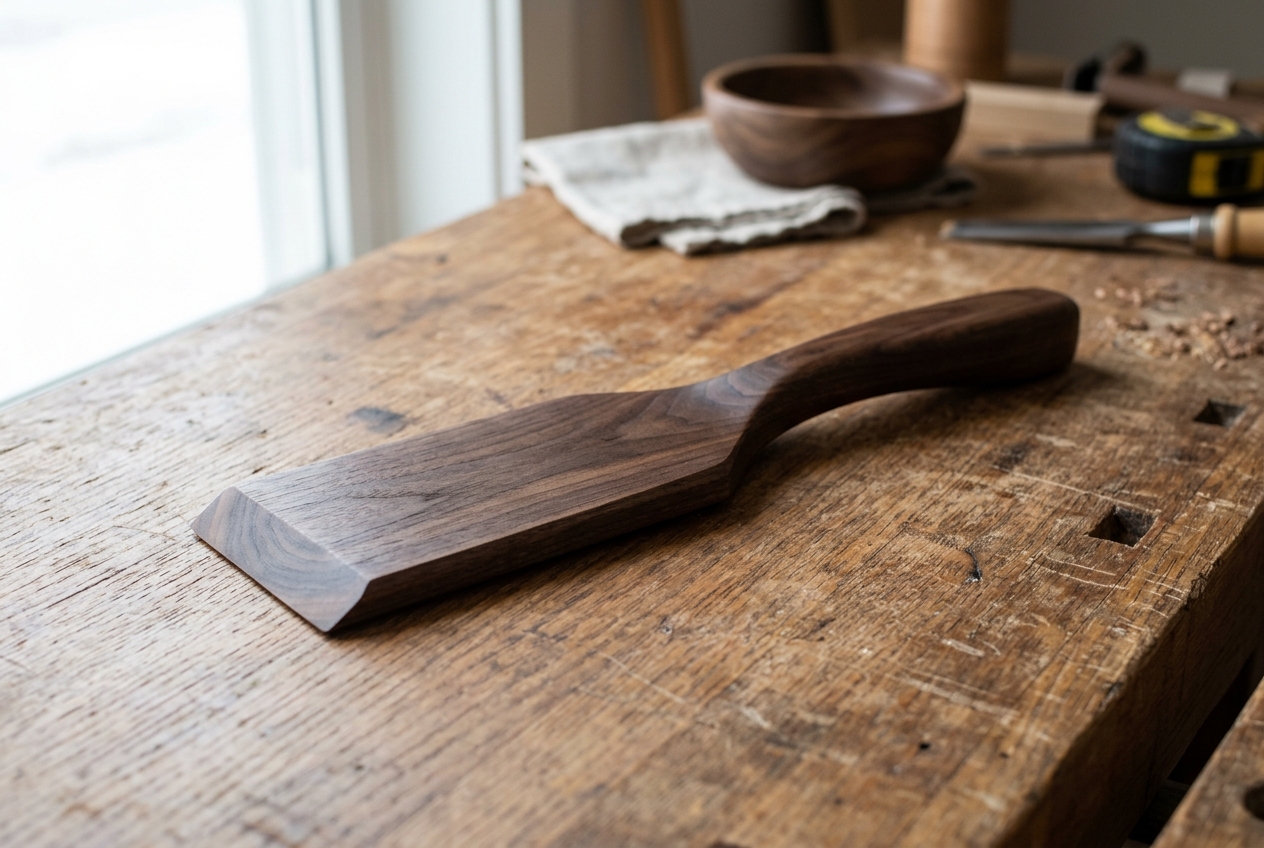
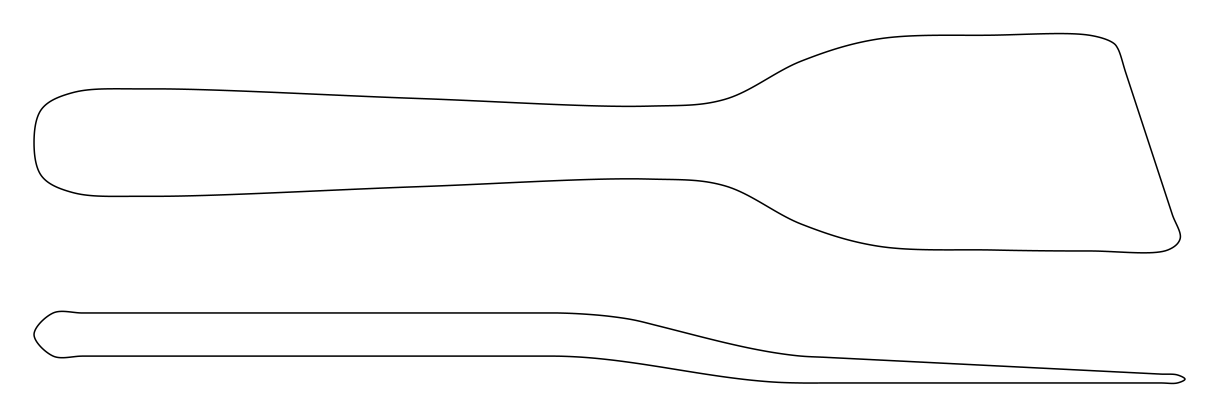
Scraper Spatula
Shop Note: The angled edge sits flat in the pan and the slight handle offset keeps knuckles clear. Flip the template for left-handed use.
Spurtle
Shop Note: Ease every edge to a soft round so it stirs without catching.
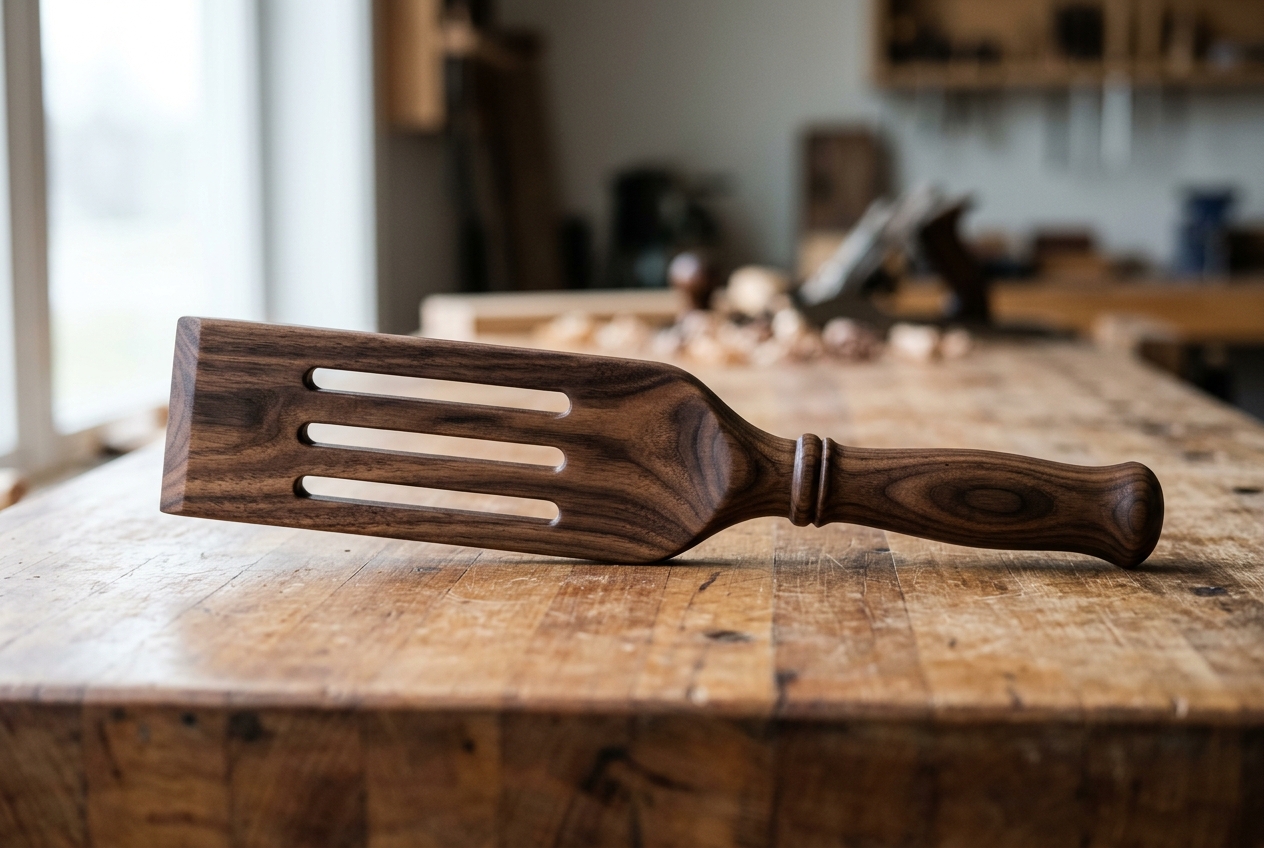
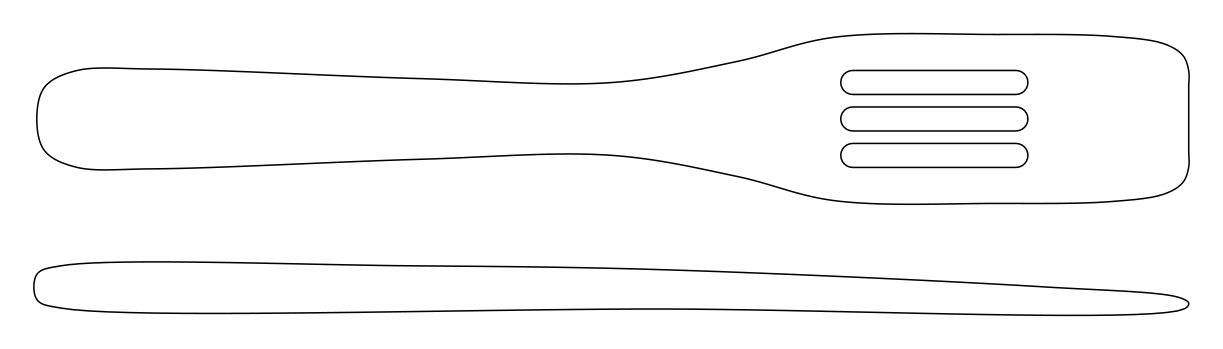
Slotted Spurtle
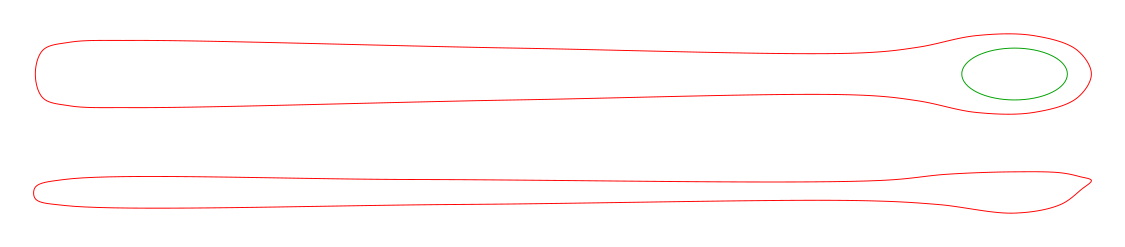
Shop Note: Drill a 1/4" hole at each slot end, then connect the holes with a coping or scroll saw before shaping. The flat front edge scrapes the pot bottom.
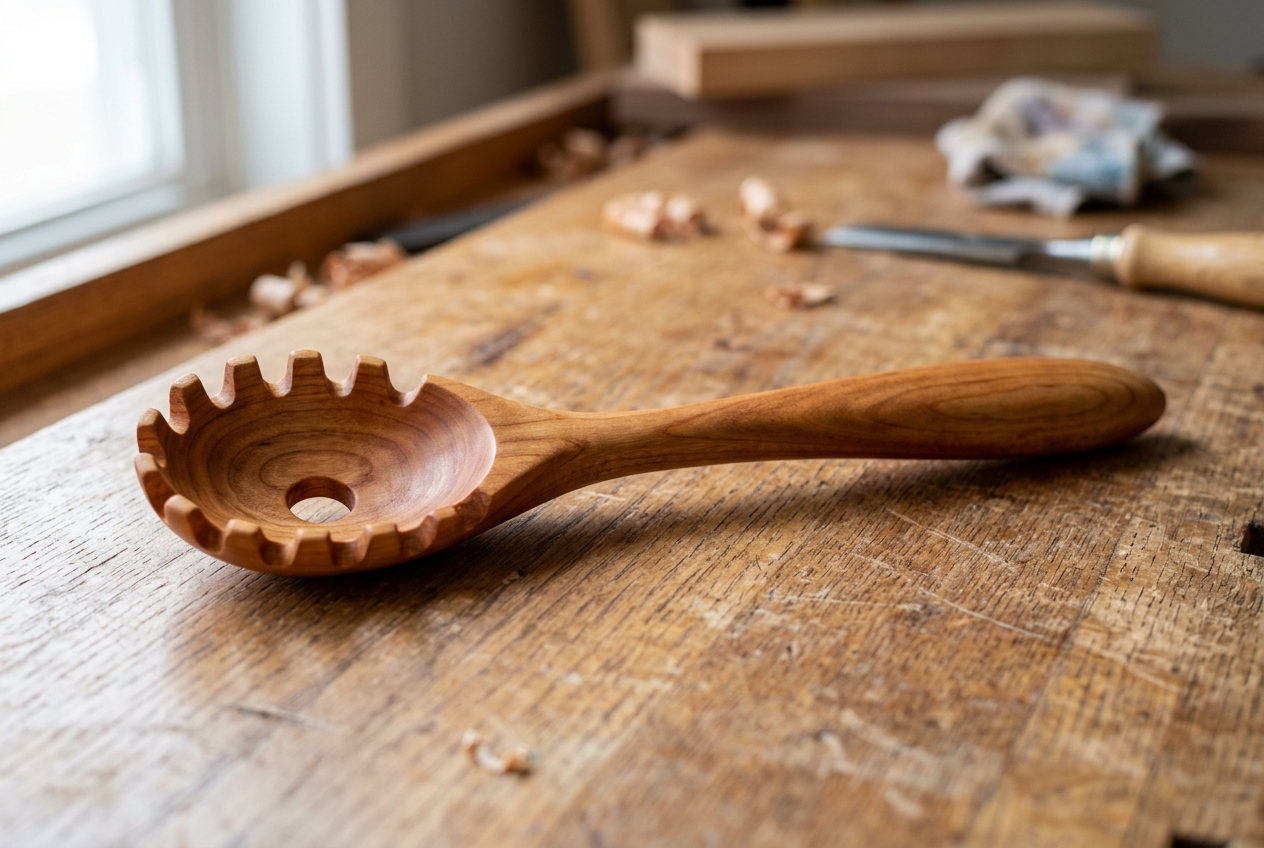
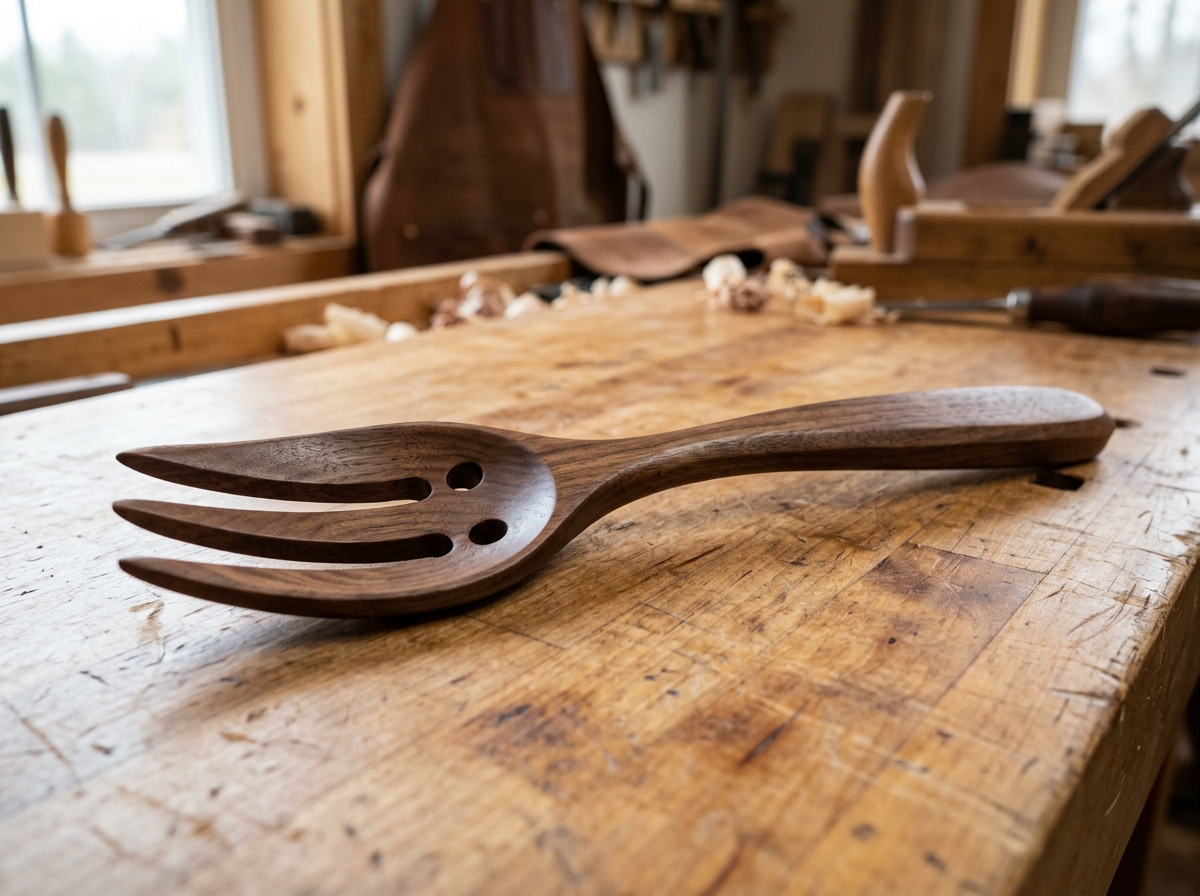
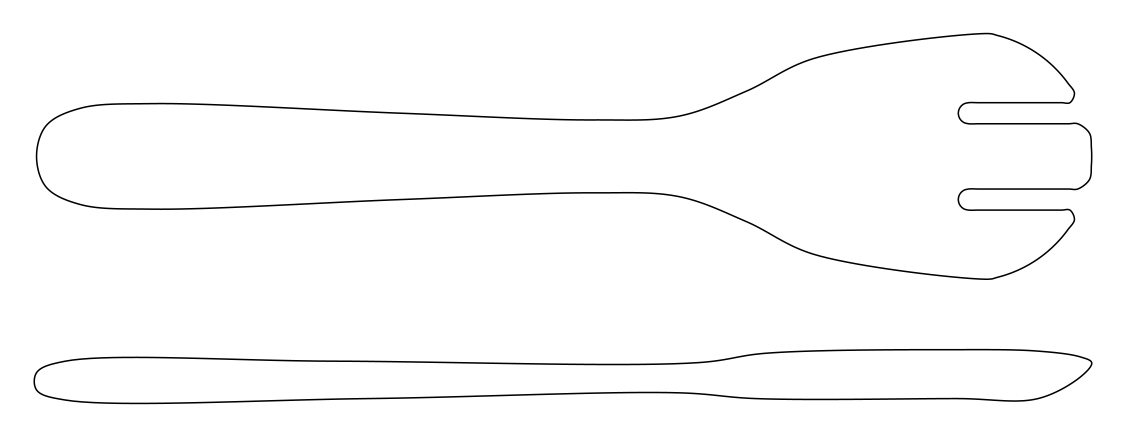
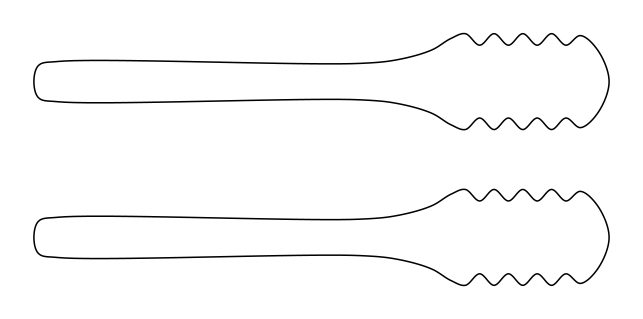
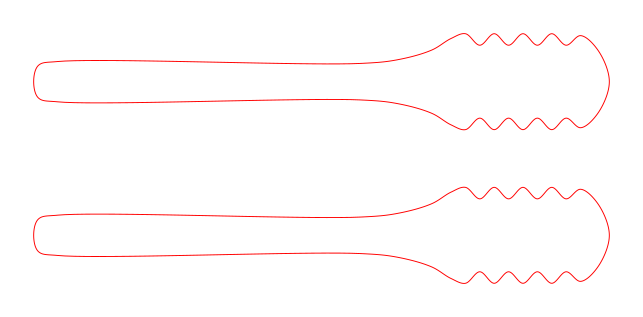
Pasta Server
Shop Note: Cut the gullets between the teeth with a coping saw, then round each tooth. The 3/4" hole drains water.
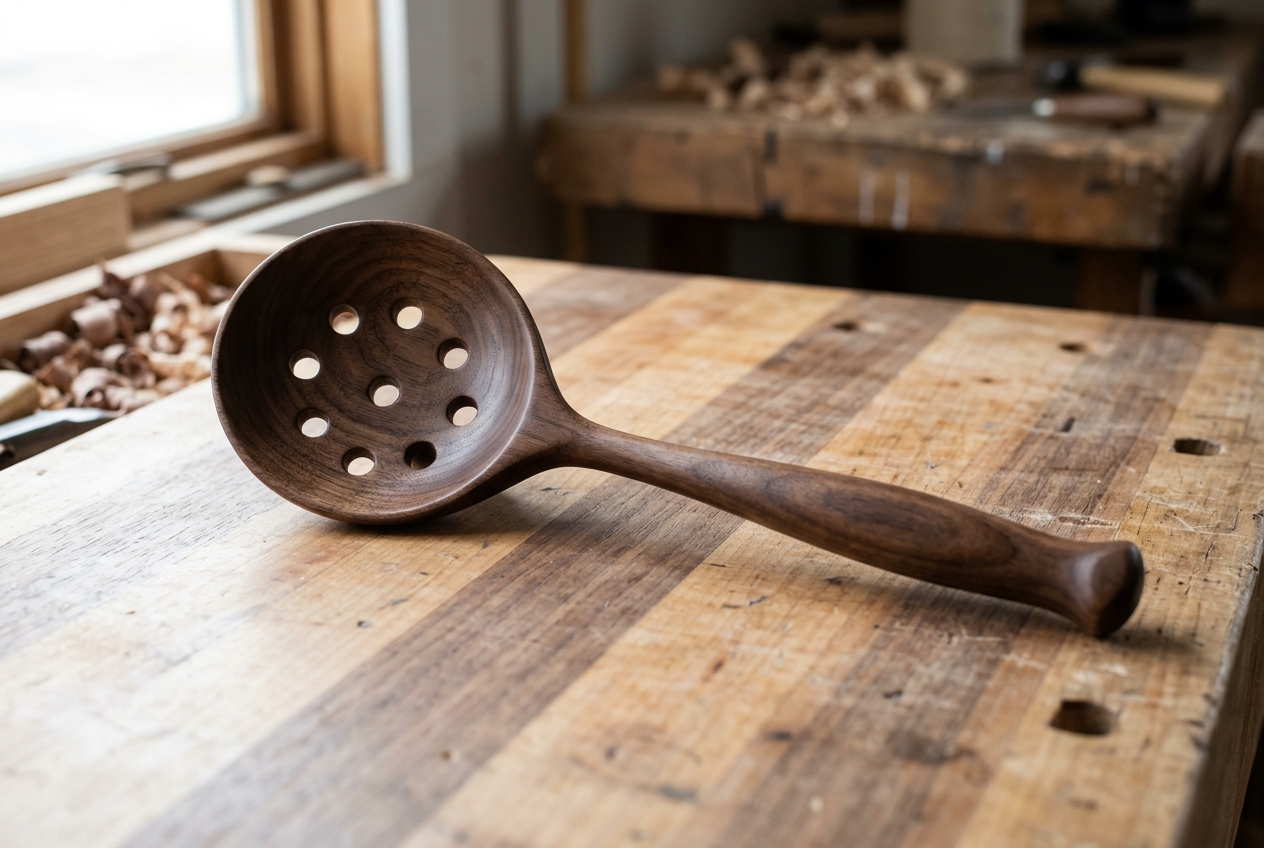
Skimmer Spoon
Shop Note: Carve the bowl first, then drill the 1/4" holes from the inside with scrap clamped underneath to prevent tear-out.
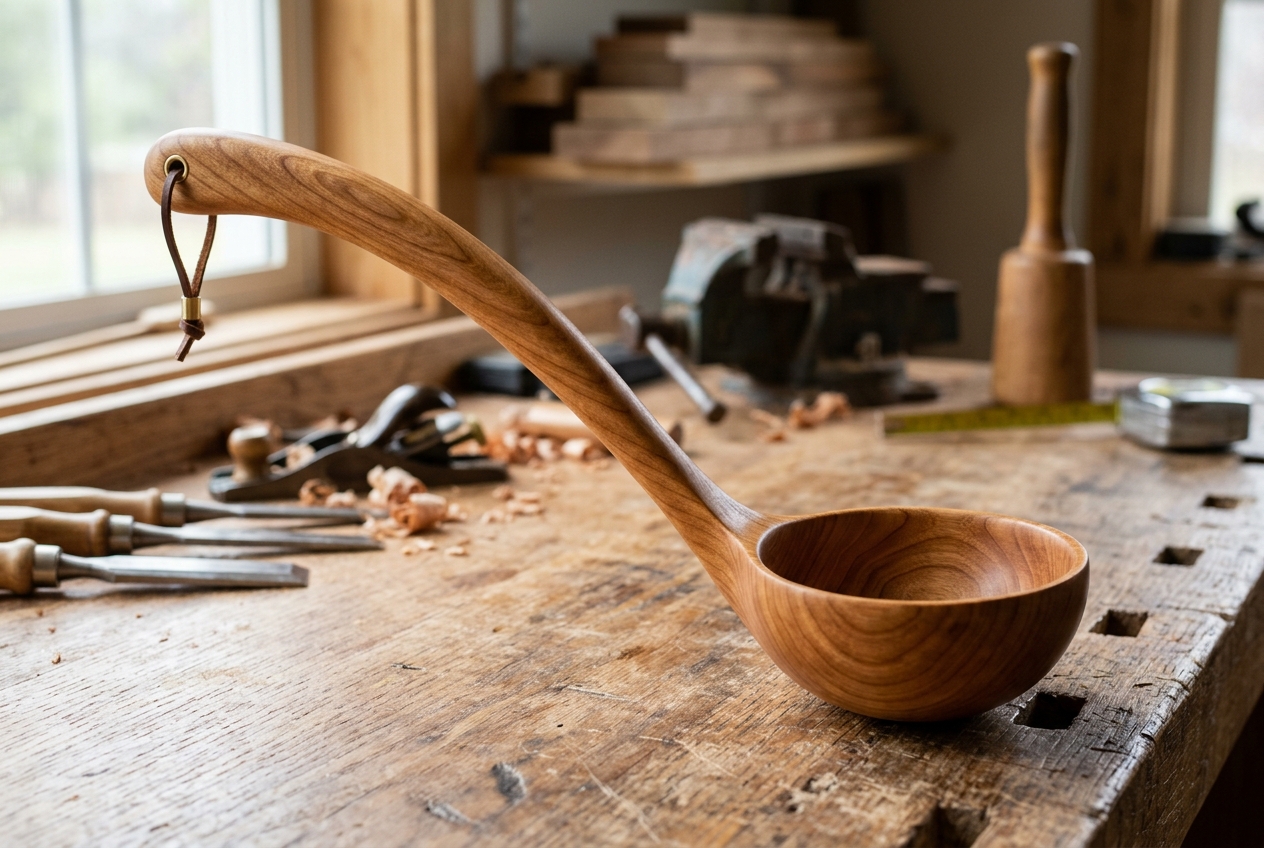
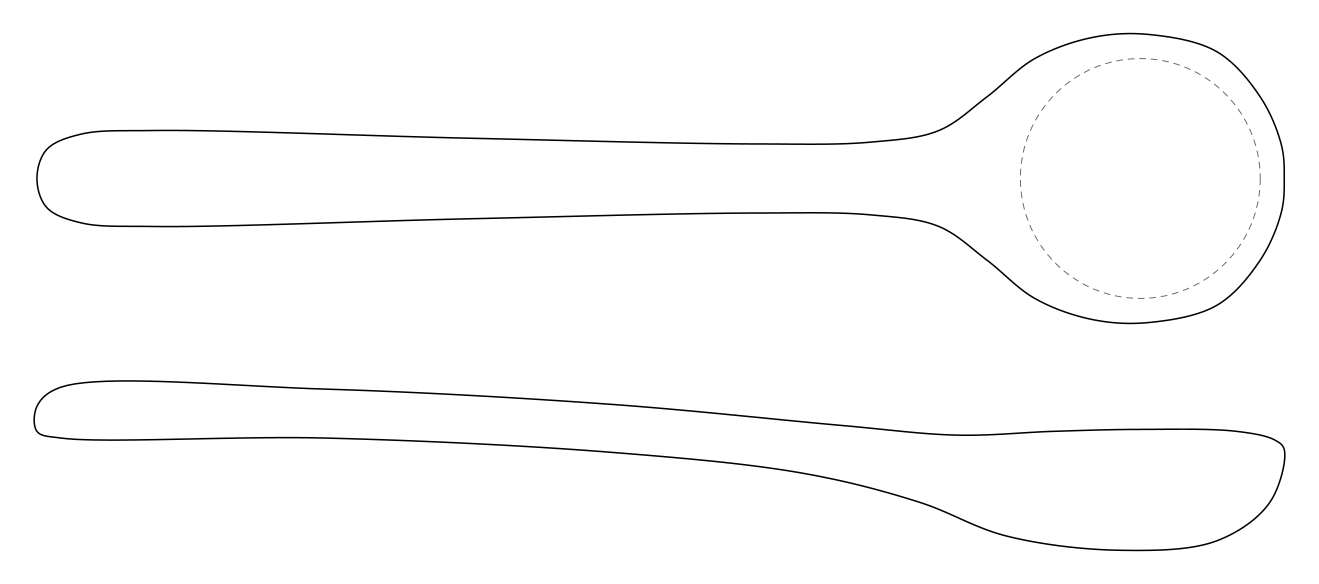
Ladle
Shop Note: Cut the top view first, then the cranked side profile. Hollow the bowl last with a hook knife or gouge, handle clamped in a vise.
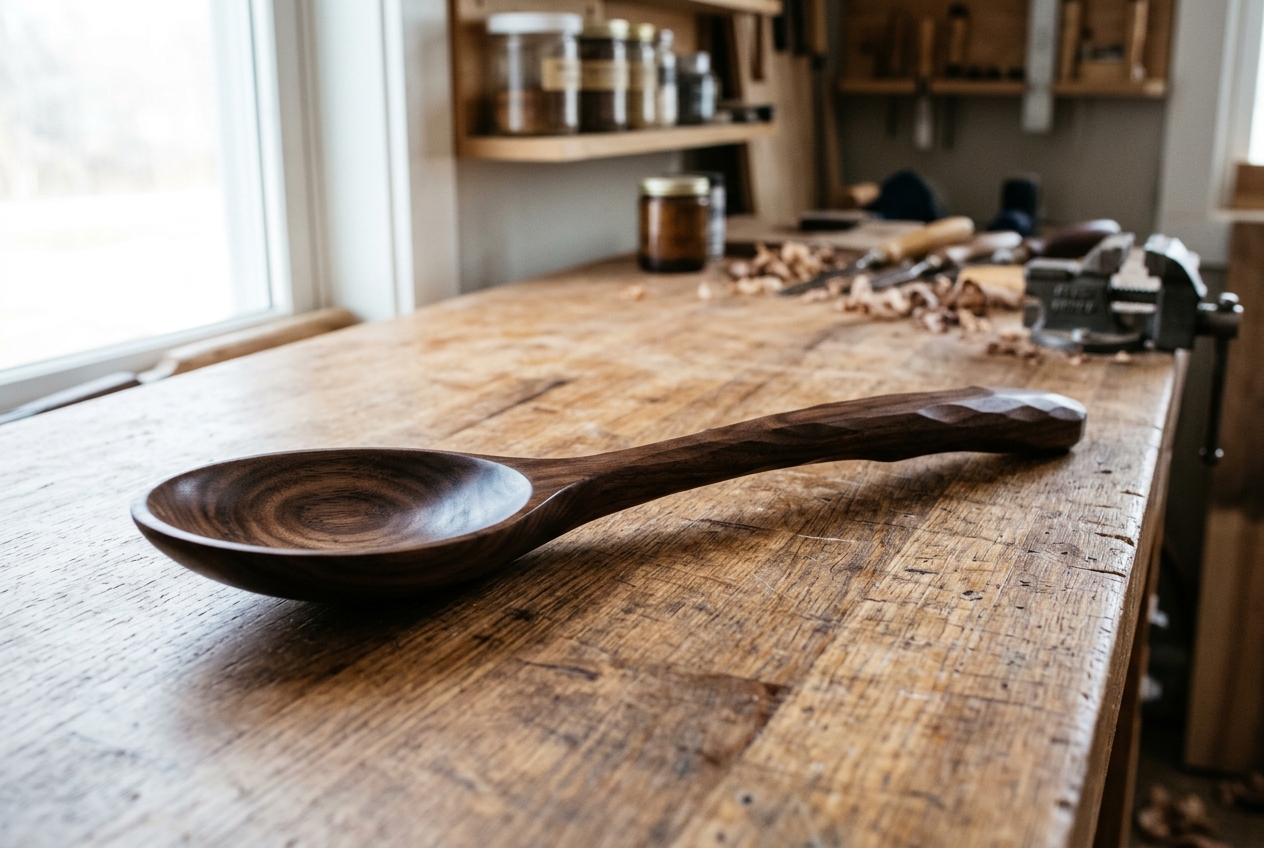
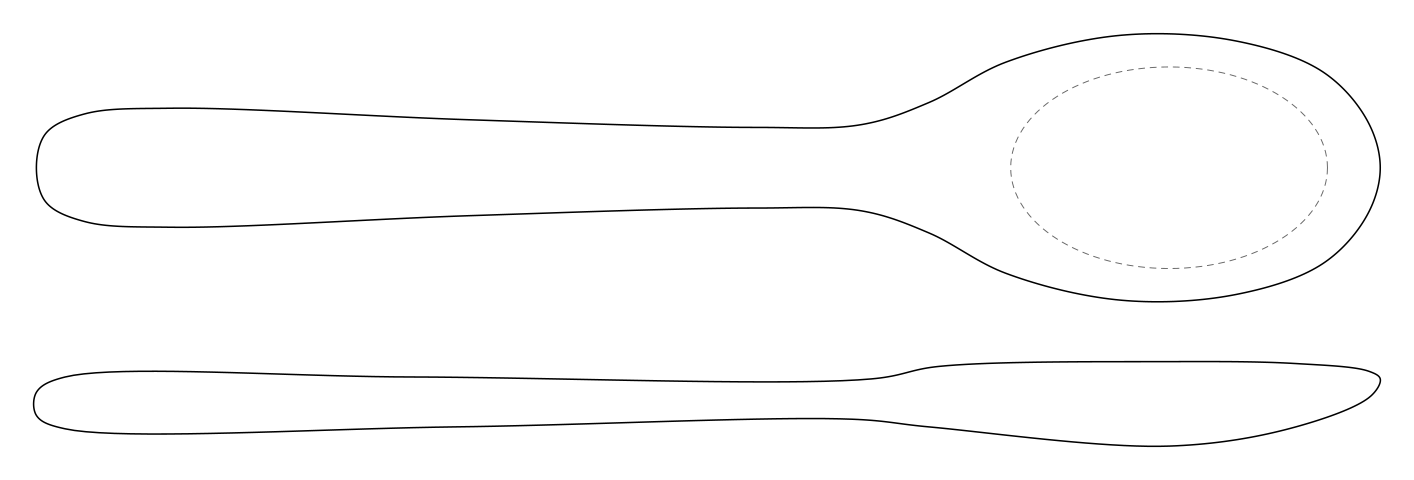
Shop Note: Same method as the cooking spoon at a bigger scale. The 1" stock leaves room for a deeper bowl.
Spoon Rest
Shop Note: Hog out the dish with a gouge, or drill Forstner holes to depth first. The groove cradles the handle. Add cork pads underneath.
Shop Note: Wide beveled blade for soft cheeses, charcuterie boards, and rustic bread service. Taper the lower edge to 1/16" and leave the spine 3/16" thick.
Shop Note: Cut the side profile first, then the top view. Pick straight-grained hard maple or beech: the long swoop keeps short grain in the neck to a minimum.
Salad Spoon
Shop Note: Pairs with the salad fork: make them from the same board so they match.
Salad Fork
Shop Note: Drill a 7/32" hole at the bottom of each tine slot, then saw in from the tip. Dish the head lightly to match the spoon.
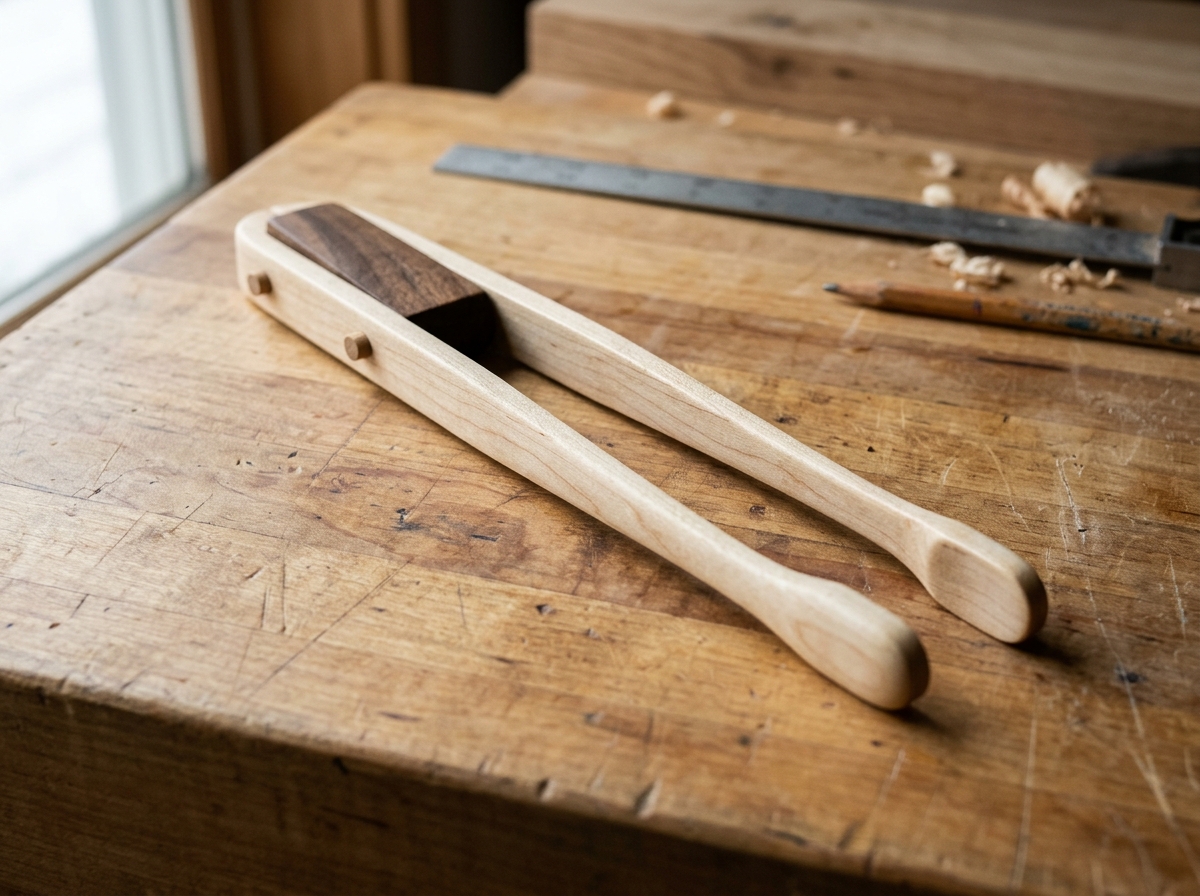
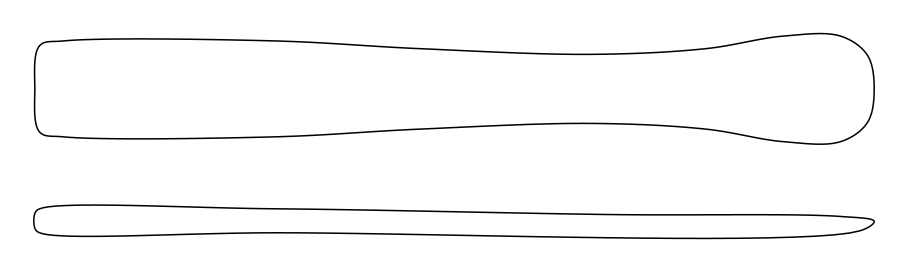
Shop Note: Cut 2 arms. Glue the flat ends to a 2" x 1" spacer that tapers from 1/2" to 7/8" thick so the tips spring apart. Straight-grained maple or ash only.
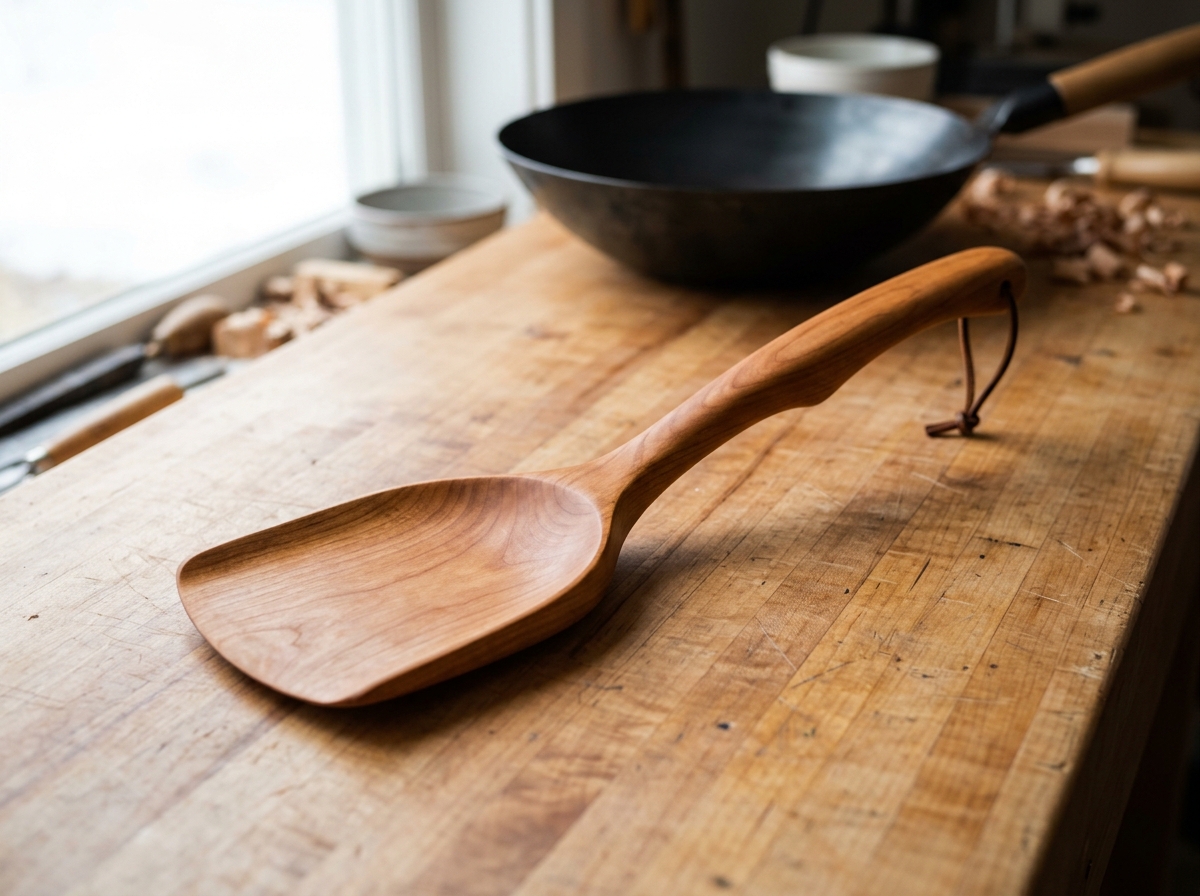
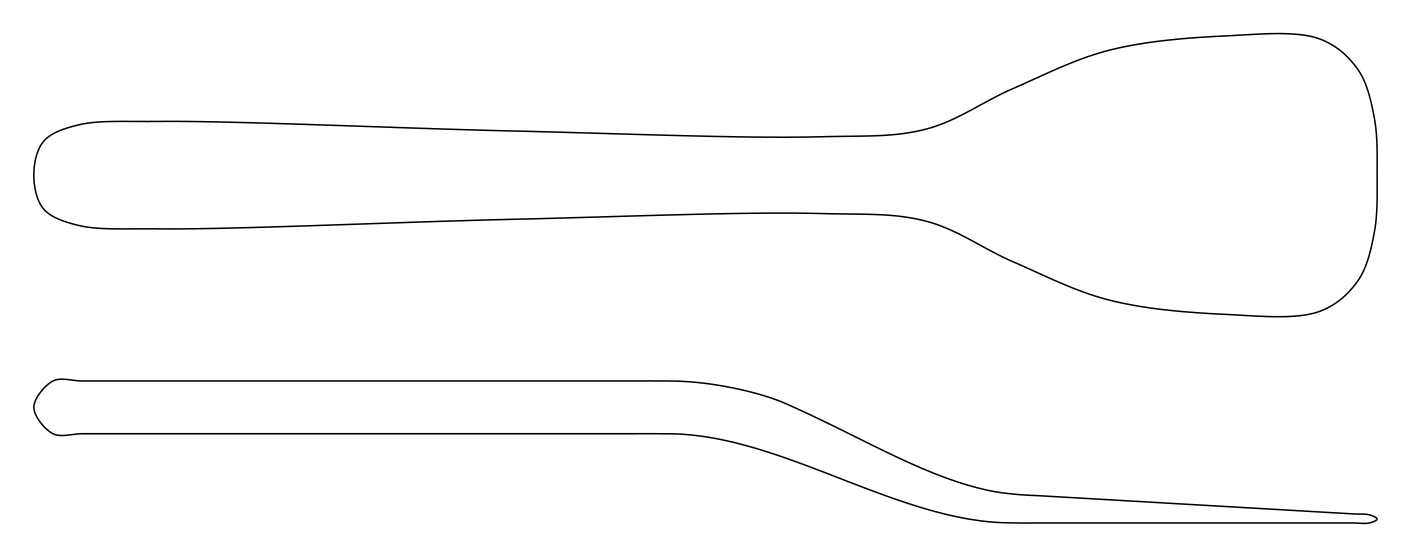
Wok Spatula
Shop Note: The convex front edge follows the curve of the wok and the raised handle clears the rim. Bevel the front edge on the underside.
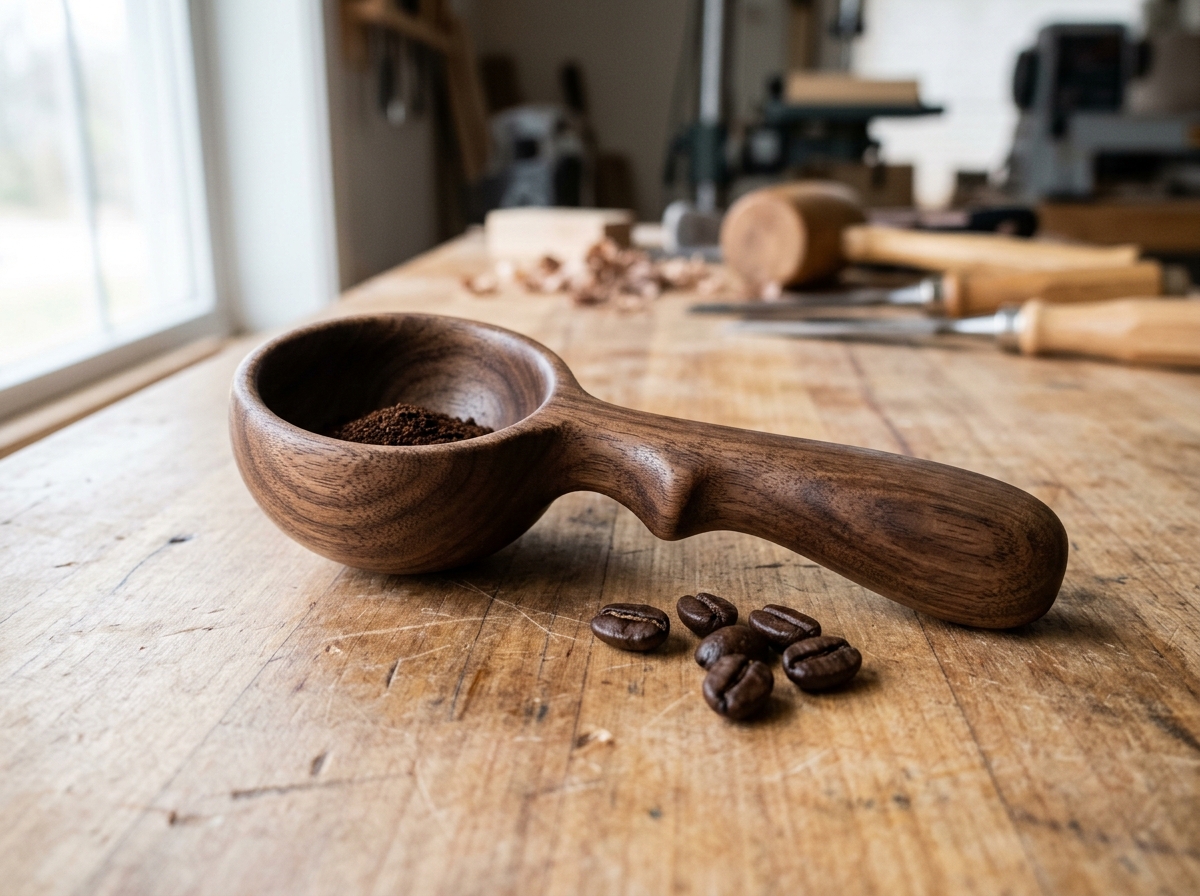
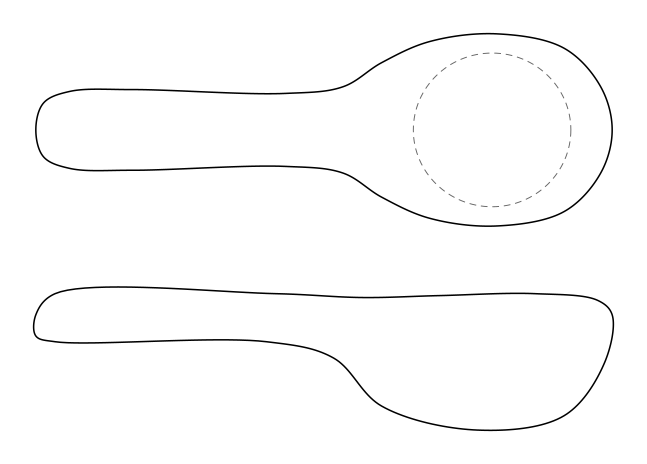
Coffee Scoop
Shop Note: Carved to the dashed line it holds roughly 1-1/2 to 2 tablespoons. Check with water and carve deeper if you want an exact 2-tbsp scoop.
Butter Spreader
Shop Note: Thin the blade to a soft edge on both sides; it should spread, not cut. A good offcut project.
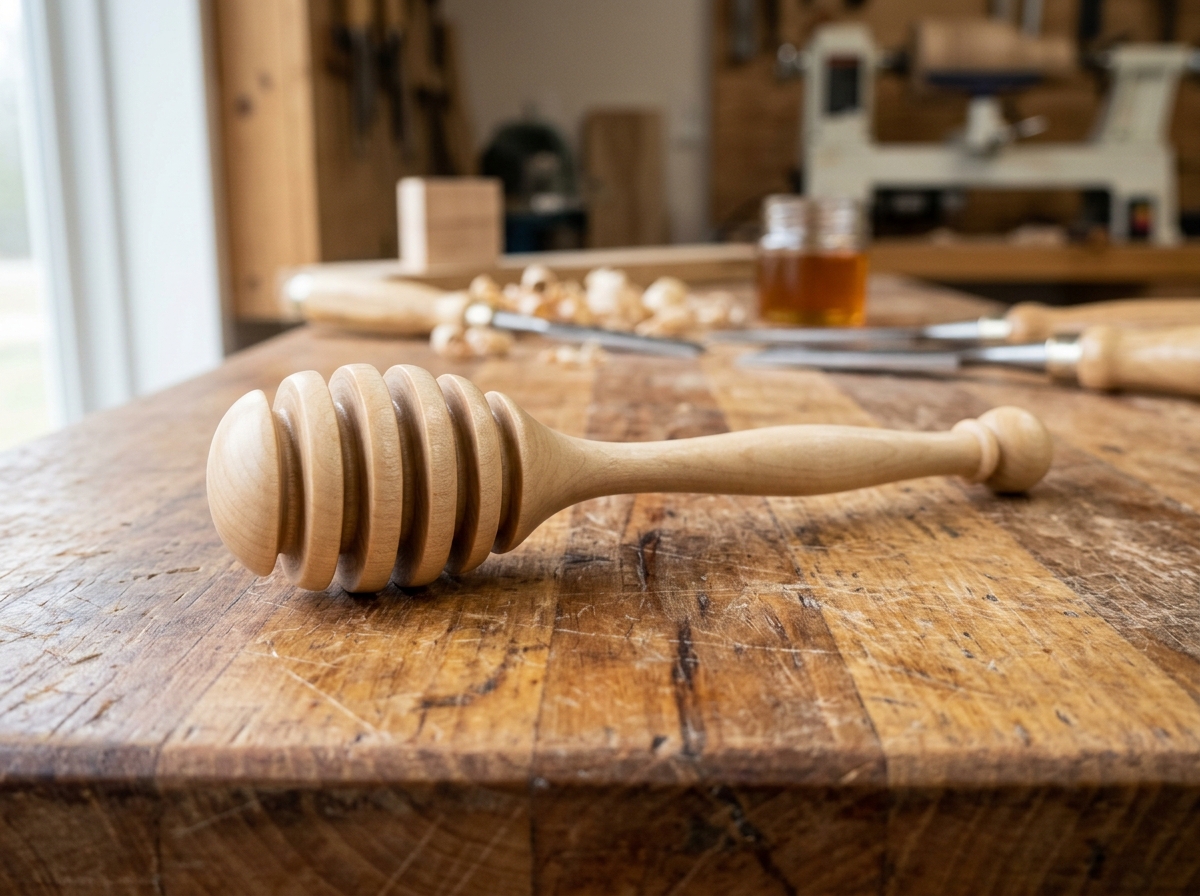
Honey Dipper
Shop Note: Round in both views. Saw the outline, then carve to an octagon and round over, or use the template as a story stick on the lathe.
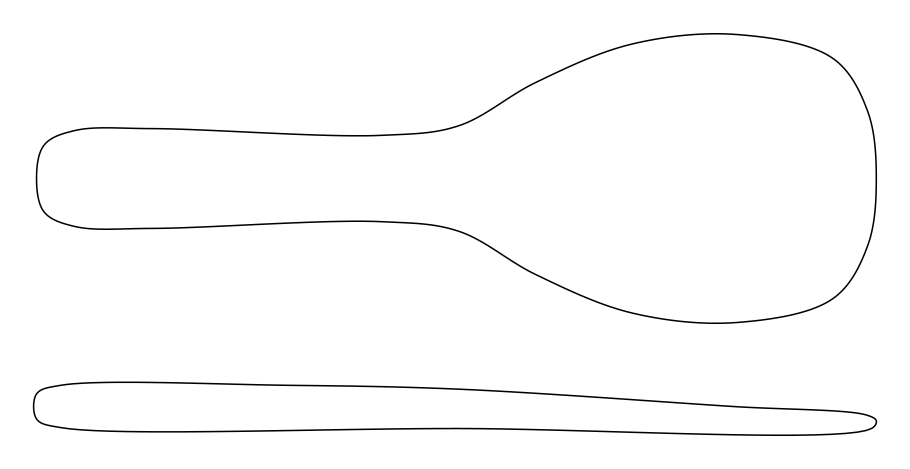
Rice Paddle
Shop Note: Keep the paddle face flat or very slightly dished; wet it before use so rice doesn't stick.
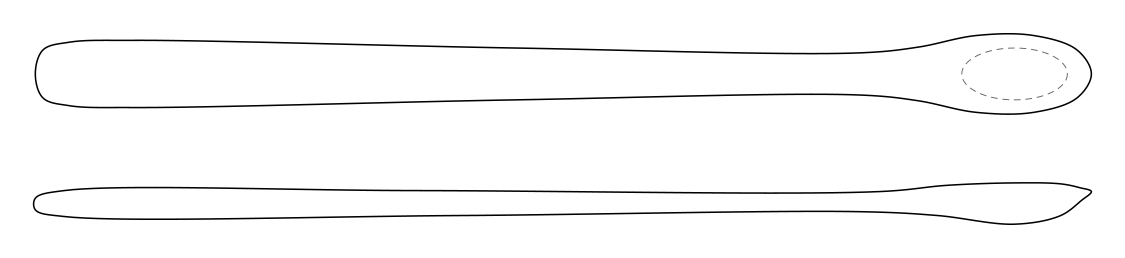
Jar Spoon
Shop Note: Long and narrow to reach the bottom of tall jars of olives, pickles or peanut butter.
Individual CNC & Laser Woodworking Project Plans
Download any single project below—each card includes its own illustrated Plan PDF, production-ready Cut DXF, Laser SVG (where applicable), and complete Project ZIP archive.
Boxes & Organizers — Standalone CNC & Laser Box, Valet & Tray Builds
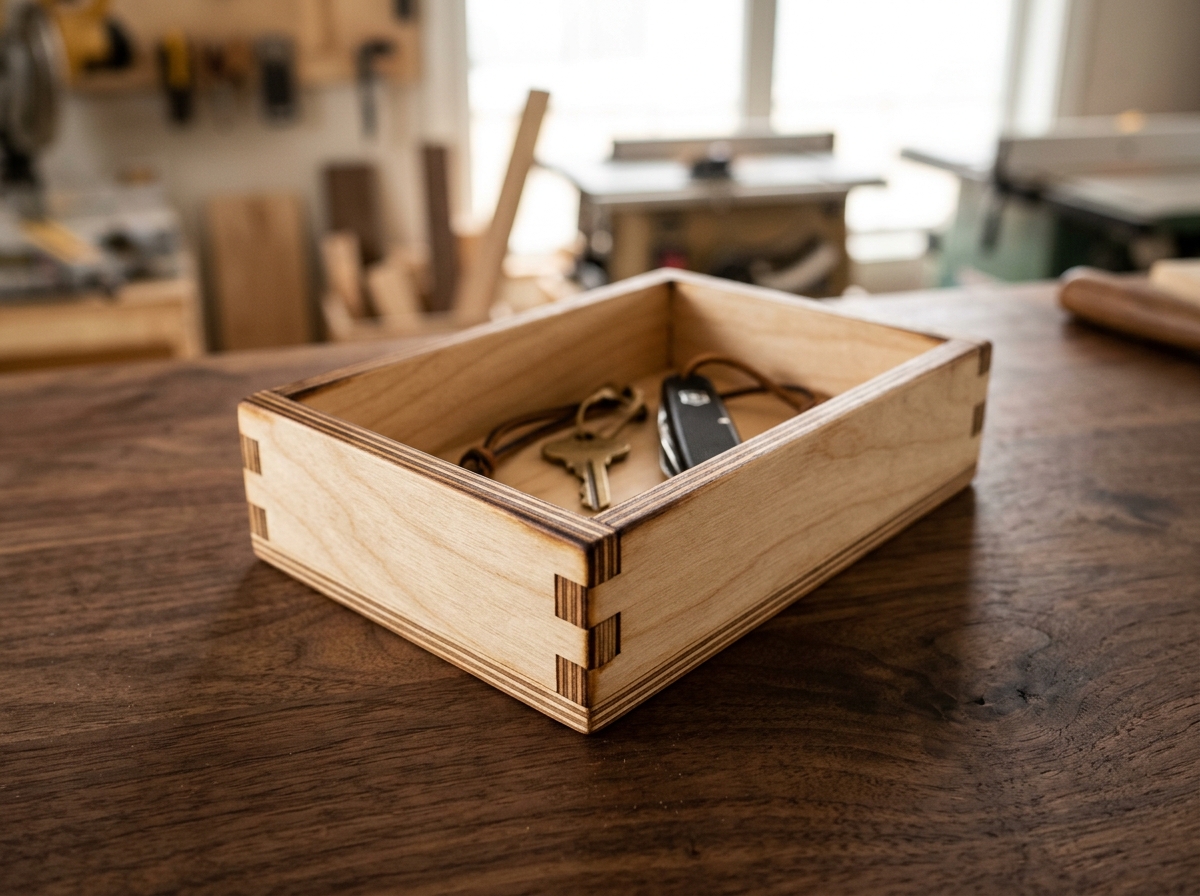
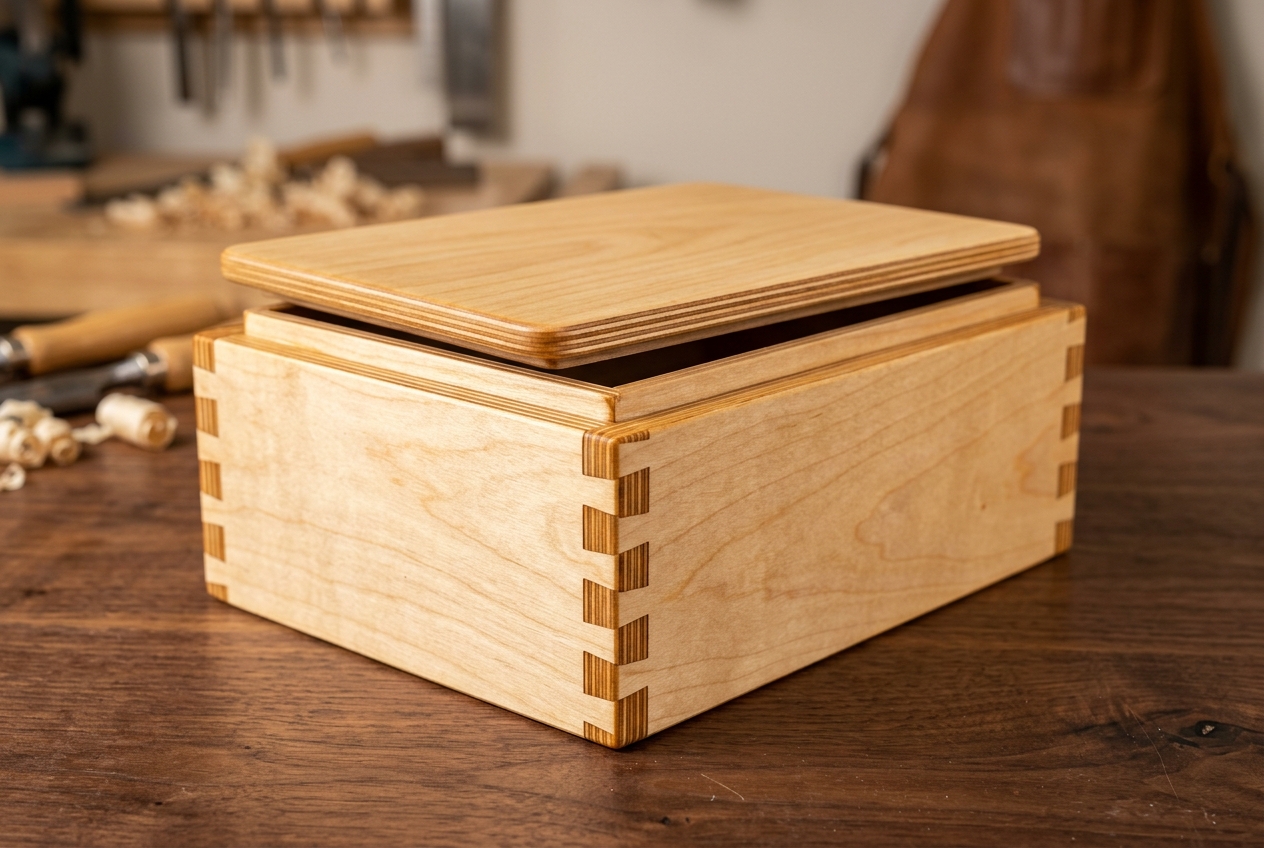
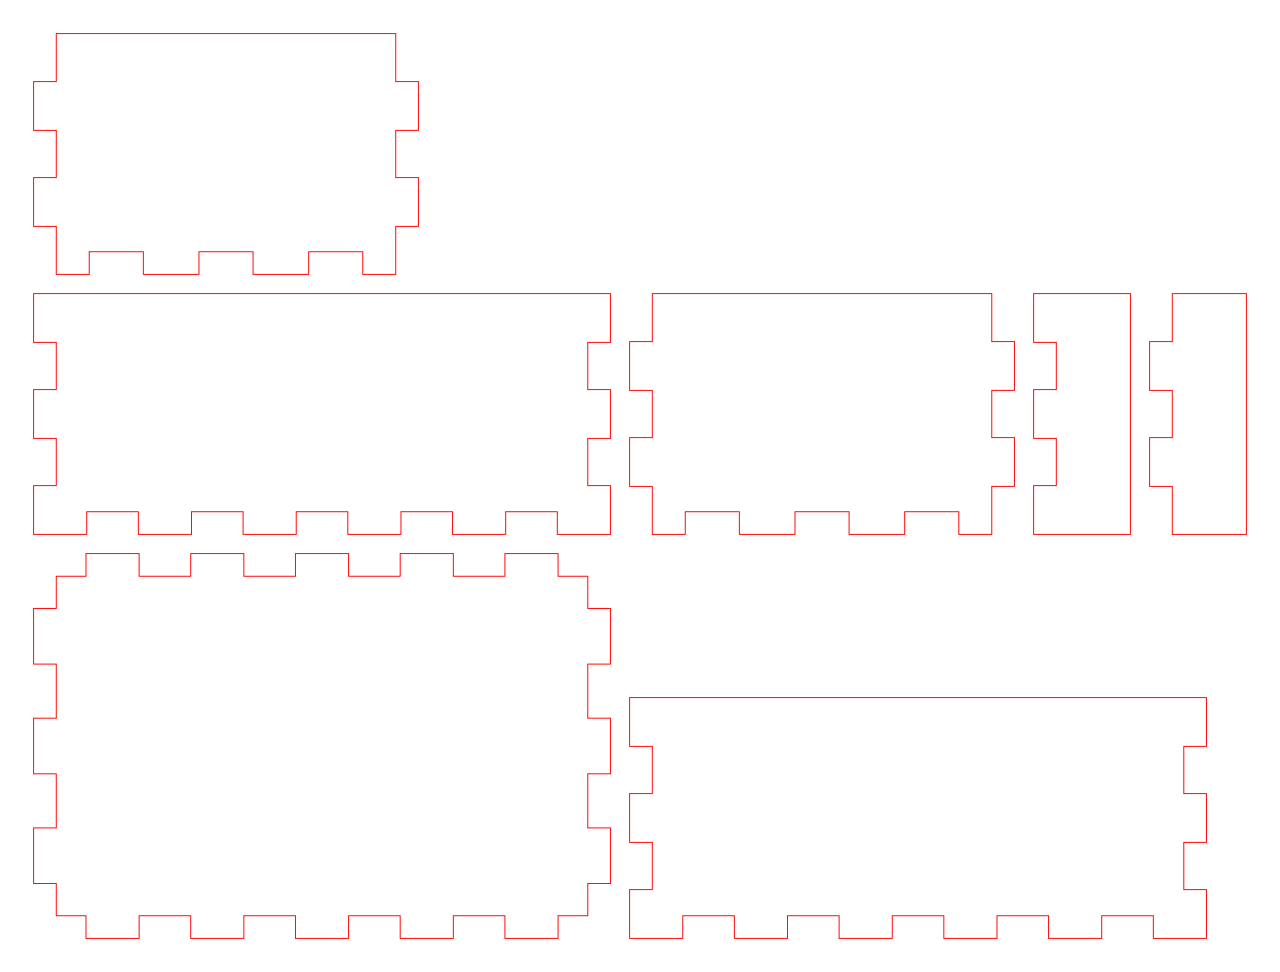
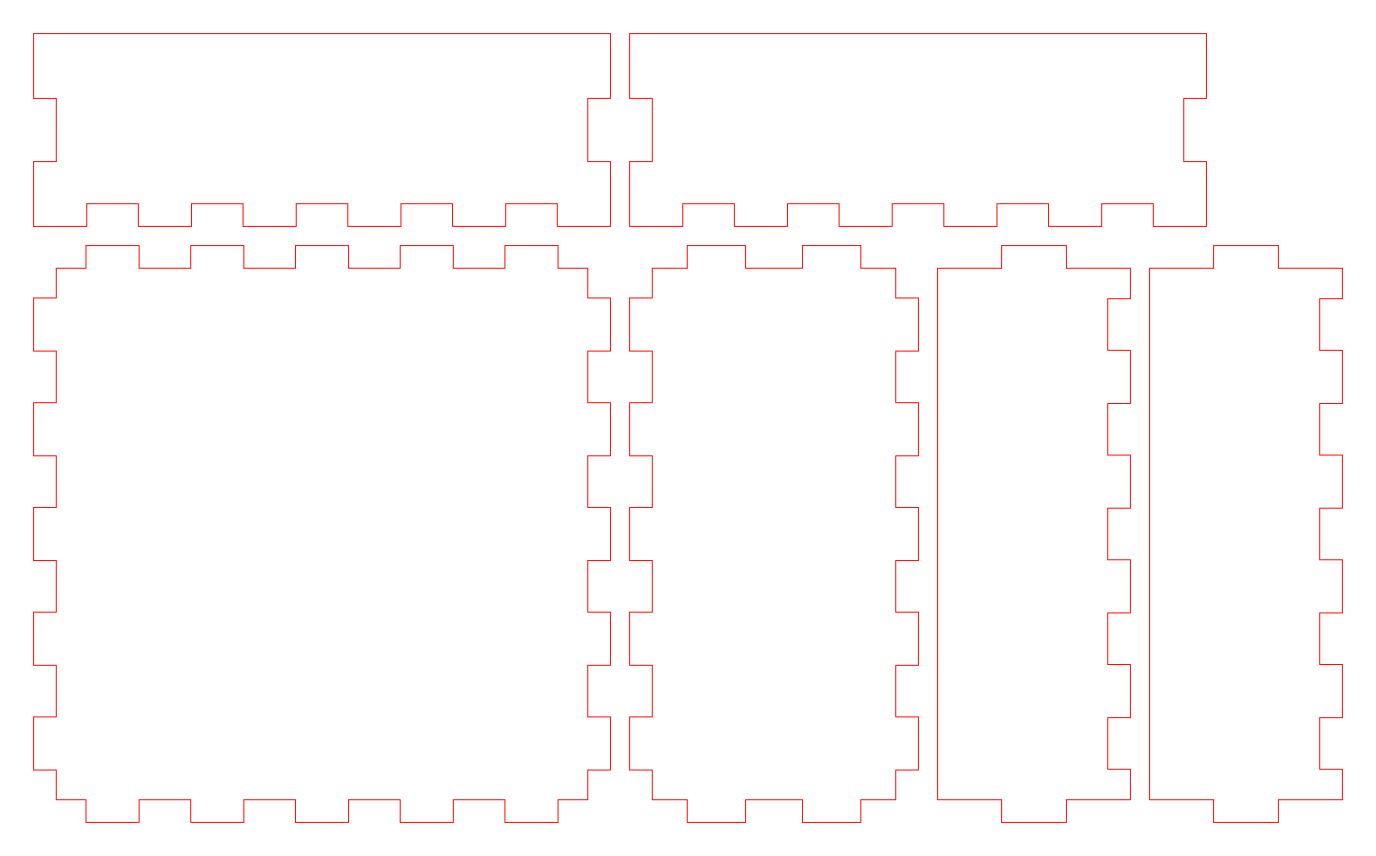
Build Spec: Open box 6" x 4" x 2-1/2" outside. Desk tray, valet box or a first finger-joint project.
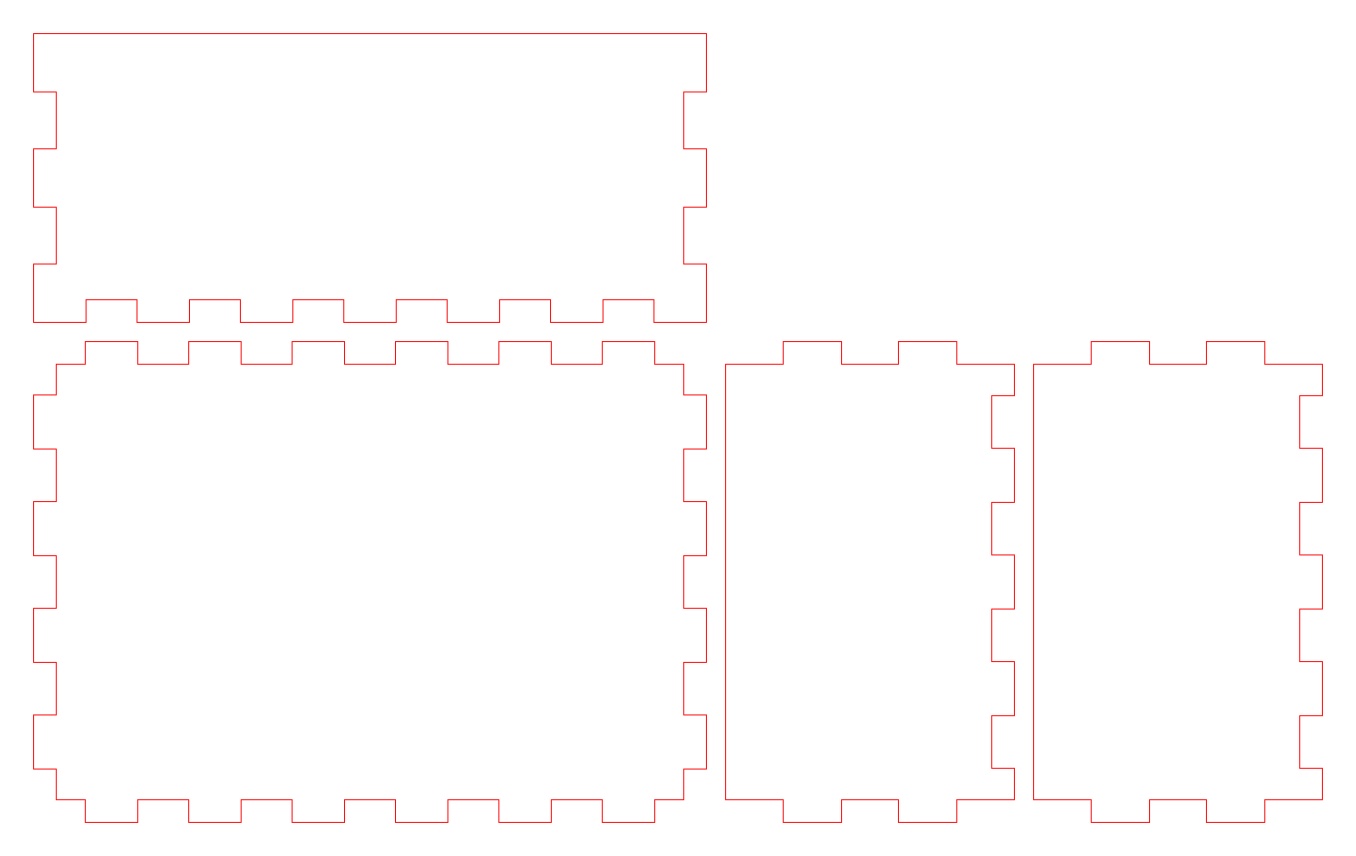
Build Spec: 7" x 5" x 3" finger-joint box with a lift-off lid that self-locates.
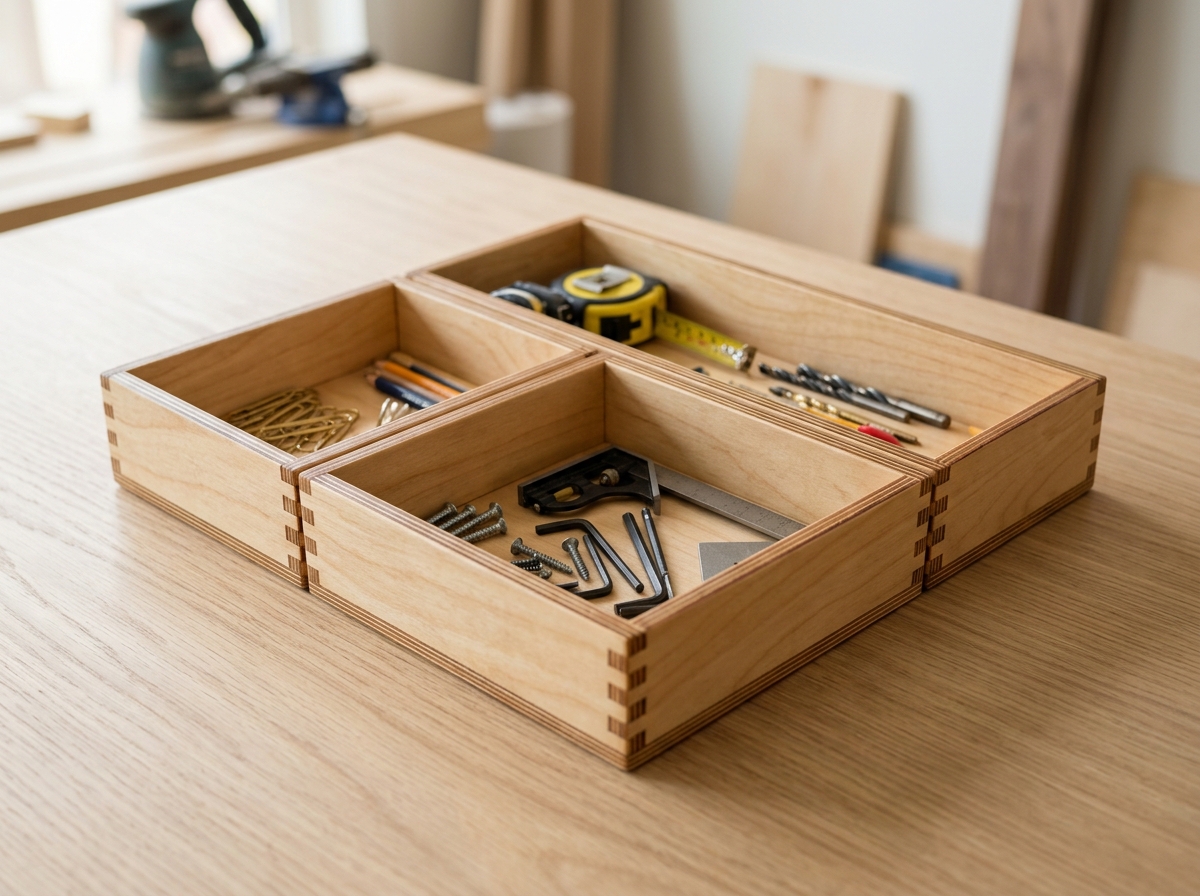
Build Spec: Three open trays on a 3" grid (3x3, 3x6, 6x6, all 2" tall) that tile together in a drawer.
Living-Hinge Box
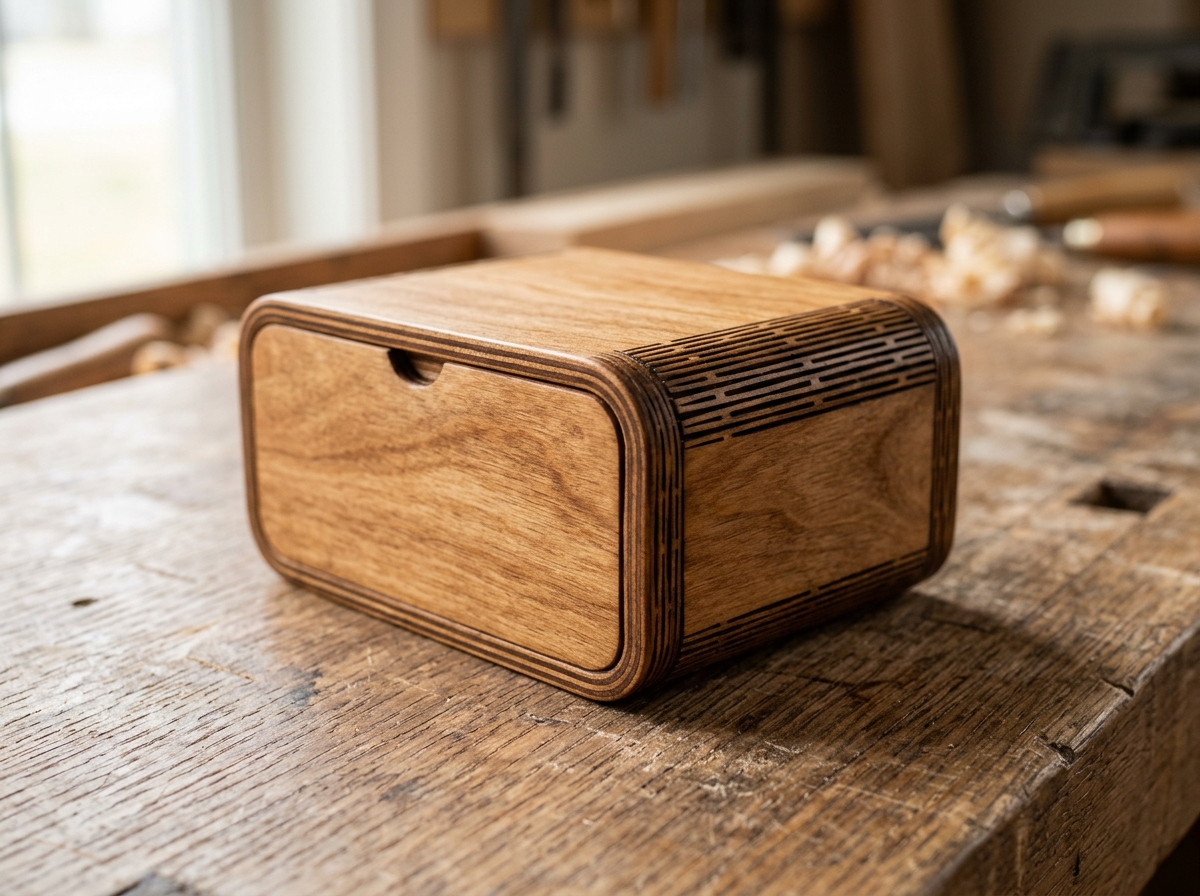
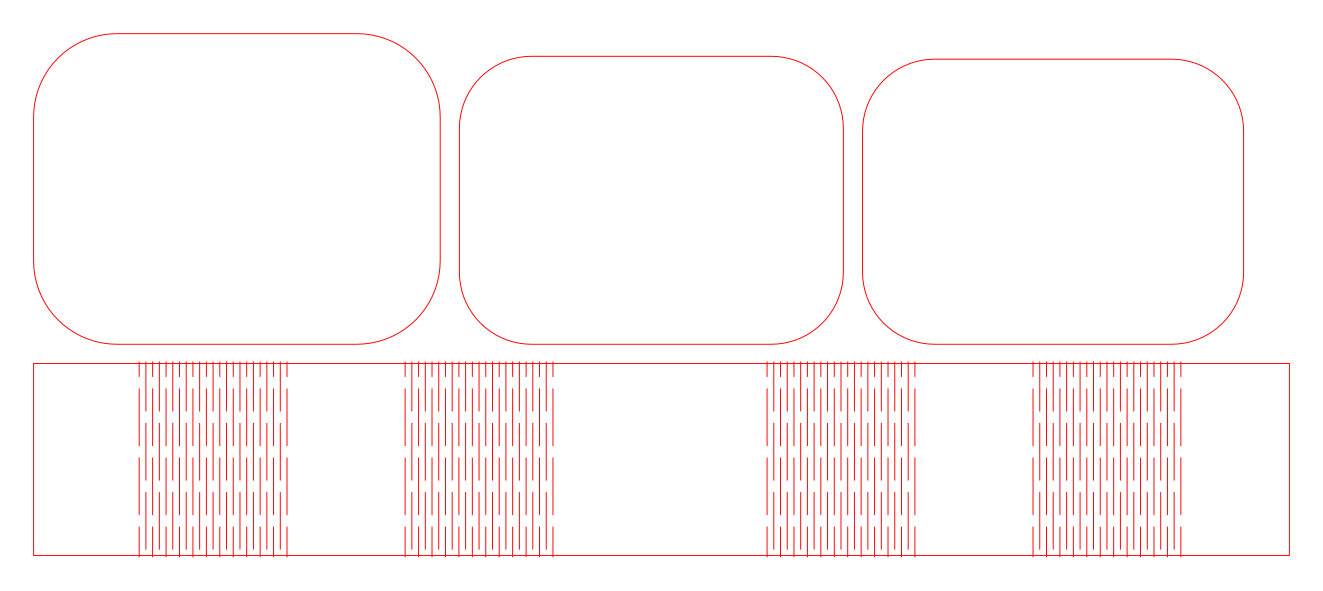
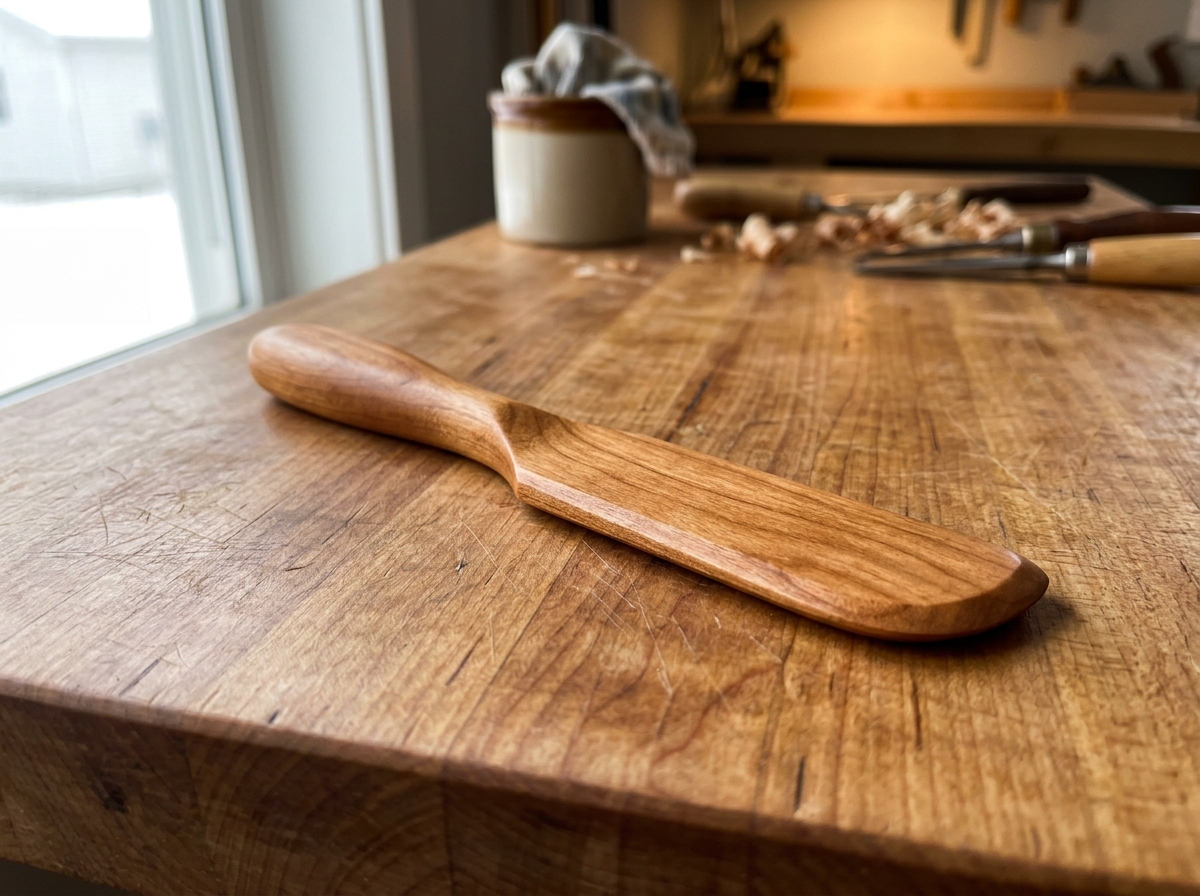
Build Spec: 4" x 3" x 2" round-cornered box. One kerf-cut strip bends around all four corners.
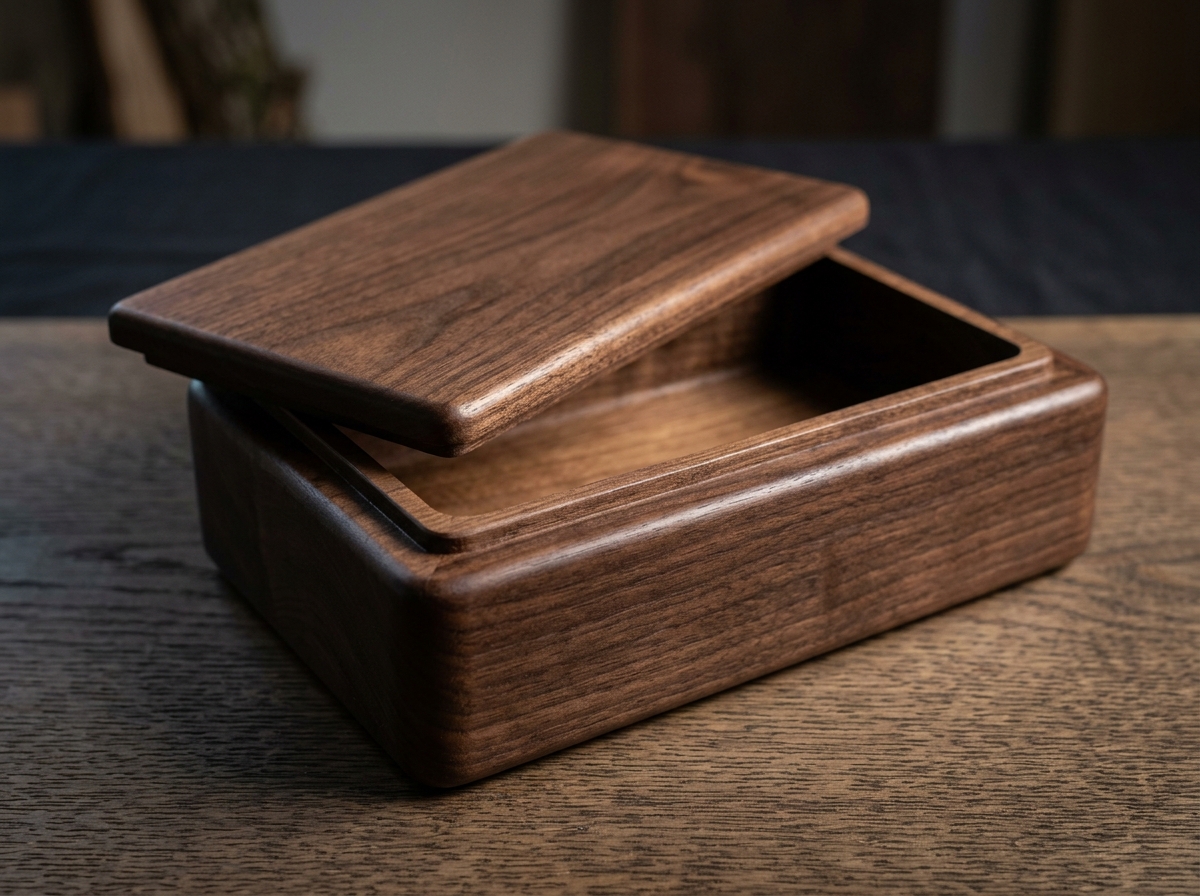
Build Spec: 8" x 5" x 2-1/4" box hollowed from one block, with a lid whose plug fits the opening.
Desk & Charging — Standalone Studio Desk, Stand & Qi Charging Builds
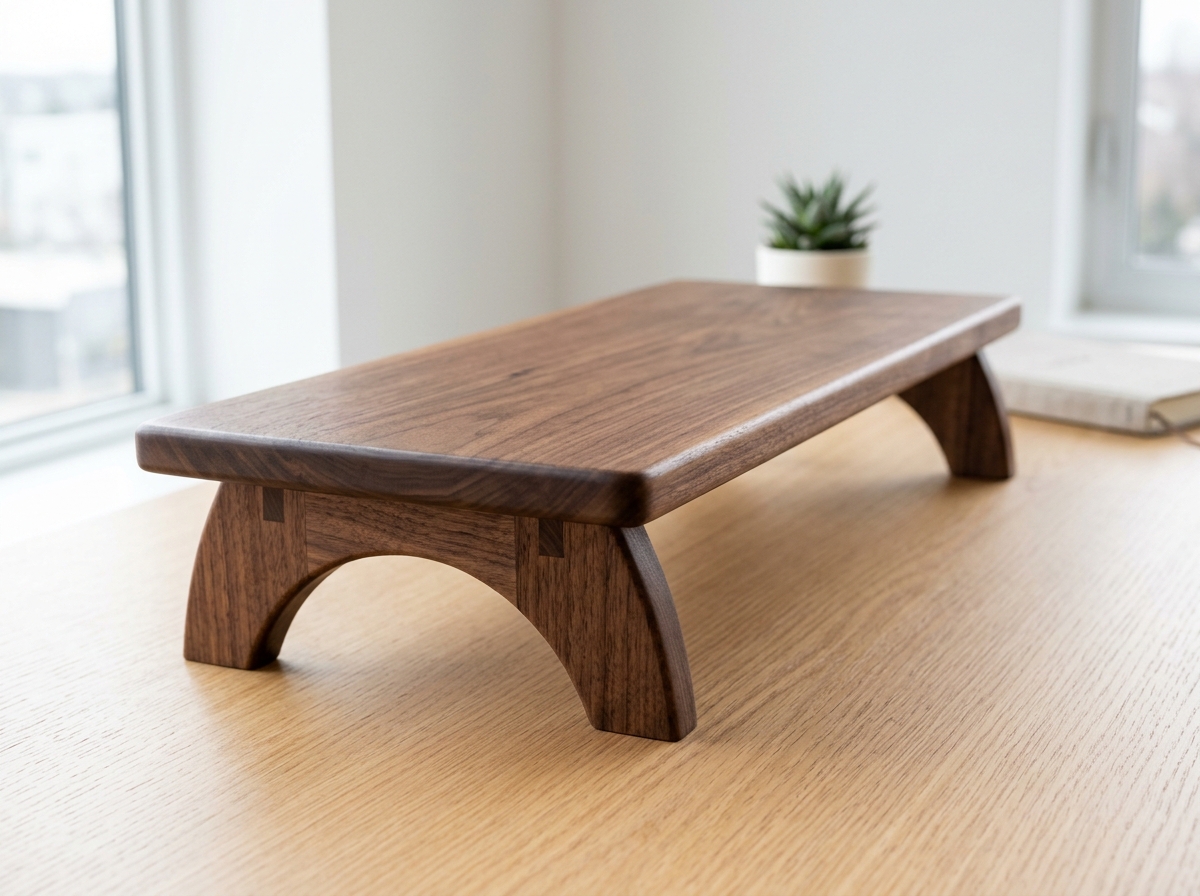
Monitor Riser
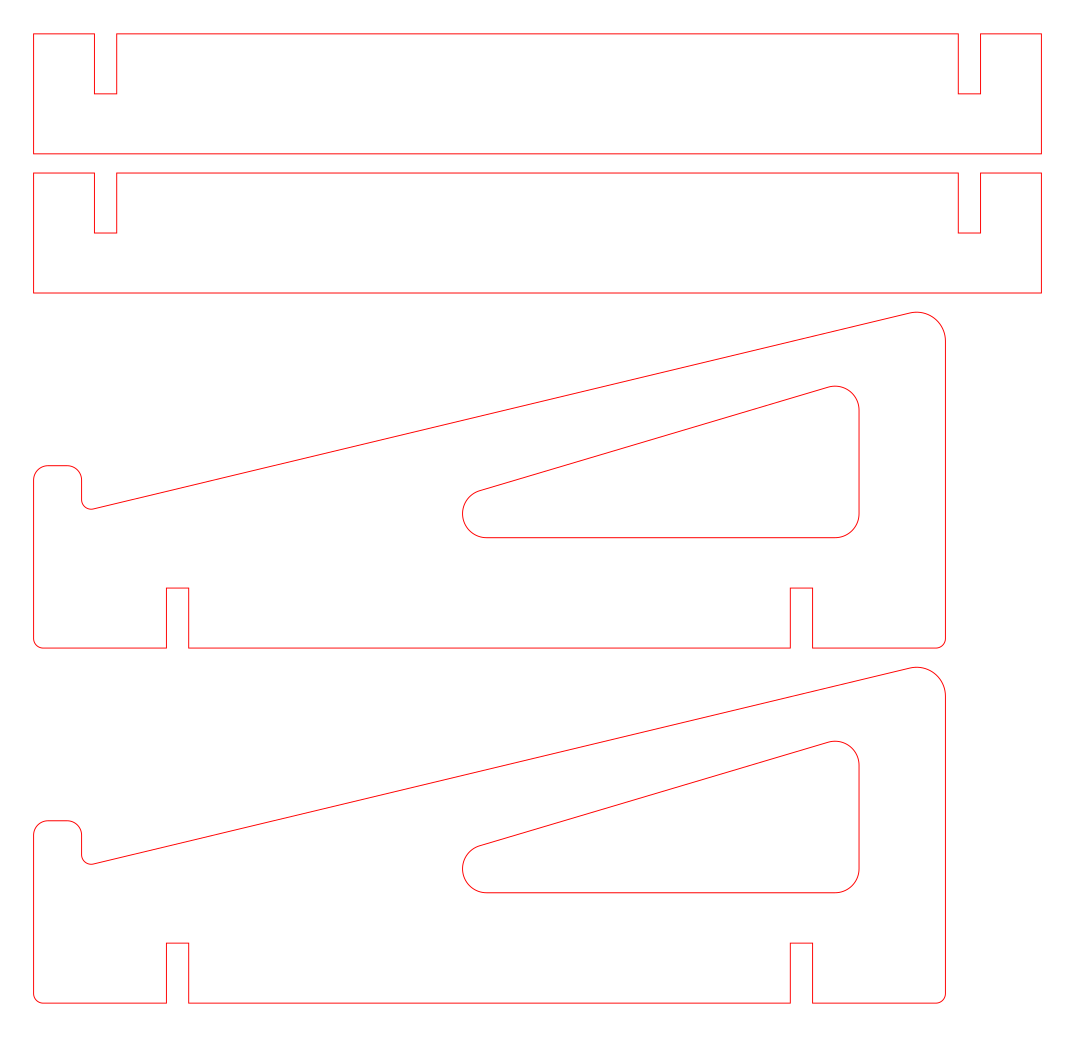
Build Spec: 24" x 9" shelf, 3-7/8" tall. Arched legs leave room for a keyboard or cables underneath.
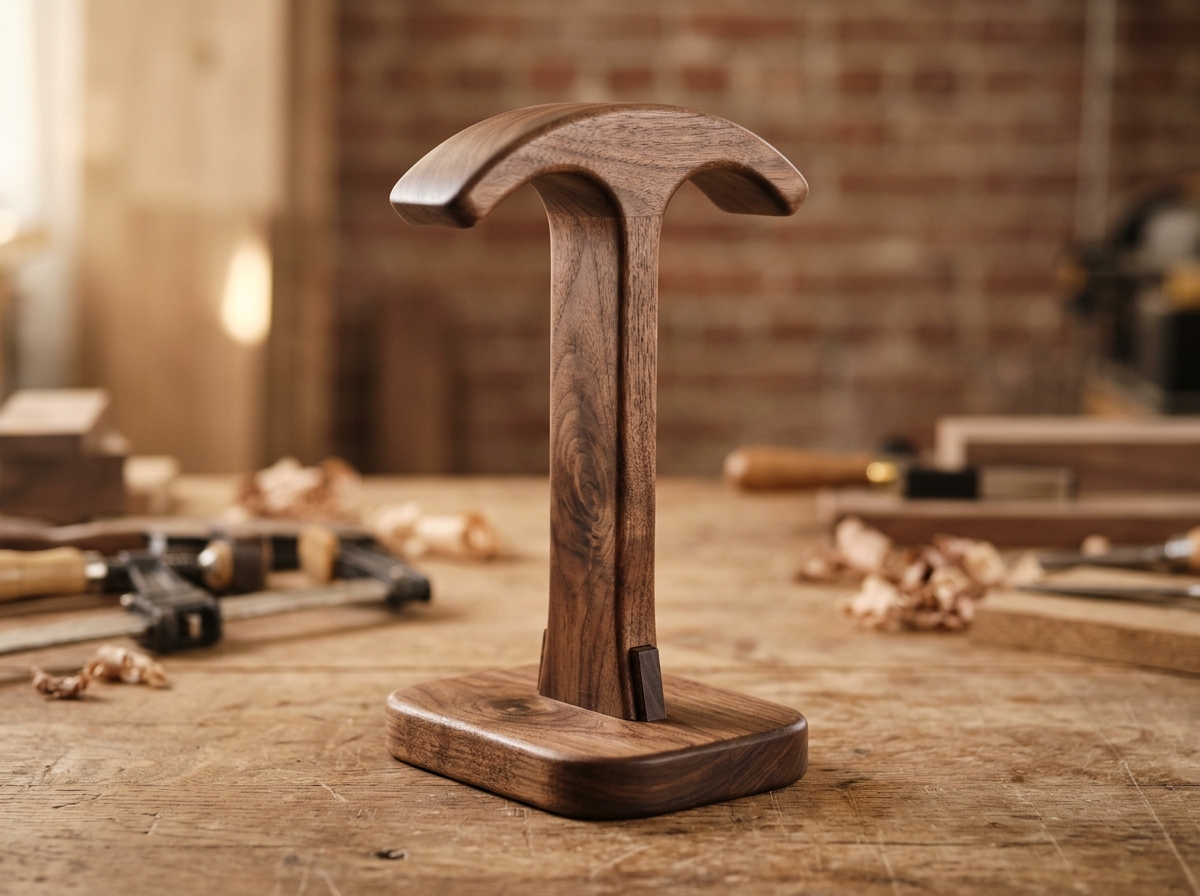
Headphone Stand
Build Spec: 11-1/4" tall. The T-shaped saddle spreads the headband load; a through-tenon locks it into the base.
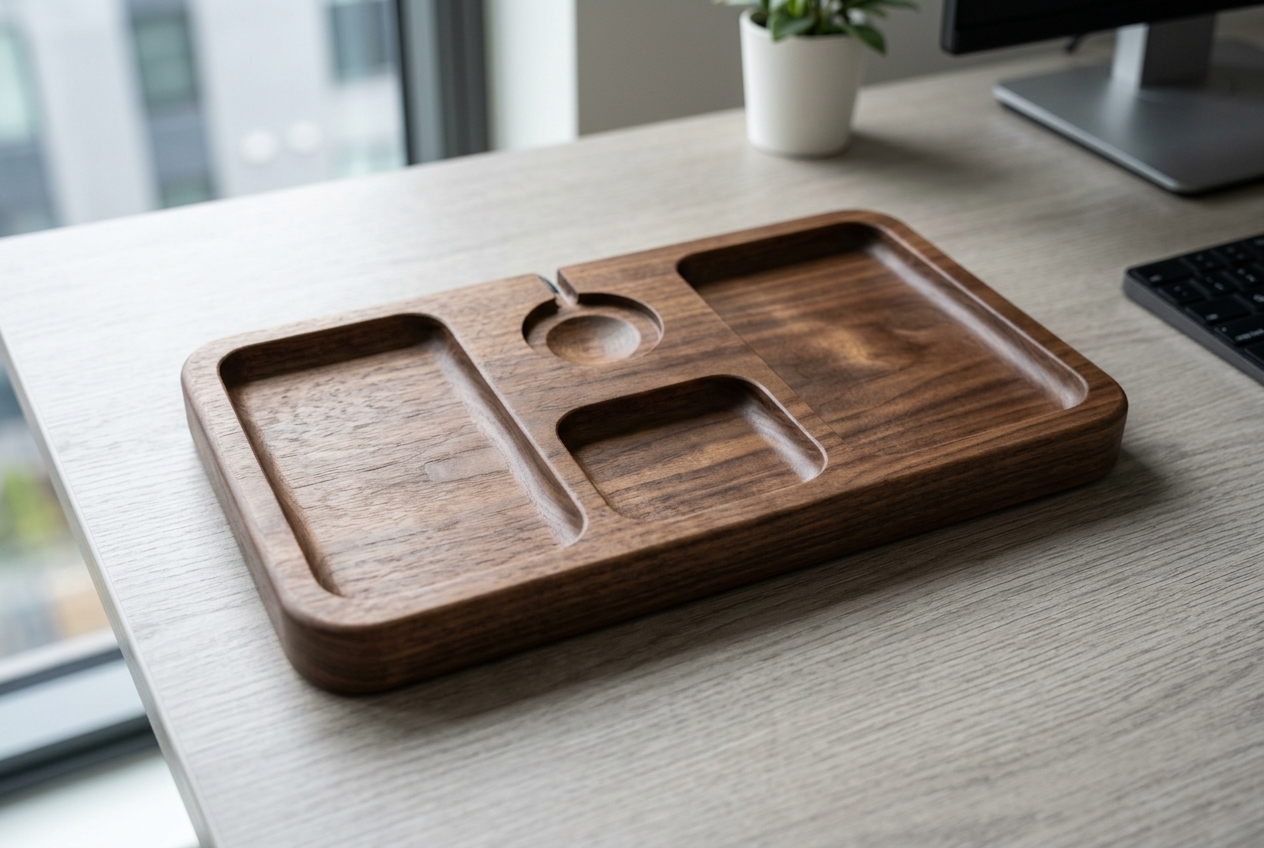
Charging Valet
Build Spec: Phone, watch, earbuds and a catch-all in one block, with a wireless charger hidden under the phone.
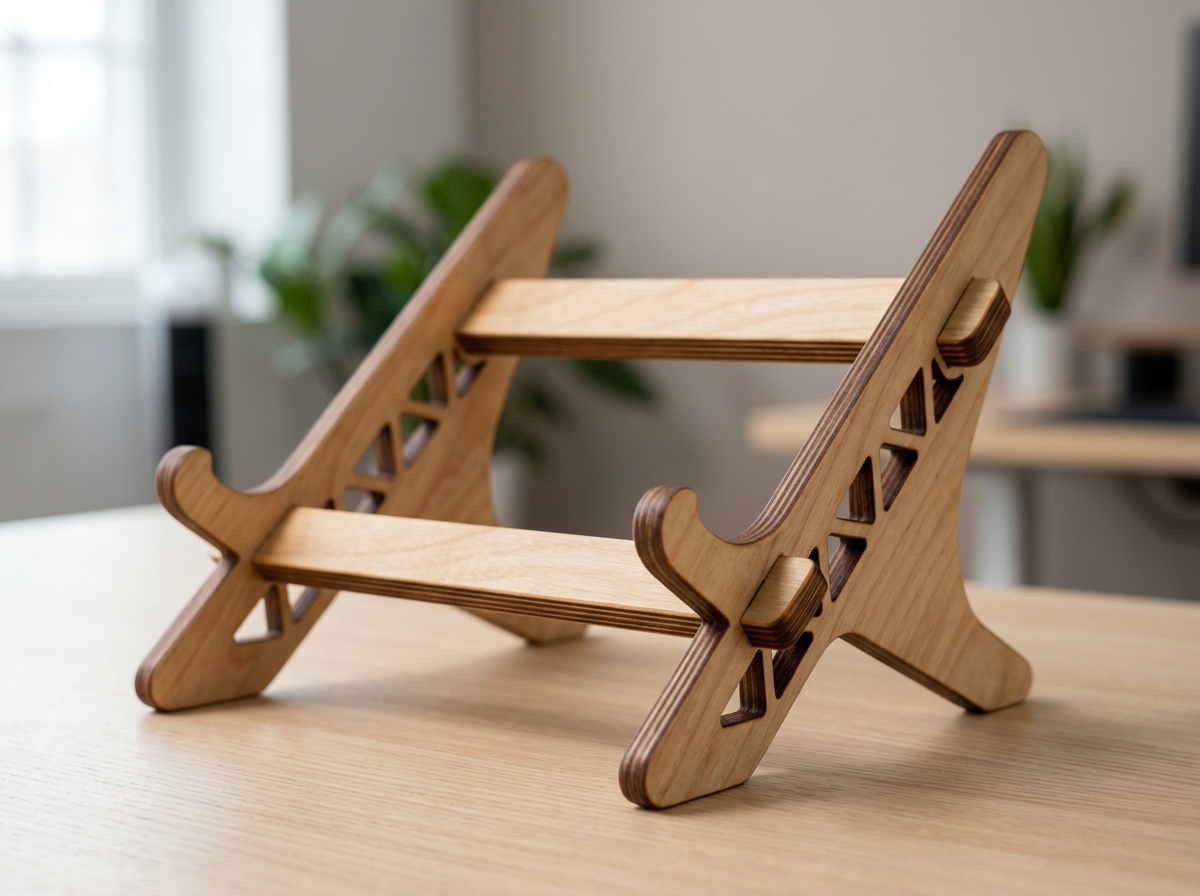
Laptop Stand
Build Spec: Slot-together, no glue. Tilts a laptop about 13 degrees; the front lip stops it sliding.
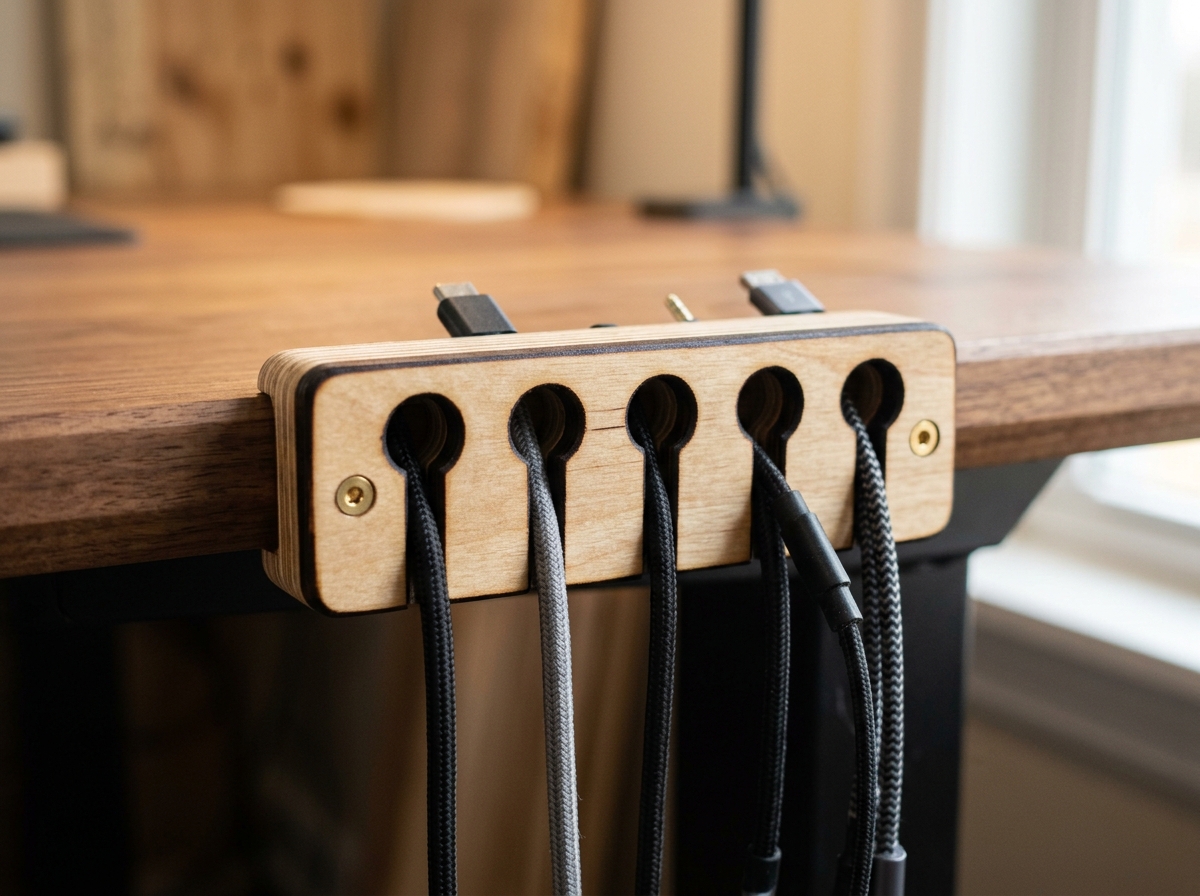
Cable Comb
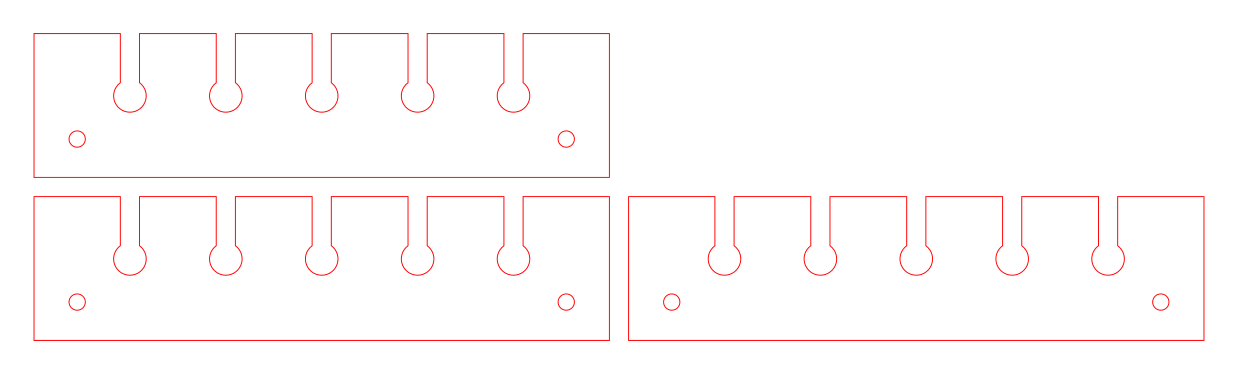
Build Spec: Screws to the back edge of a desk and holds five charging cables where you can reach them.
Home & Decor — Standalone Home, Wall Rack, Trivet & Coaster Builds
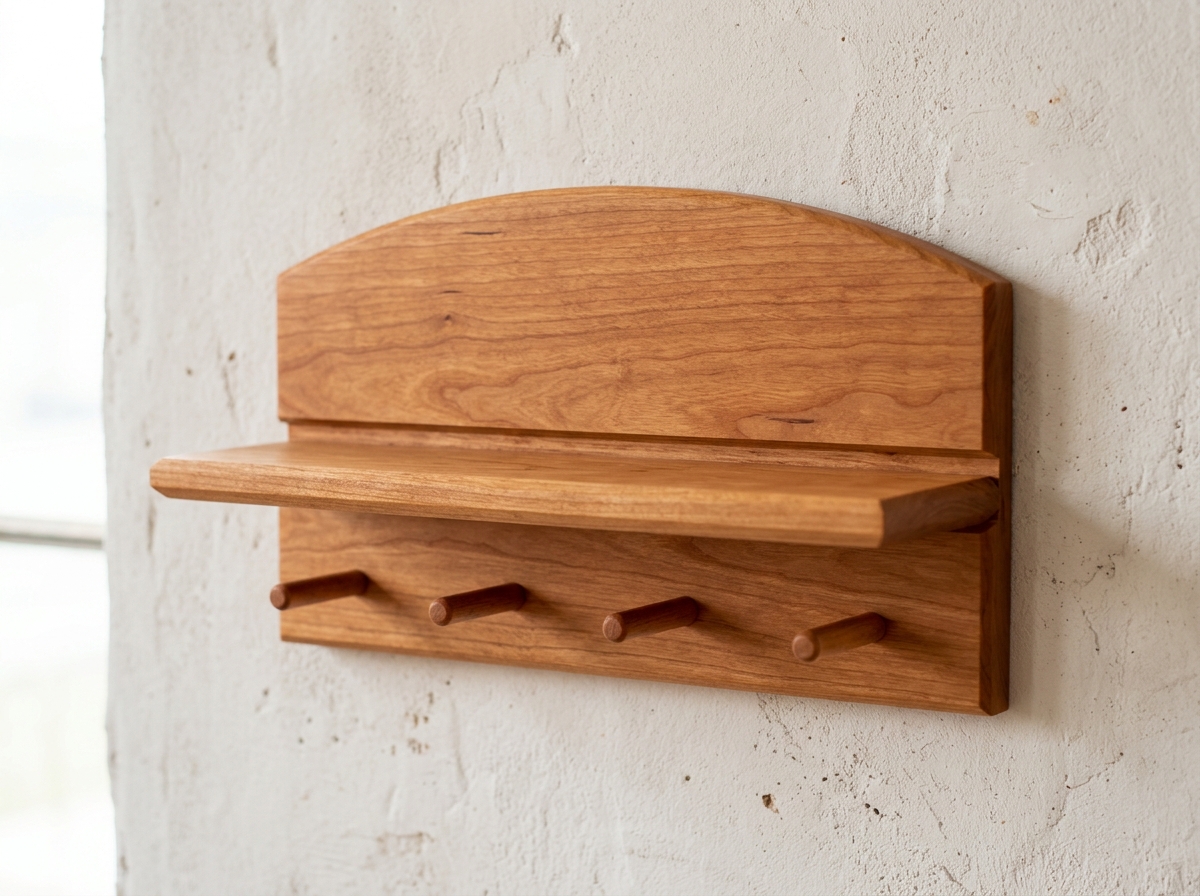
Build Spec: 12" wide wall rack: a shelf for mail and wallets over four dowel pegs for keys.
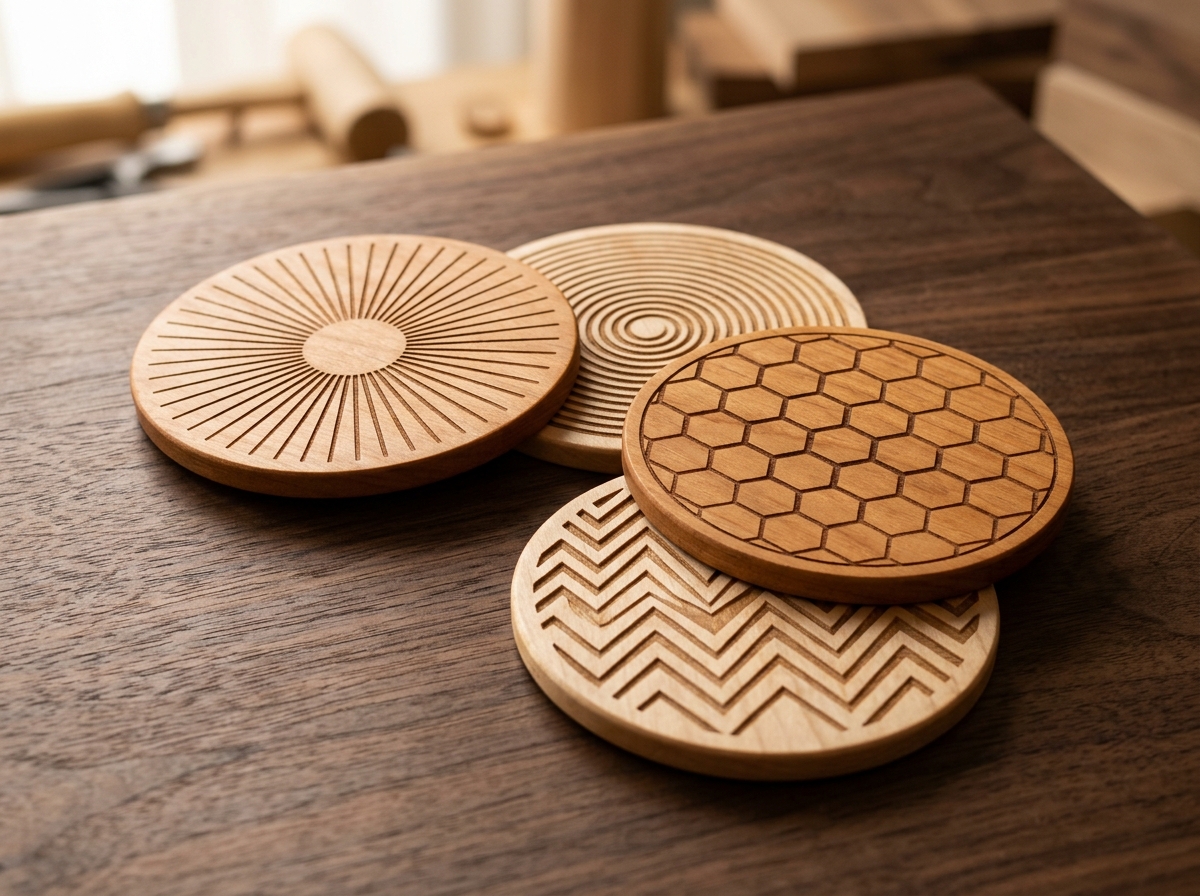
Coaster Set
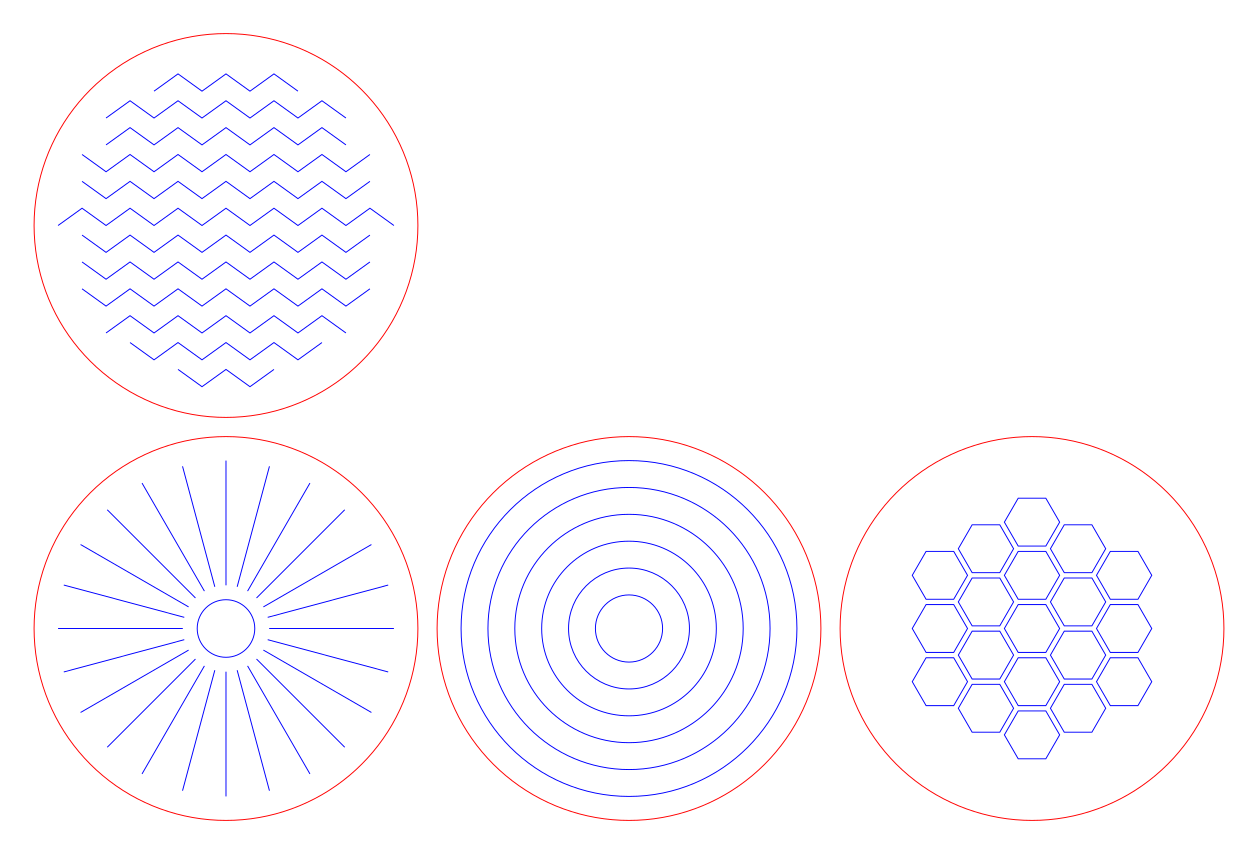
Build Spec: Four 4" coasters, each with its own engraved pattern: sunburst, rings, hex mosaic, chevrons.
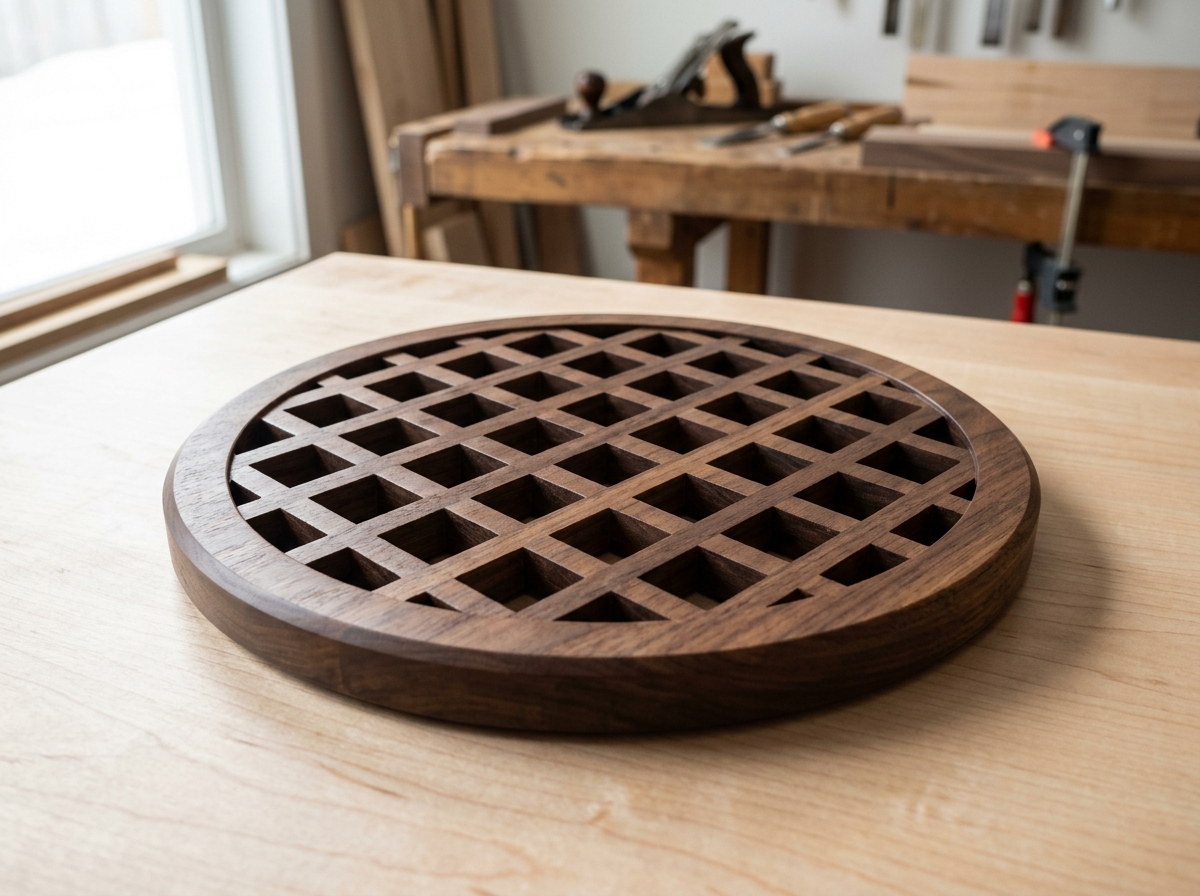
Lattice Trivet
Build Spec: 7-1/2" round trivet. Grooves 7/16" deep on each face cross at right angles; where they meet, 3/8" square windows open through.
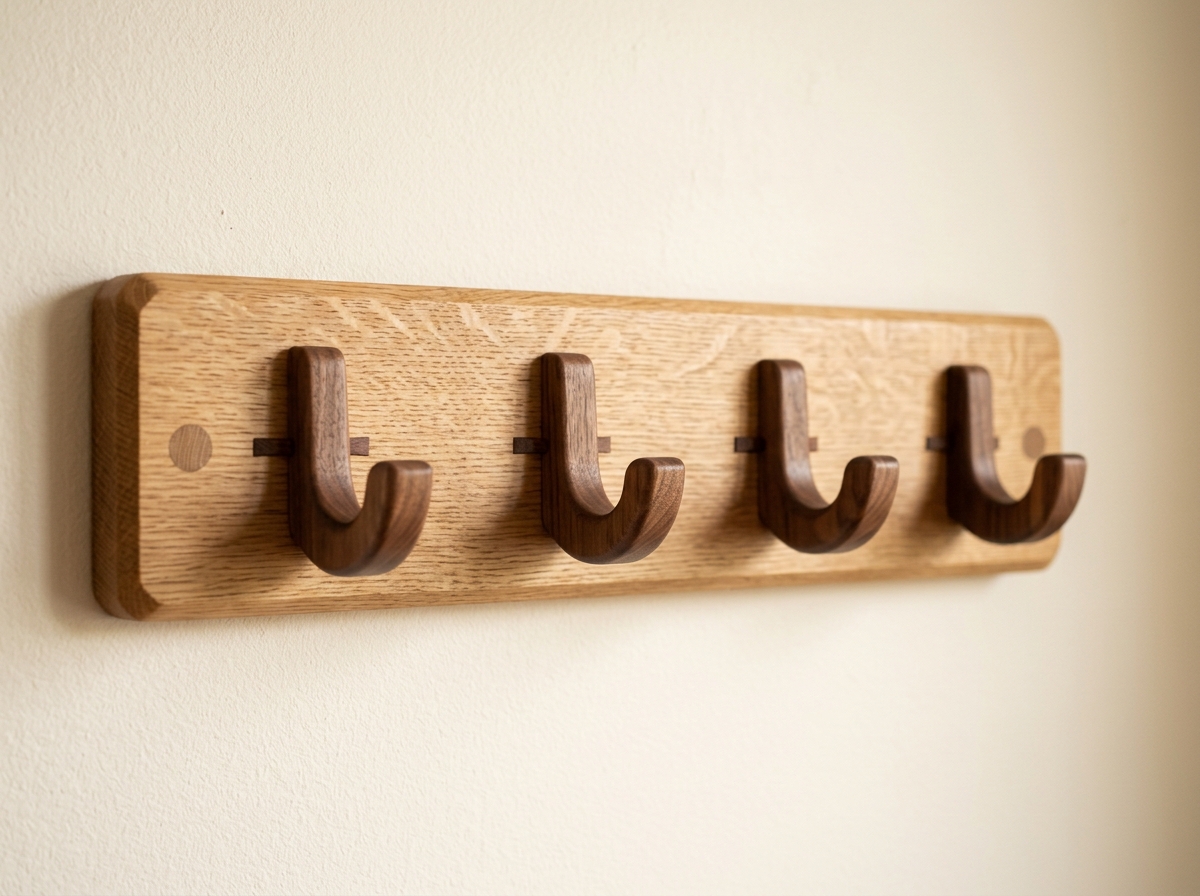
Coat Rack
Build Spec: 24" rack with four 3"-deep J-hooks. Through-tenons lock the hooks in; plugged screw holes hide the mounting.
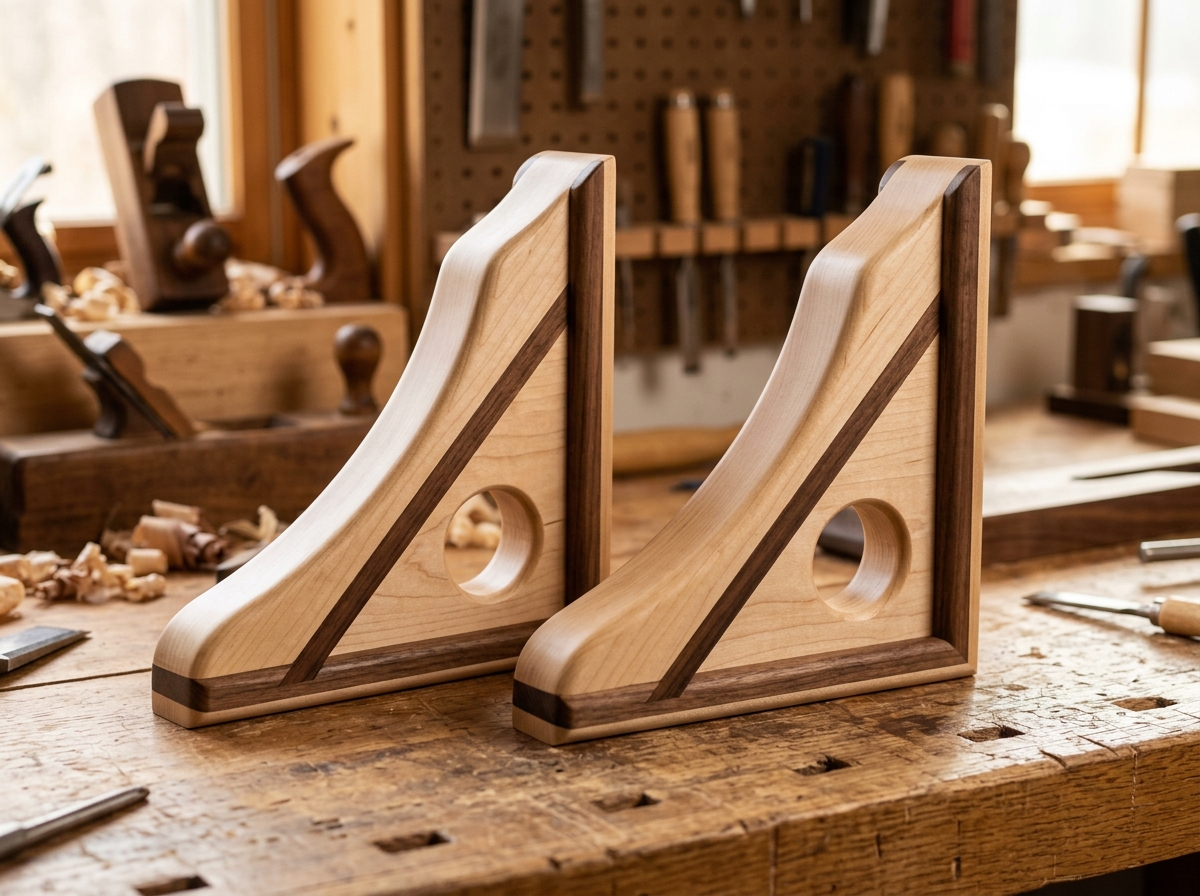
Shelf Brackets
Build Spec: A pair of 7" x 6" corbels with a sweeping cove underneath, for shelves up to about 8" deep.
Shop Jigs & Fixtures — Standalone Table Saw, Router & Clamp Shop Builds
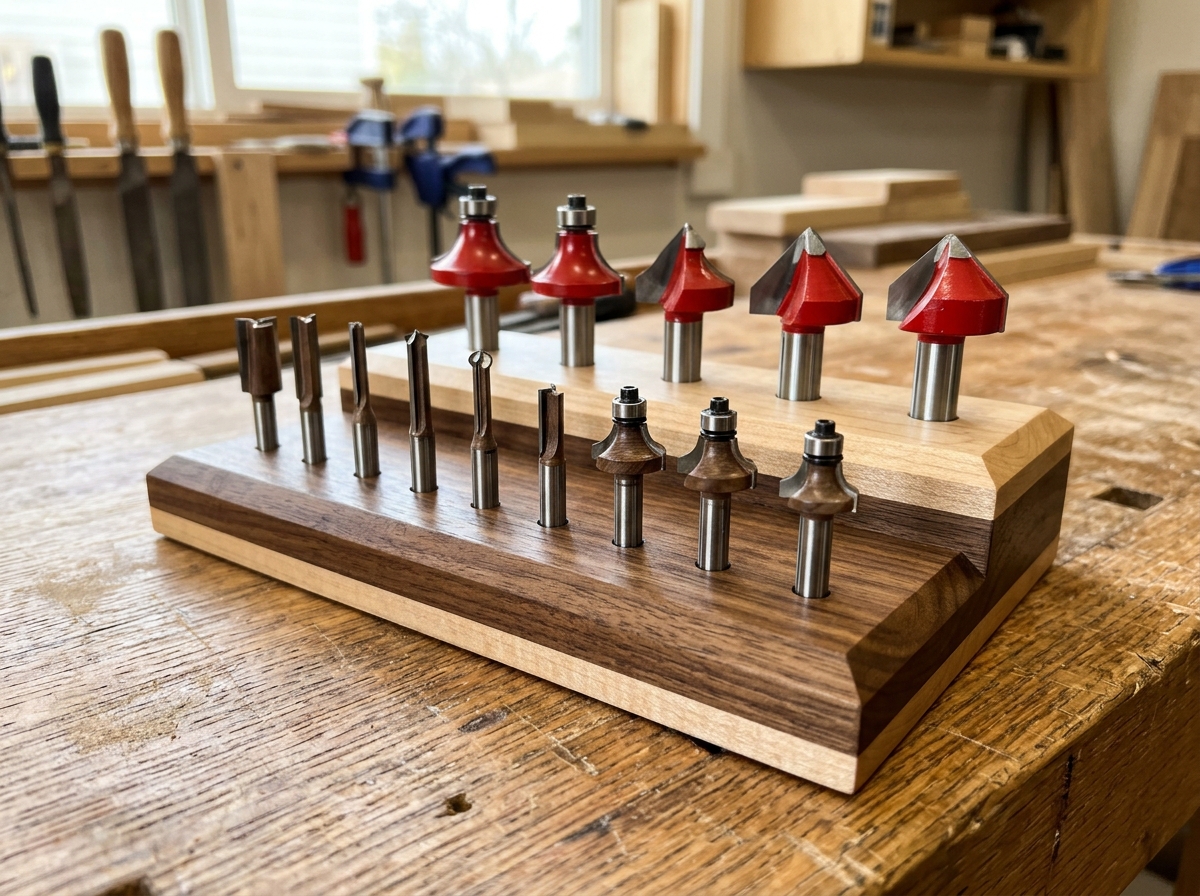
Build Spec: Holds nine 1/4"-shank and six 1/2"-shank router bits upright, 1" deep.
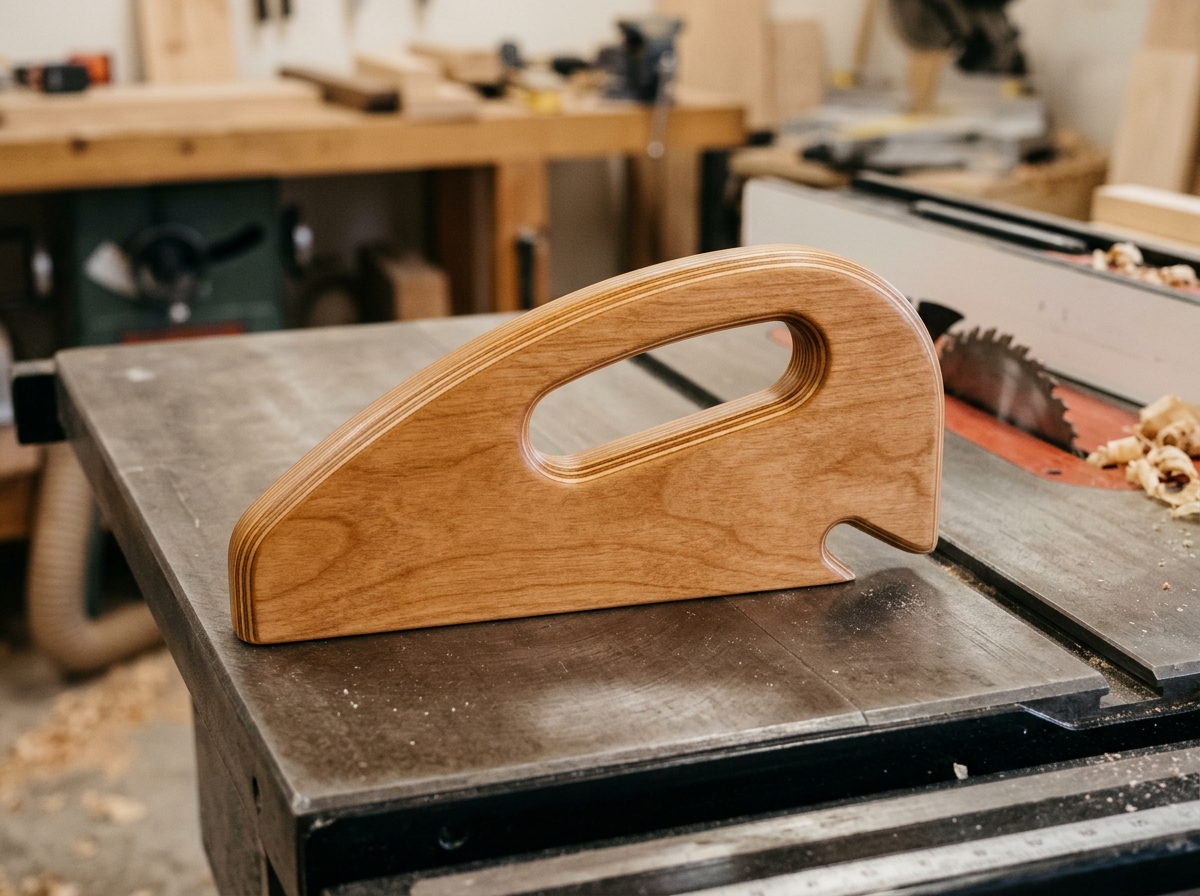
Push Shoe
Build Spec: 12" table-saw push shoe: the long sole holds the work down, the heel hook pushes it through.
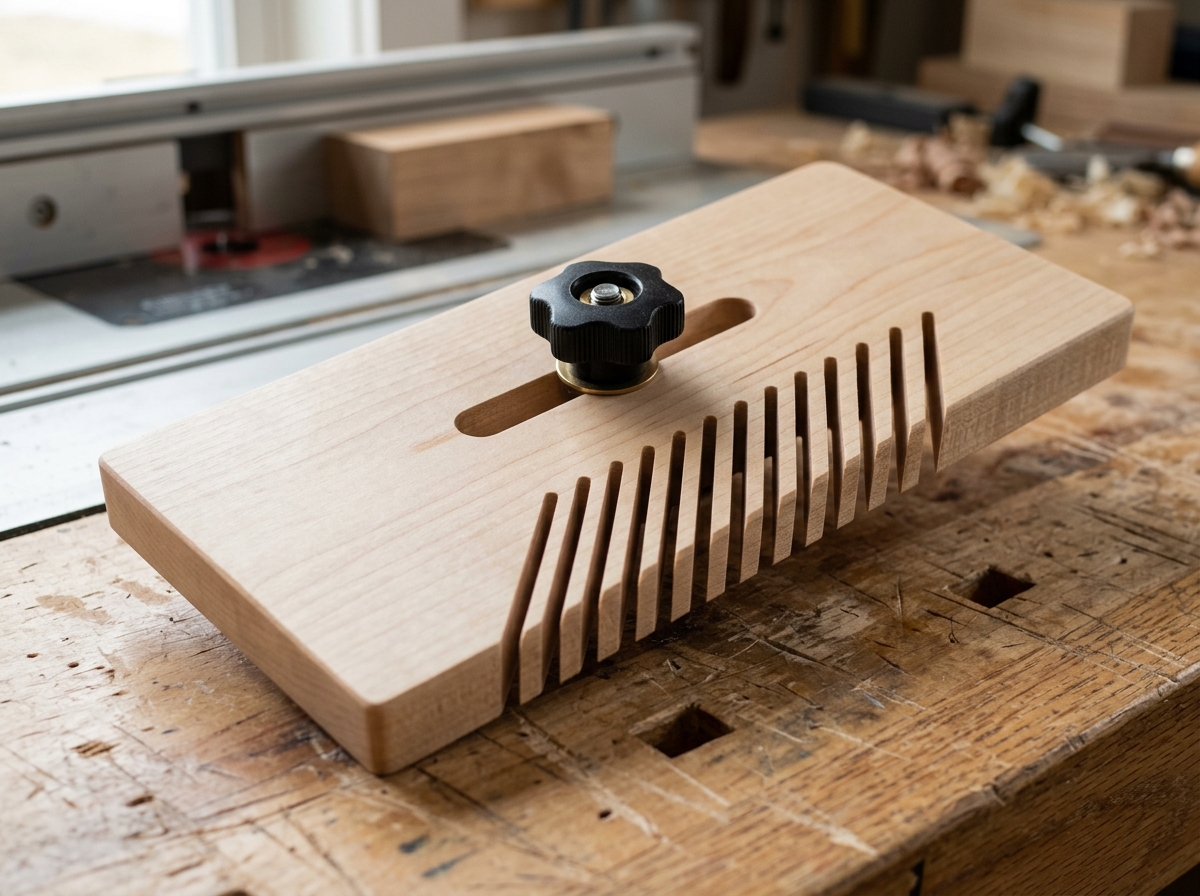
Featherboard
Build Spec: Fingers 1/8" thick on 1/4" centers flex to hold work against the fence; the tips are angled 60 degrees.
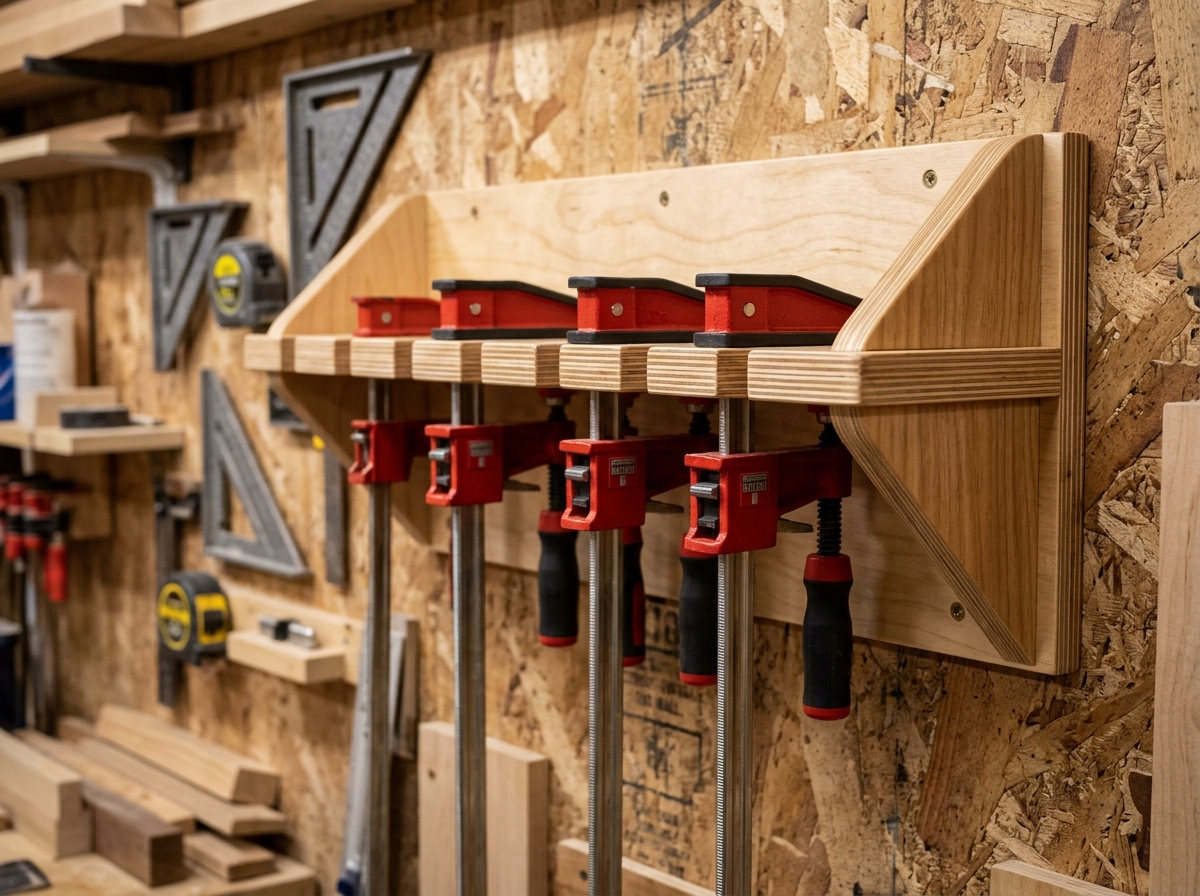
Clamp Rack
Build Spec: 24" wall rack with seven 3/4" slots for bar, pipe and F-clamps, hung from a dadoed backboard.
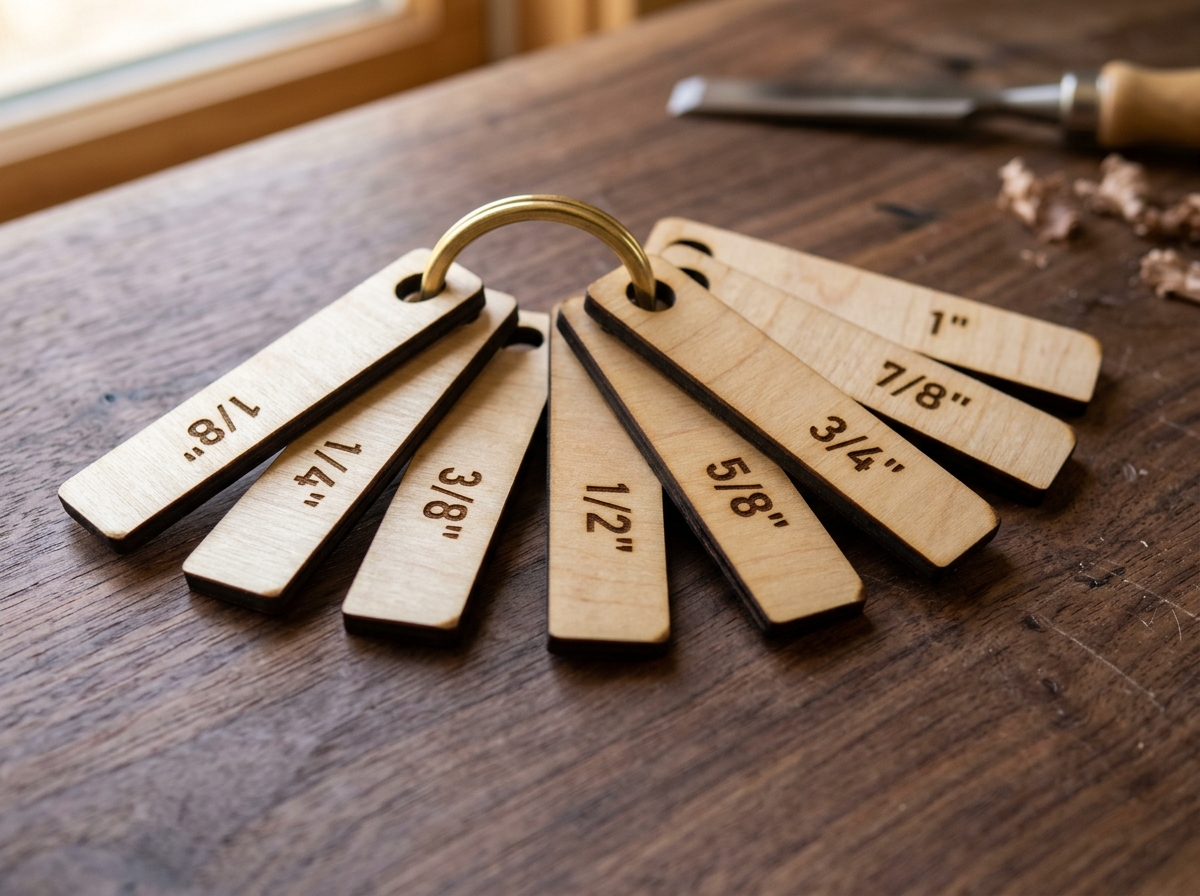
Radius Gauge Set
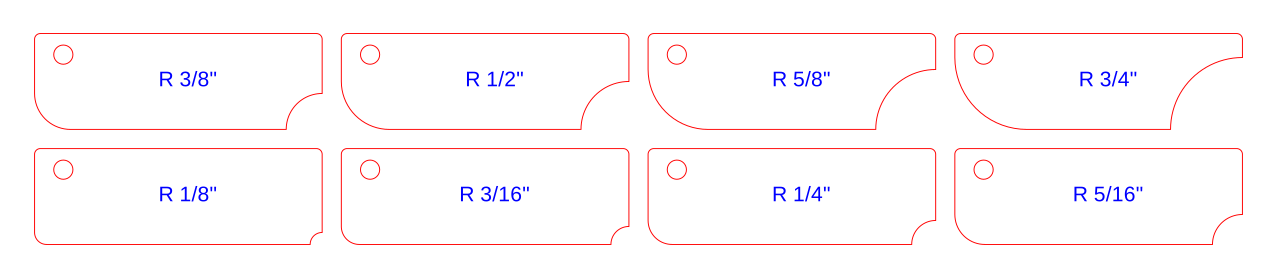
Build Spec: Eight gauges, 1/8" to 3/4". Each has a convex corner (checks inside fillets) and a concave corner (checks roundovers).
How to Print at 100% Scale & Finish Your Wooden Utensils
Follow this 3-step shop workflow so your hand-carved spoons, spurtles, and CNC/laser projects come off the bench dimensionally accurate, silky-smooth after washing, and 100% free of petroleum mineral oil.
Print at 100% Actual Size & Check the 1" Square
Open any standalone Utensil Plan PDF and select “Actual Size” or “100% Scale” in your printer dialog (never “Fit to Page”). Verify the 1" × 1" Calibration Square with a ruler or calipers. For 2-sheet templates (utensils over 9"), align the registration crosshairs, tape together, and apply to your hardwood blank.
Carve, Sand to 220 & Water-Pop the Grain
Hollow the bowl first while the rectangular blank is easy to clamp in a vise, then bandsaw the Top View and Side View profiles (taping the waste back on for the second cut). Sand to 180 grit, mist lightly with warm water to raise loose wood fibers, let dry 20 minutes, and kiss smooth with 220 grit so your spoon never turns fuzzy in the sink.
Soak with Walnut Oil & Buff with Board Butter
Boiling soup strips cheap mineral oil out of wooden spoons in a single use. Flood your carved utensil generously with DuraGrain Walnut Oil ($18.99), let soak 20 minutes, and wipe bone-dry so it polymerizes inside the grain. Once cured, buff on a thin topcoat of DuraGrain Board Butter ($15.99) using the 2 reusable #0000 pads included in the jar.
Want Every Plan Offline? Download Master Shop Archives
Prefer to keep our complete plan collection on your shop computer or USB drive? Download the compiled kitchen utensil 1:1 printable book, master utensil CAD/STL bundle, or the category volume archives below.
Free to download, print, build (including items you sell), and share—just please do not edit or modify the files and redistribute them.